# 总方针:是什么?从哪里来?要到哪里去?
注意: 下面的说明仅供参考,会由于项目变更而发生变化,请随时保持沟通!
gitlab - 源码 (opens new window)
# 一、是什么
有关vite是什么,请移步我的另一篇文章 vite;
# 二、从哪里来
Vite 的前身是 https://github.com/vuejs/vue-dev-server (opens new window) - 这个概念从一开始就是在服务器端对原生 ESM 请求进行按需编译。Vite 0.x 开始开发的时候是 2020 年 4 月(Commits · vitejs/vite),这个时候的开发目标已经是基于 ESM 实现 HMR 热更新。
有关vite多久能干掉webpack的问题,请查看vite多久能干掉webpack的问题? (opens new window),里面尤大大解释的非常清晰,建议大家好好品味,😁 !!!
# 三、要到哪里去
当然要到我们的碗里来,😁
# 3.1 改造webpack=>vite
来吧,接住,以下就是将vue-cli搭建的ts+webpack改装成ts+vite的整个过程:
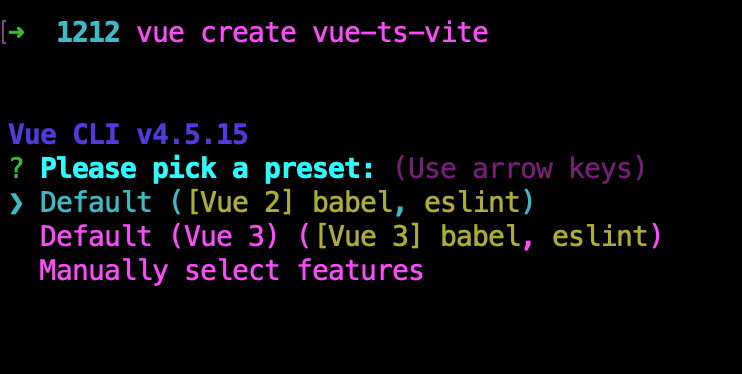
第一步:创建一个项目:vue create vue-ts-vite,
前提已经安装了vue-cli脚手架,如果可以,请安装最新脚手架,这样可以享受最新福利。
第二步:按需选择自己的配置项,我这边选择手动挡(manually select features)
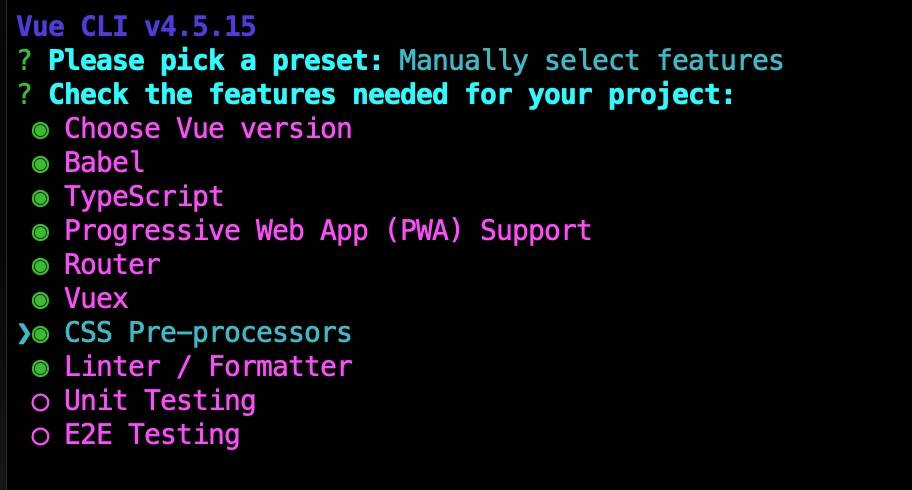
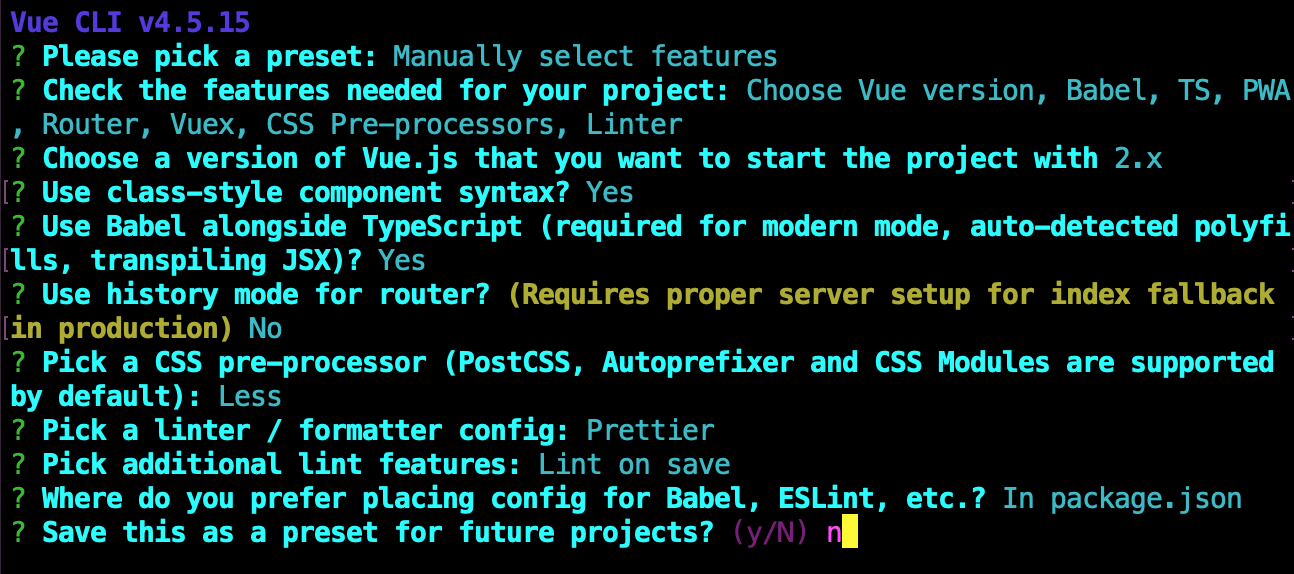
第三步:选择一些额外参数,vue2 + babel +ts + pwa + router + vuex + css + linter
第四步:安装相关依赖
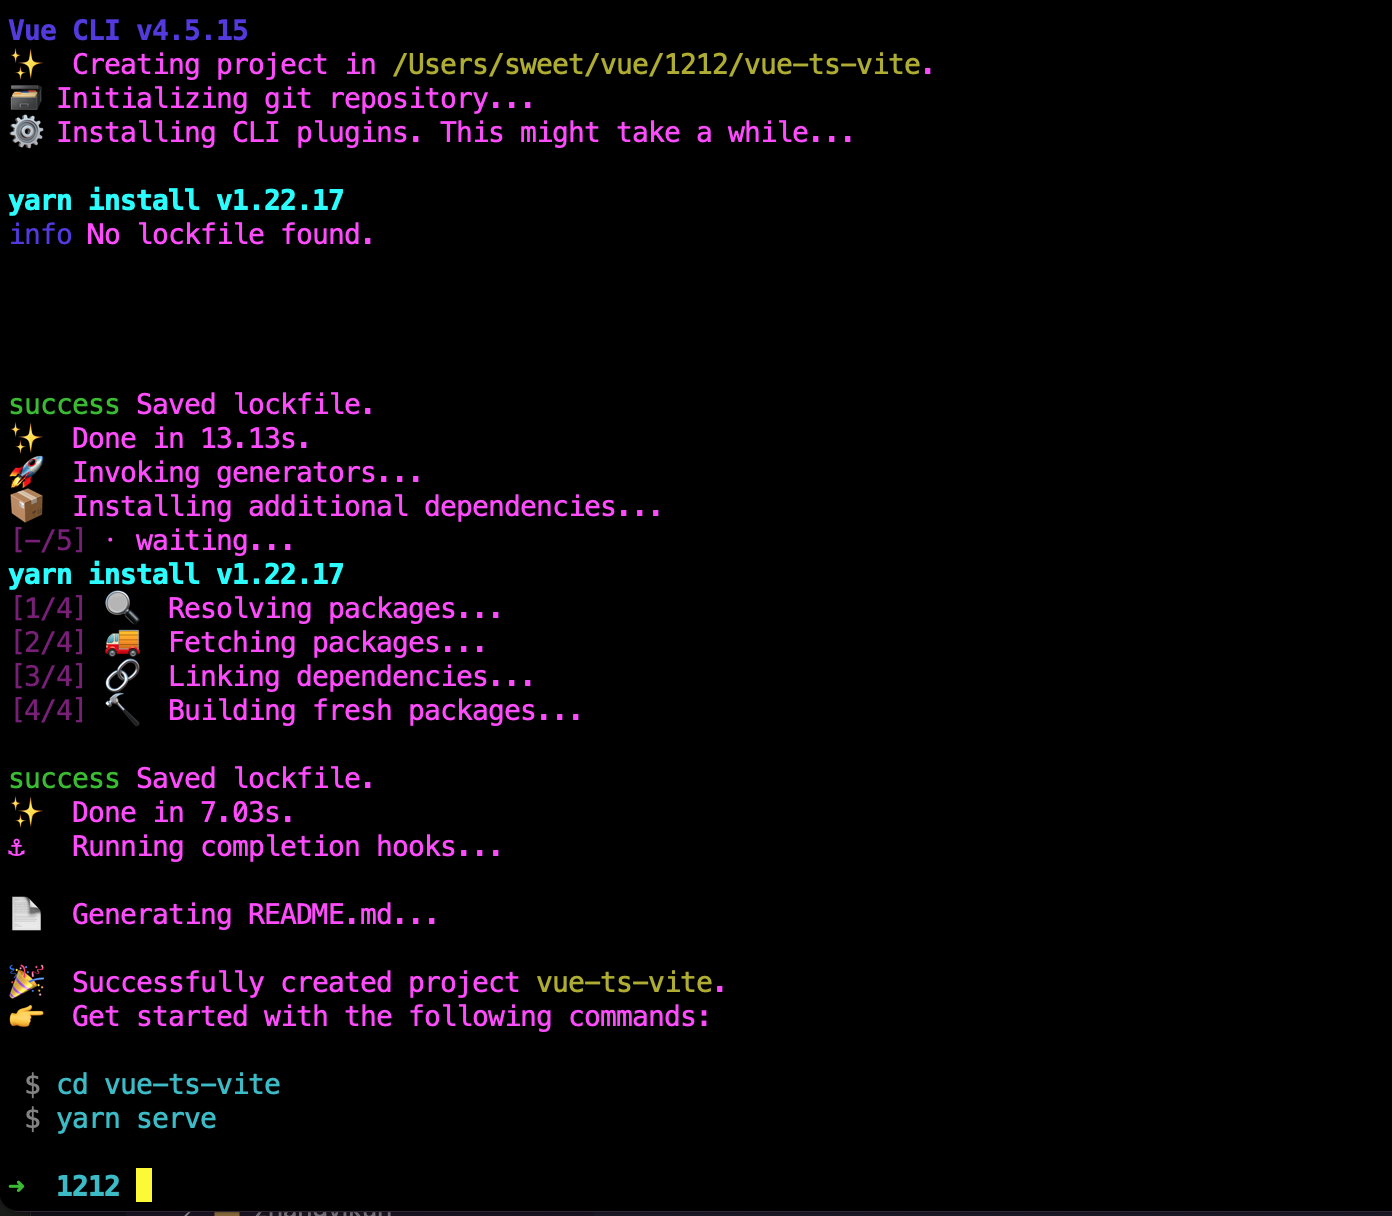
第五步:执行 cd vue-ts-vite 、 再执行 yarn serve 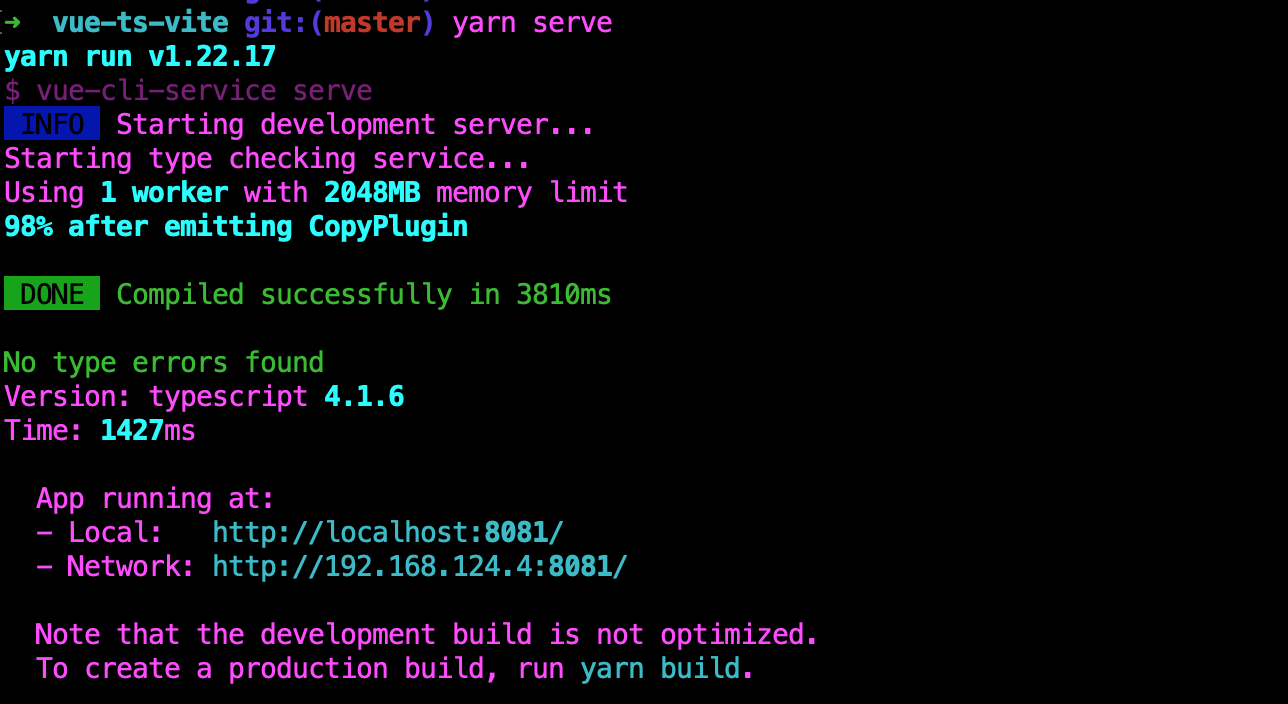
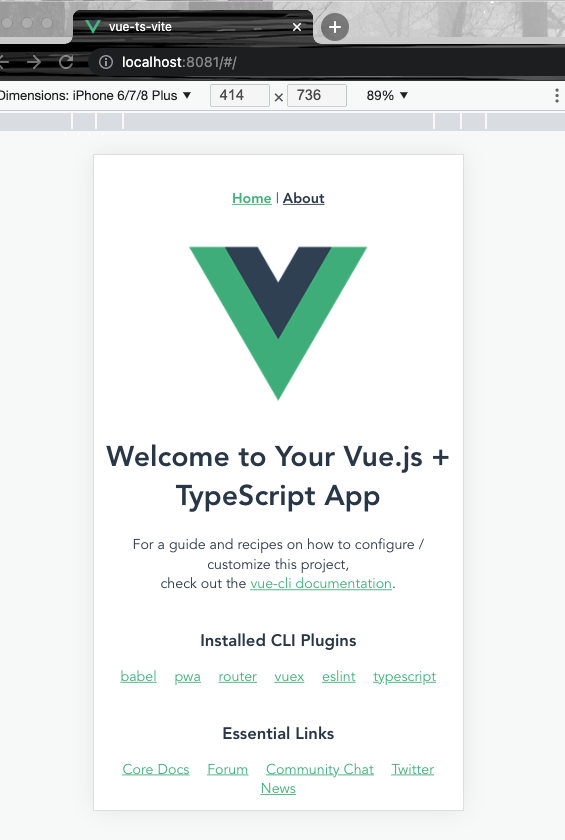
第六步:在浏览器上查看(localhost:8080), 如果有差别,请根据实际情况调整端口号
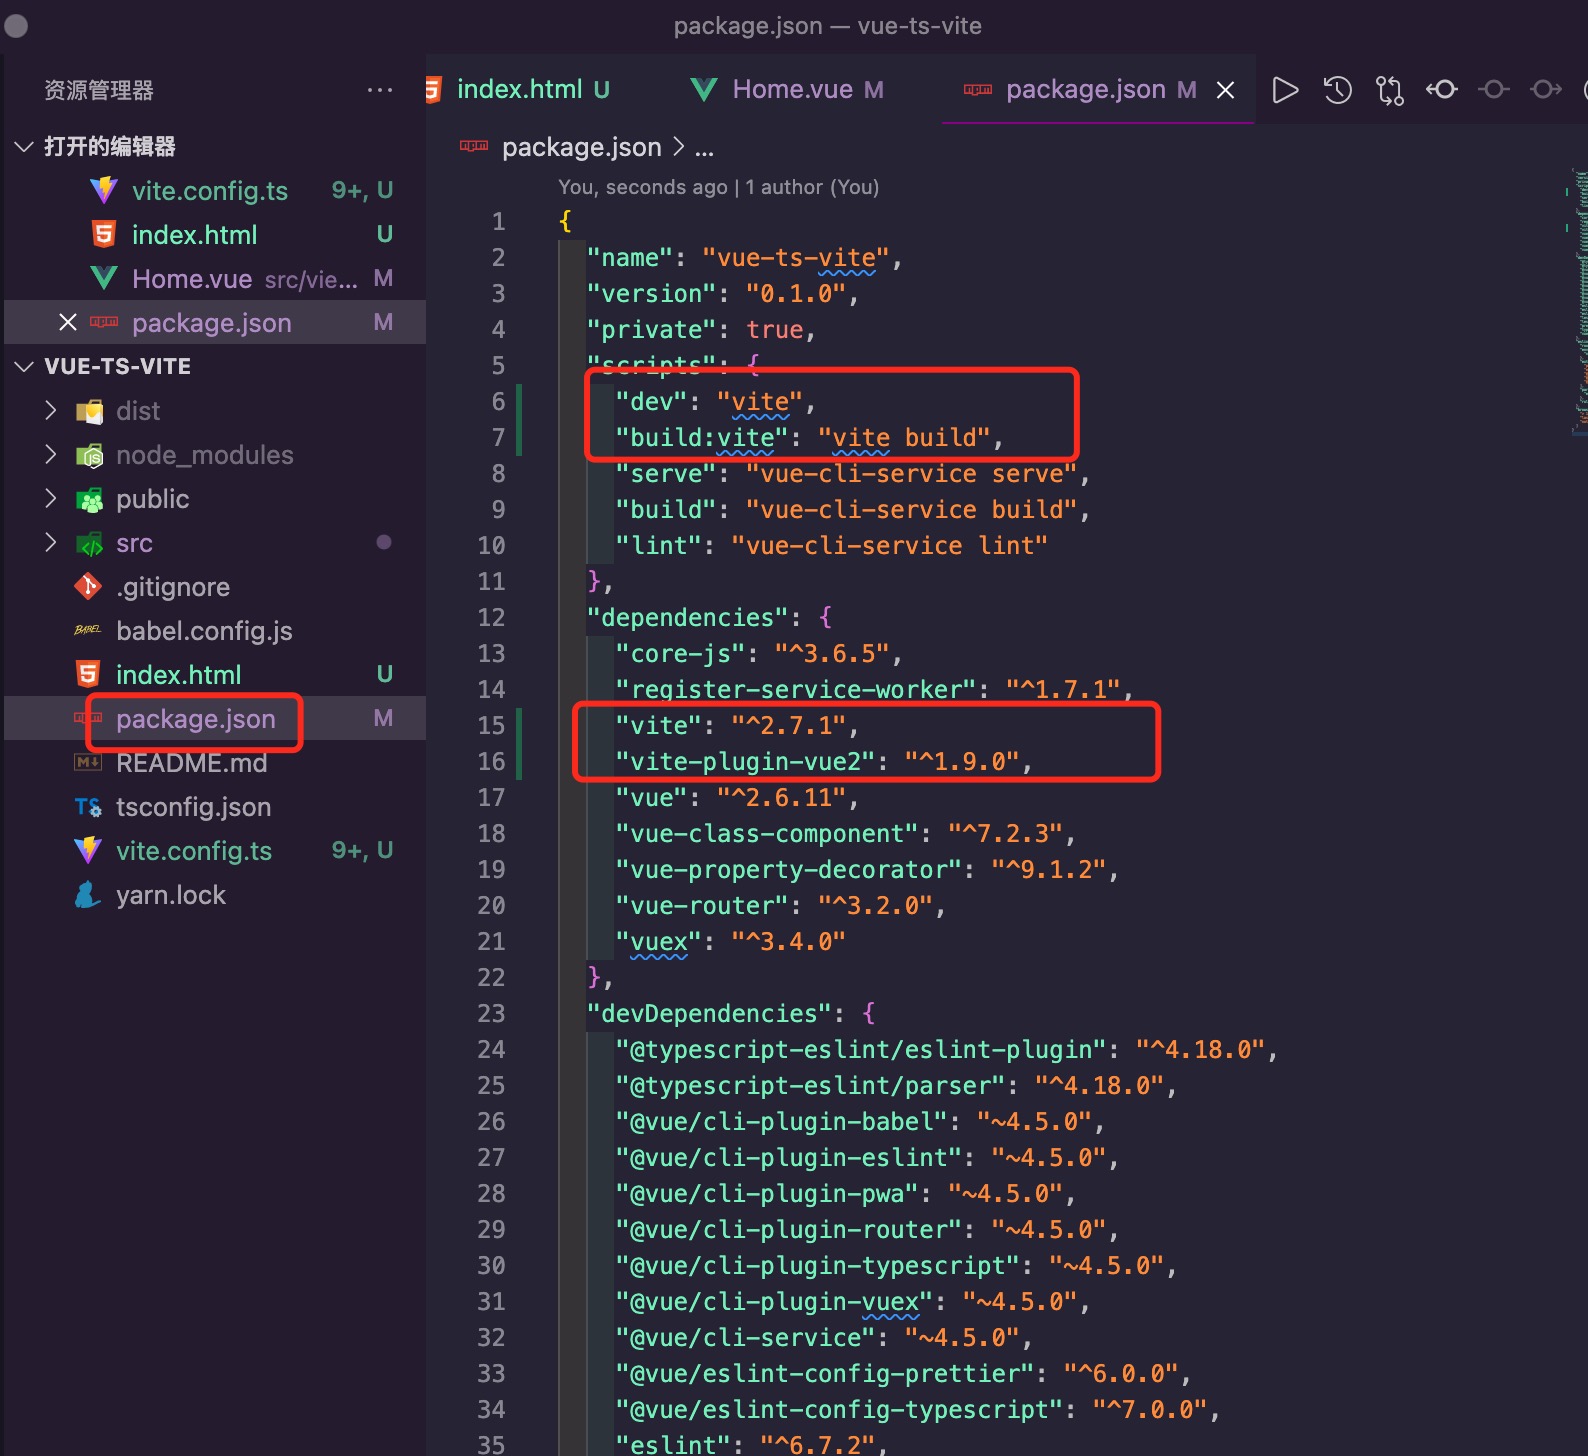
第七步:开始改造成vite版本,安装相关依赖 cnpm i -S vite vite-plugin-vue2 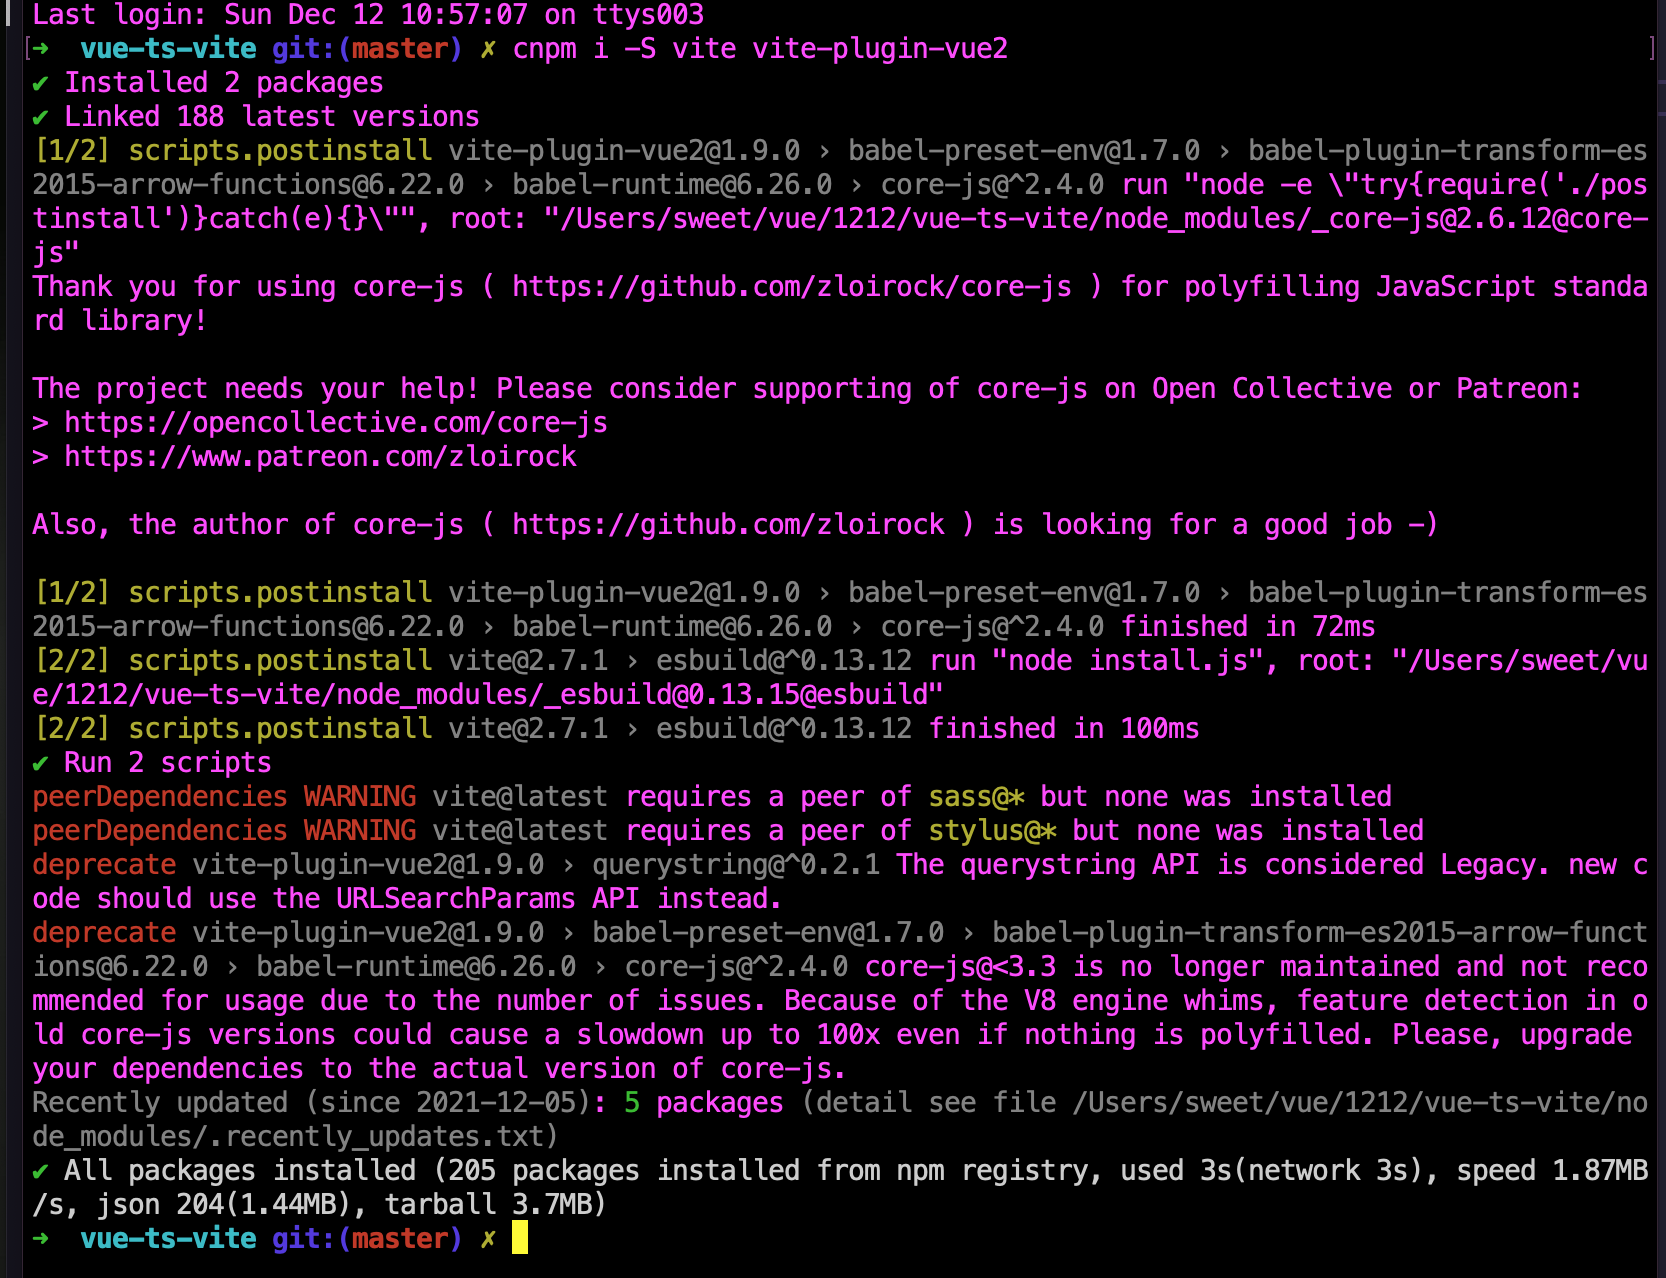
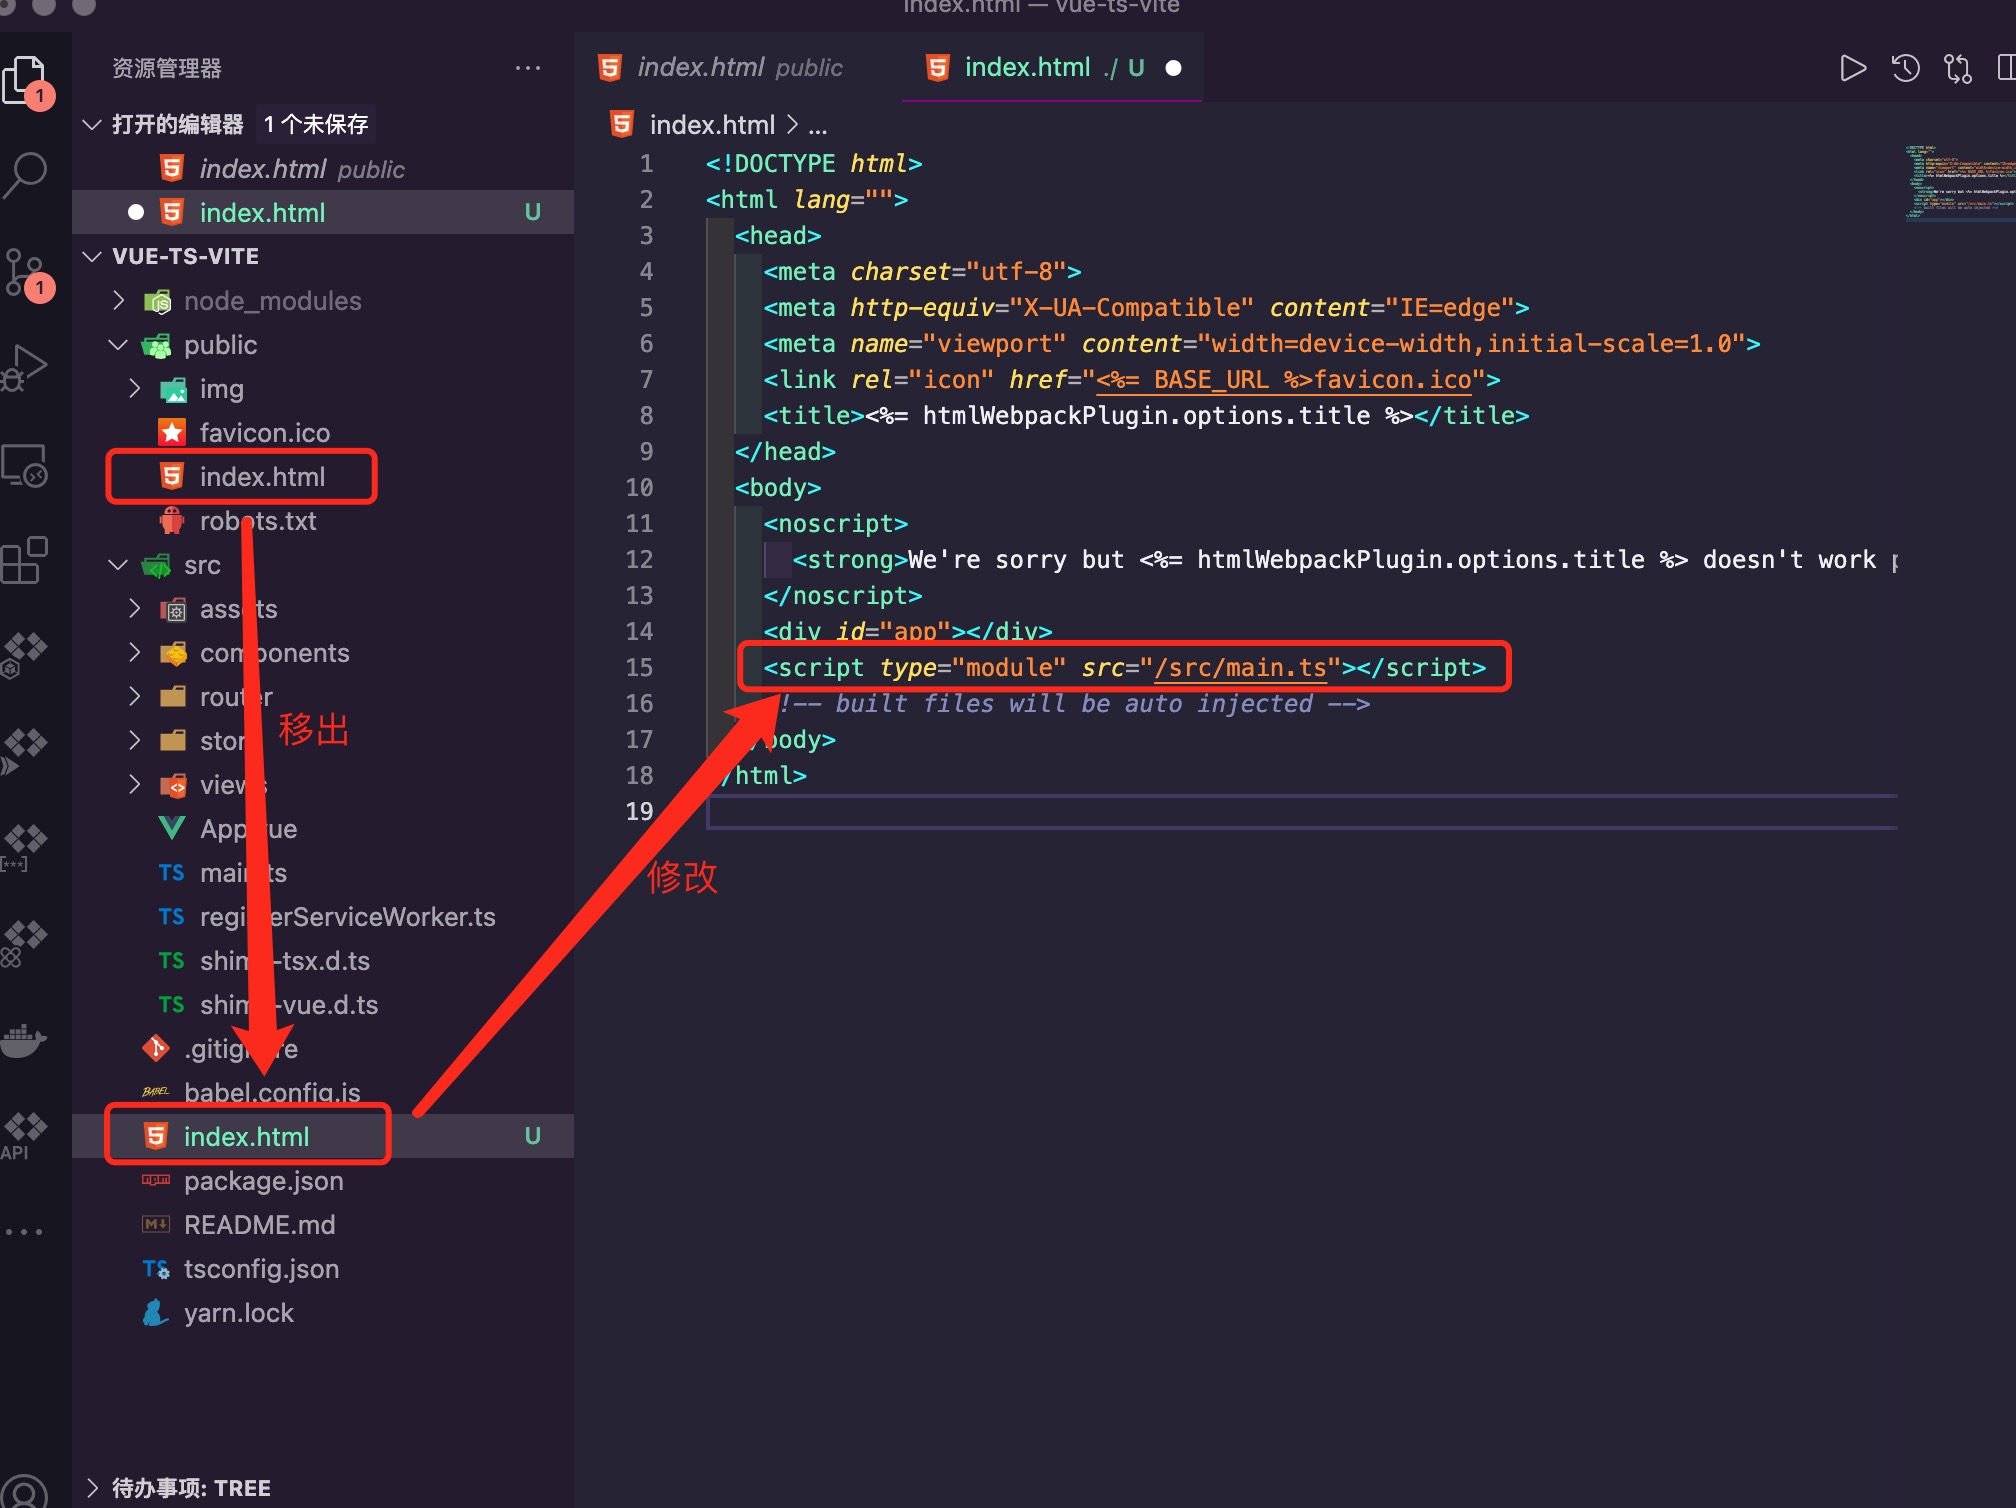
第八步:将public下面的index.html移动到根目录,同时在<div id="app"></div>下面加入:<script type="module" src="/src/main.ts"></script>,因为vite入口地址是从index.html开始的
第九步:加入vite.config.ts文件,内容为
import { defineConfig } from 'vite'
import { createVuePlugin } from 'vite-plugin-vue2'

export default defineConfig({
  plugins: [createVuePlugin()],
})
2
3
4
5
6

第十步:package.json的script加入
...
  "dev": "vite",
  "build:vite": "vite build",
...
2
3
4
第十一步:执行 npm run dev,将会出现如下报错
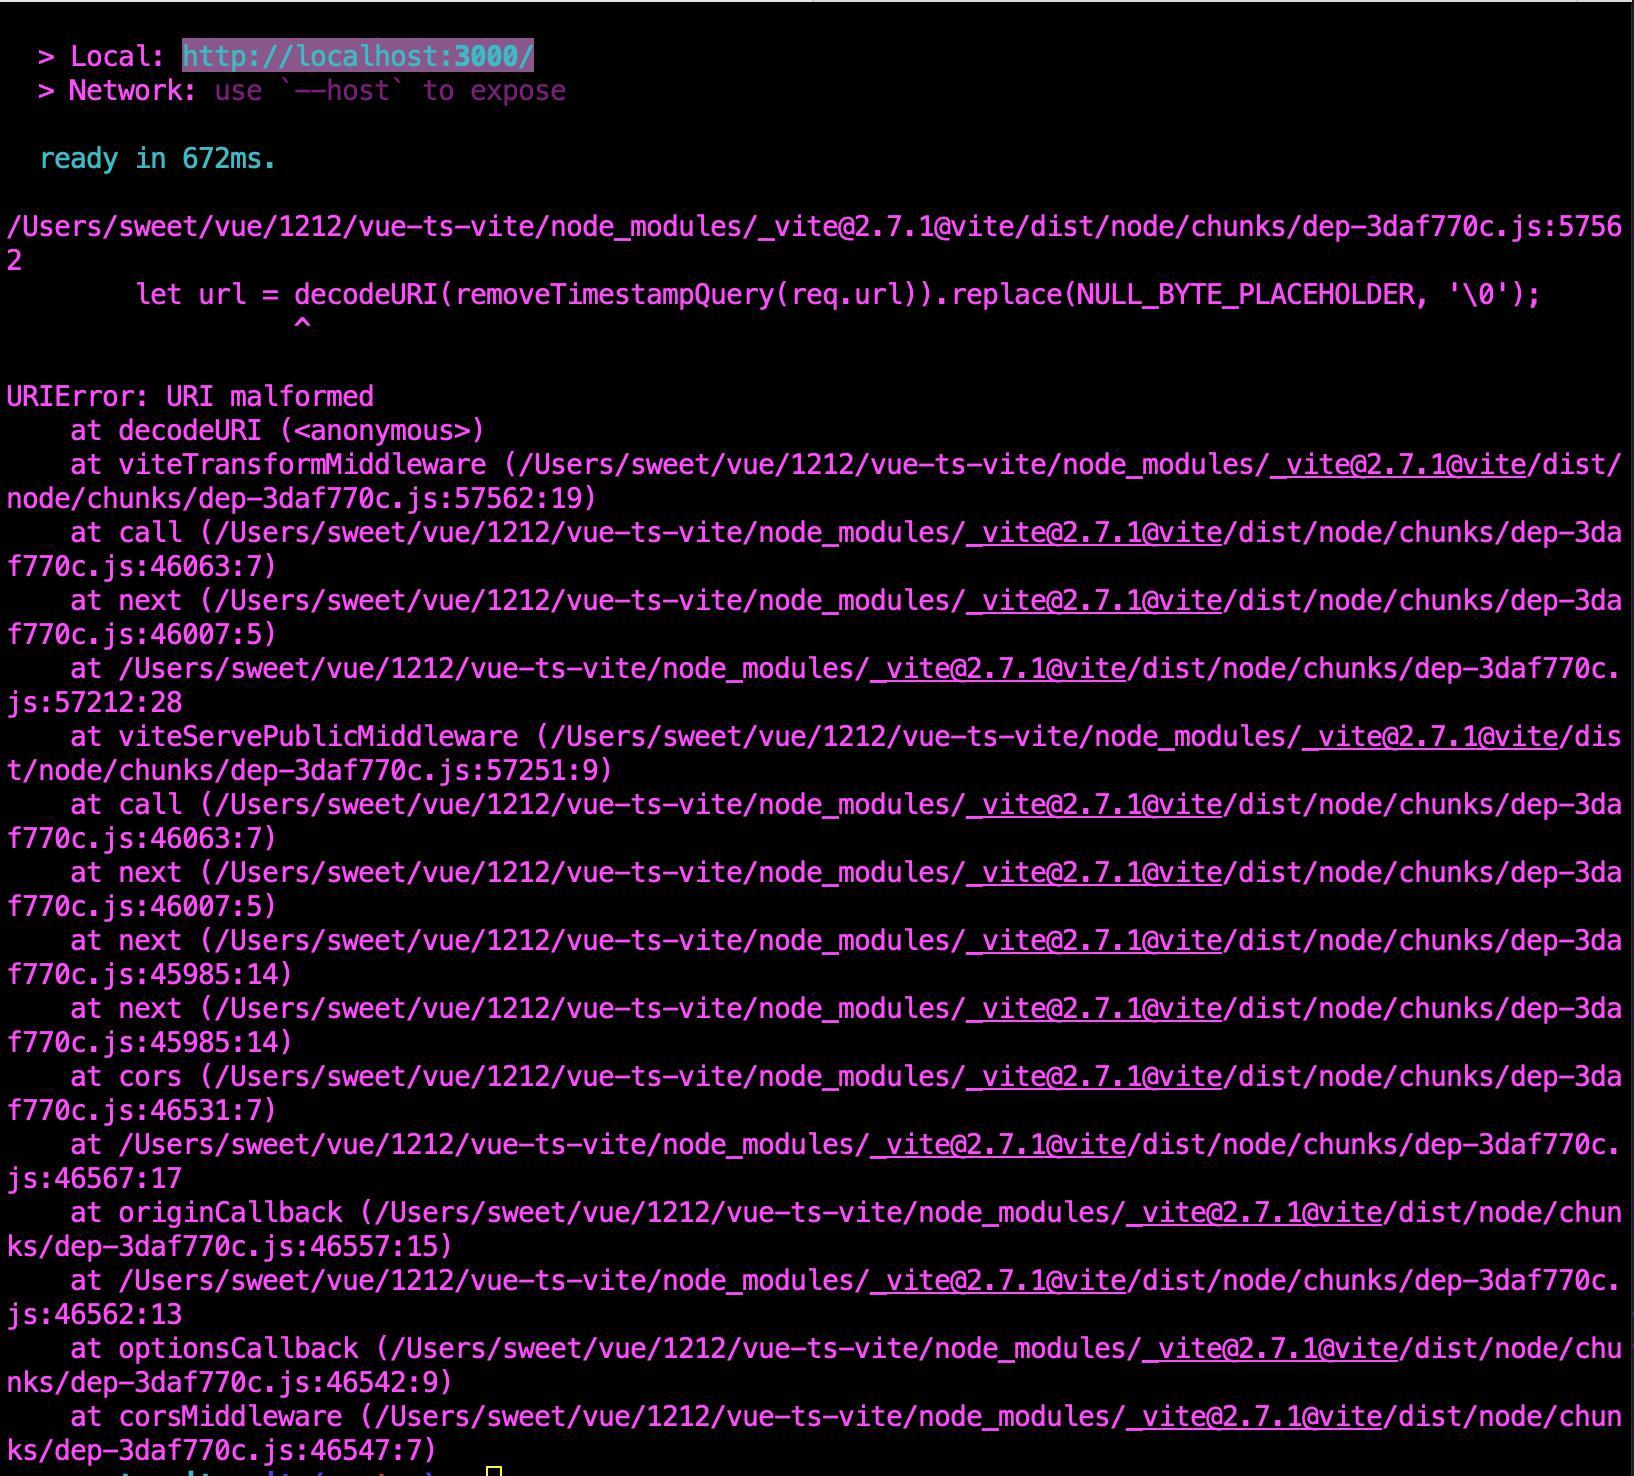
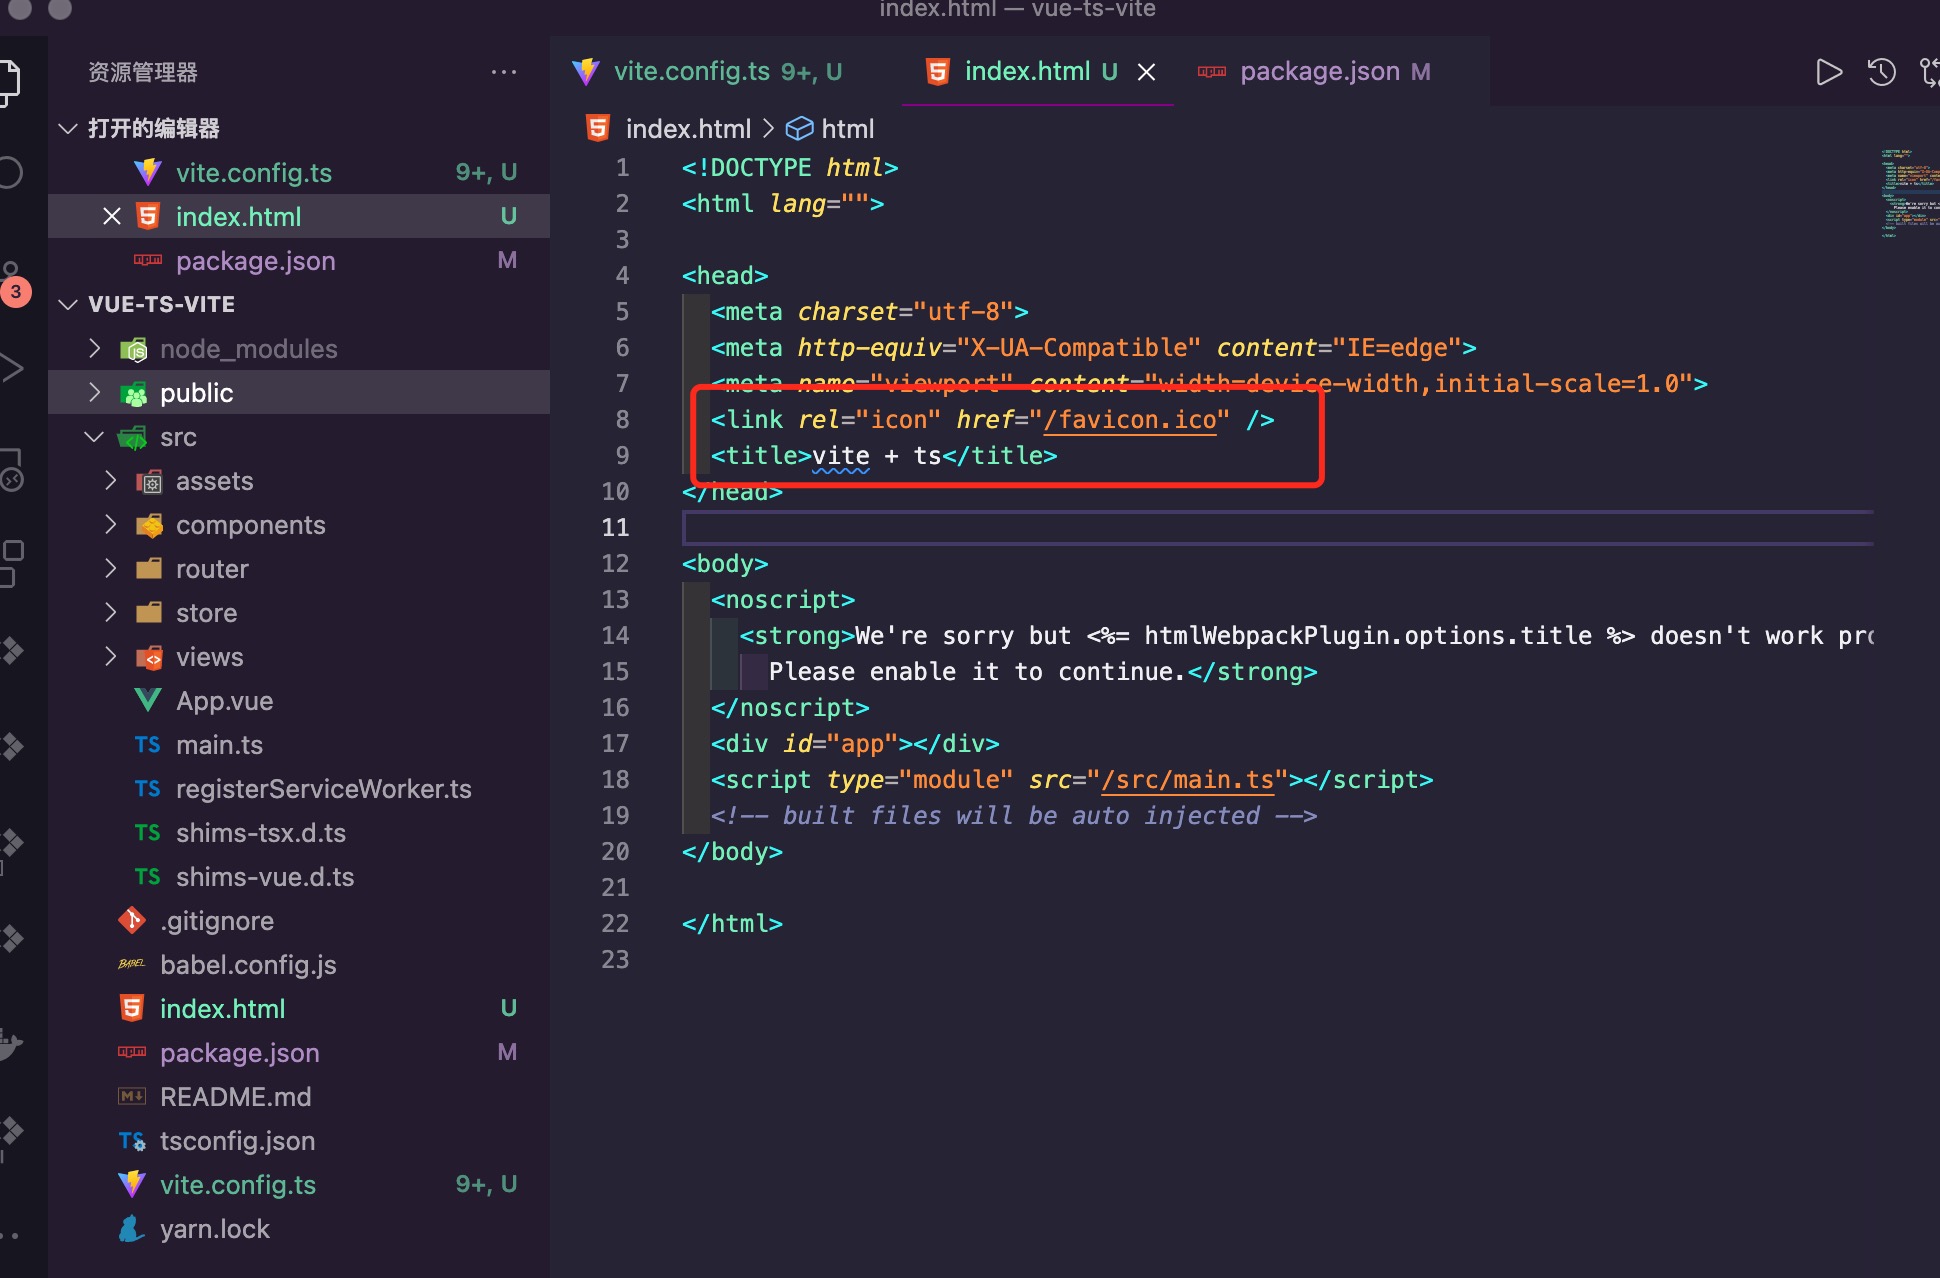
第十二步:找到对应错误信息点为index.html里面link图标地址有问题,需要改为
...
<link rel="icon" href="/favicon.ico" />
<title>vite + ts</title>
...
2
3
4
第十三步:再次执行 npm run dev, 又出现如下错误,大致问题是没有配置别名
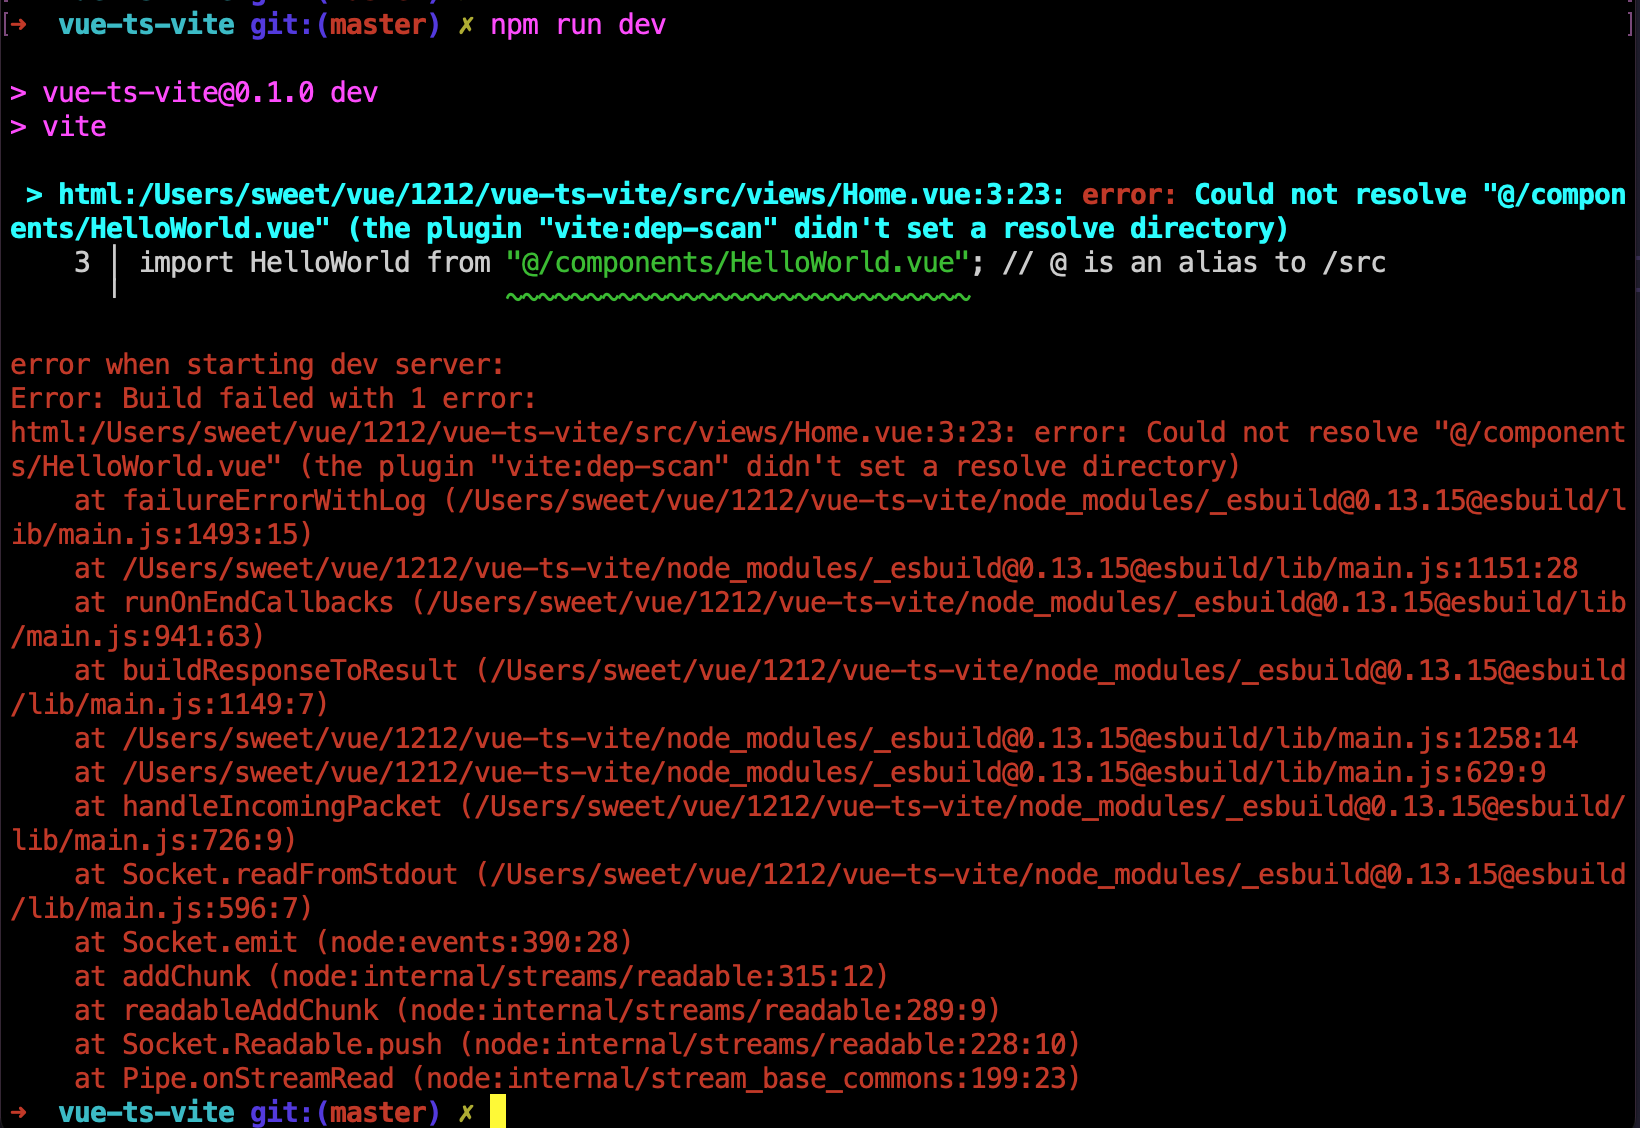
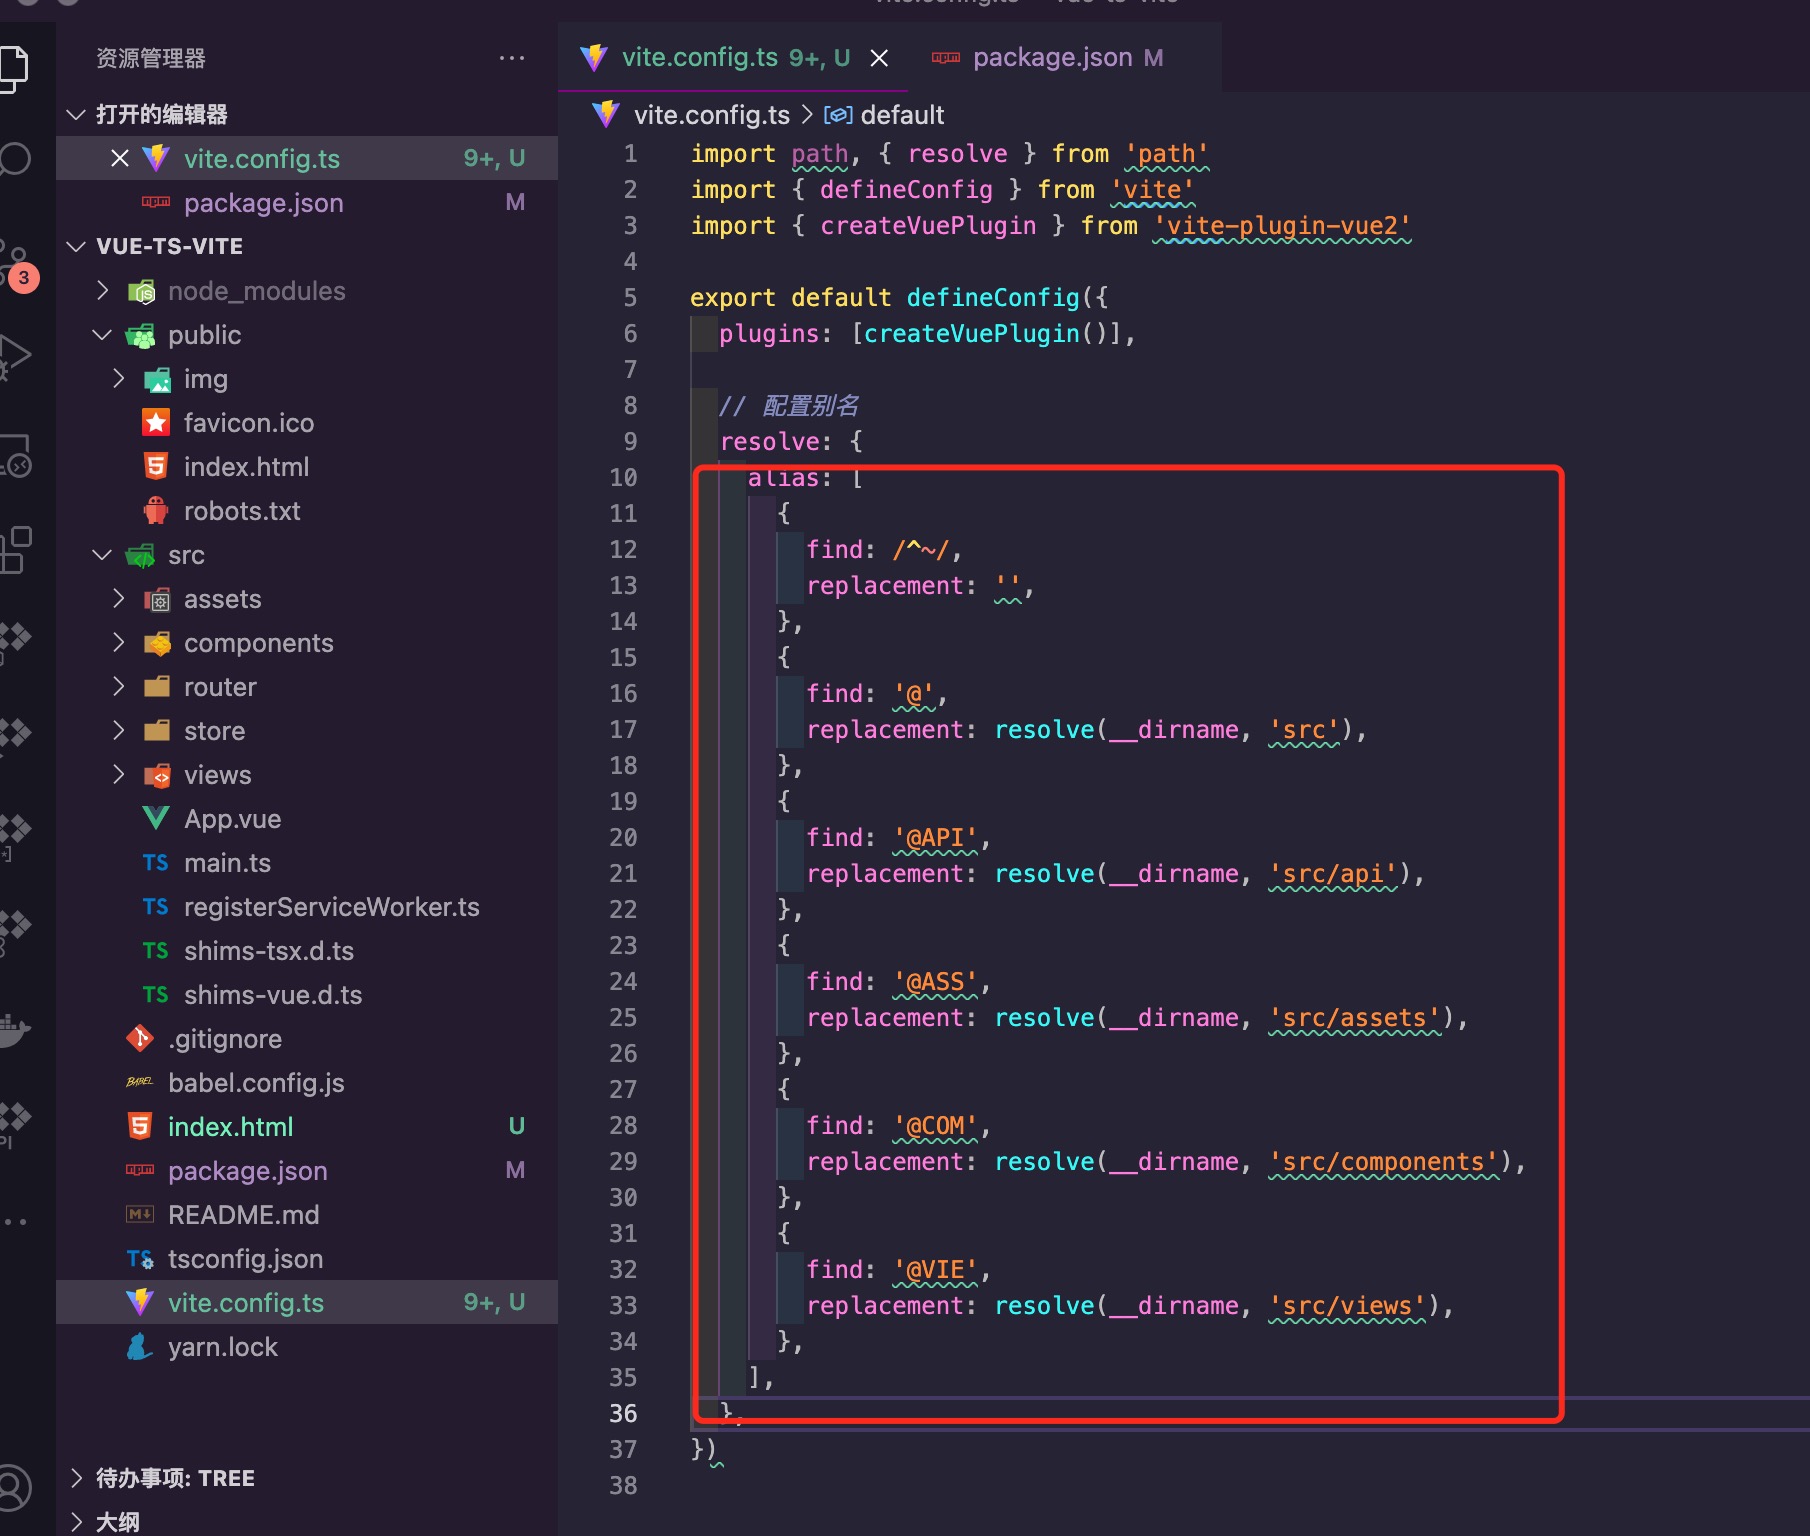
第十四步:再对vite.config.ts进行改造
import path, { resolve } from 'path'
import { defineConfig } from 'vite'
import { createVuePlugin } from 'vite-plugin-vue2'

export default defineConfig({
  plugins: [createVuePlugin()],

  // 配置别名
  resolve: {
    alias: [
      {
        find: /^~/,
        replacement: '',
      },
      {
        find: '@',
        replacement: resolve(__dirname, 'src'),
      },
      {
        find: '@API',
        replacement: resolve(__dirname, 'src/api'),
      },
      {
        find: '@ASS',
        replacement: resolve(__dirname, 'src/assets'),
      },
      {
        find: '@COM',
        replacement: resolve(__dirname, 'src/components'),
      },
      {
        find: '@VIE',
        replacement: resolve(__dirname, 'src/views'),
      },
    ],
  },
})
2
3
4
5
6
7
8
9
10
11
12
13
14
15
16
17
18
19
20
21
22
23
24
25
26
27
28
29
30
31
32
33
34
35
36
37
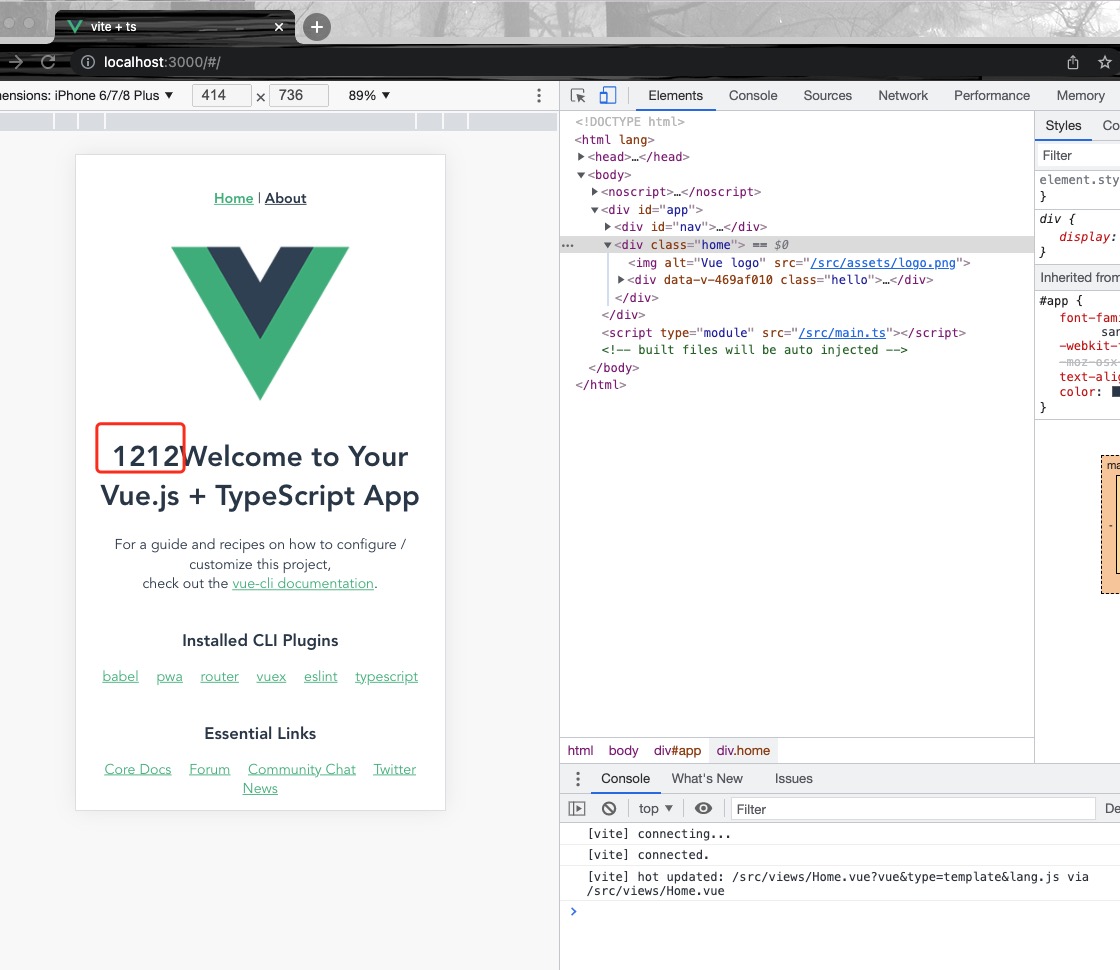
第十五步:再执行 npm run dev, 发现项目正常run 了,默认端口号为localhost:3000 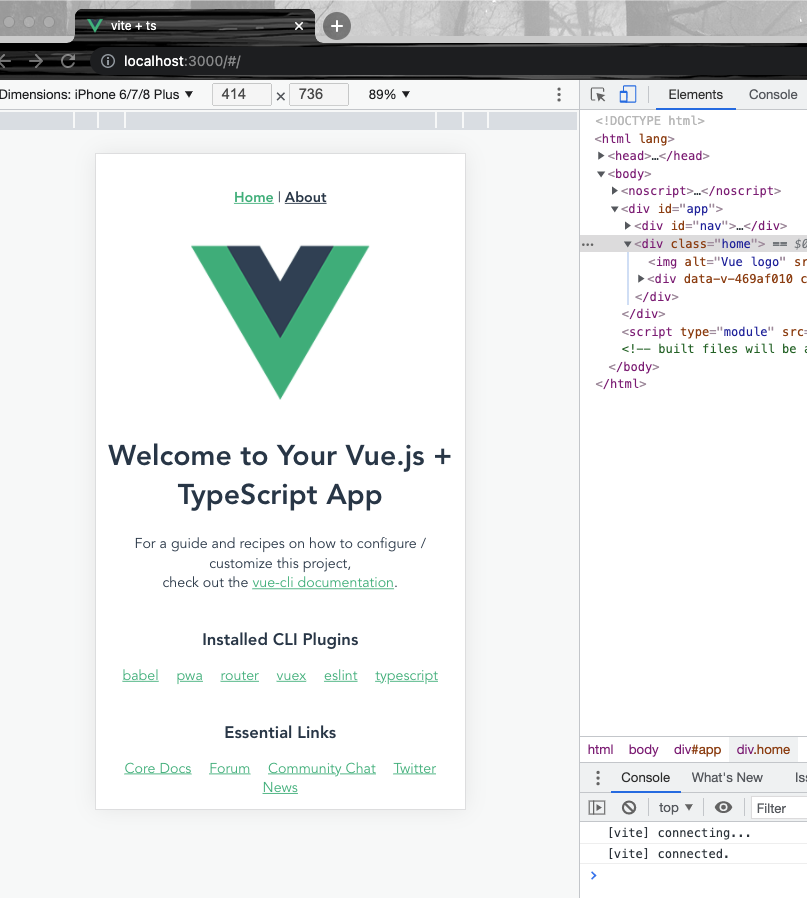
第十六步:为了确保是正常的逻辑,修改一下相关字段
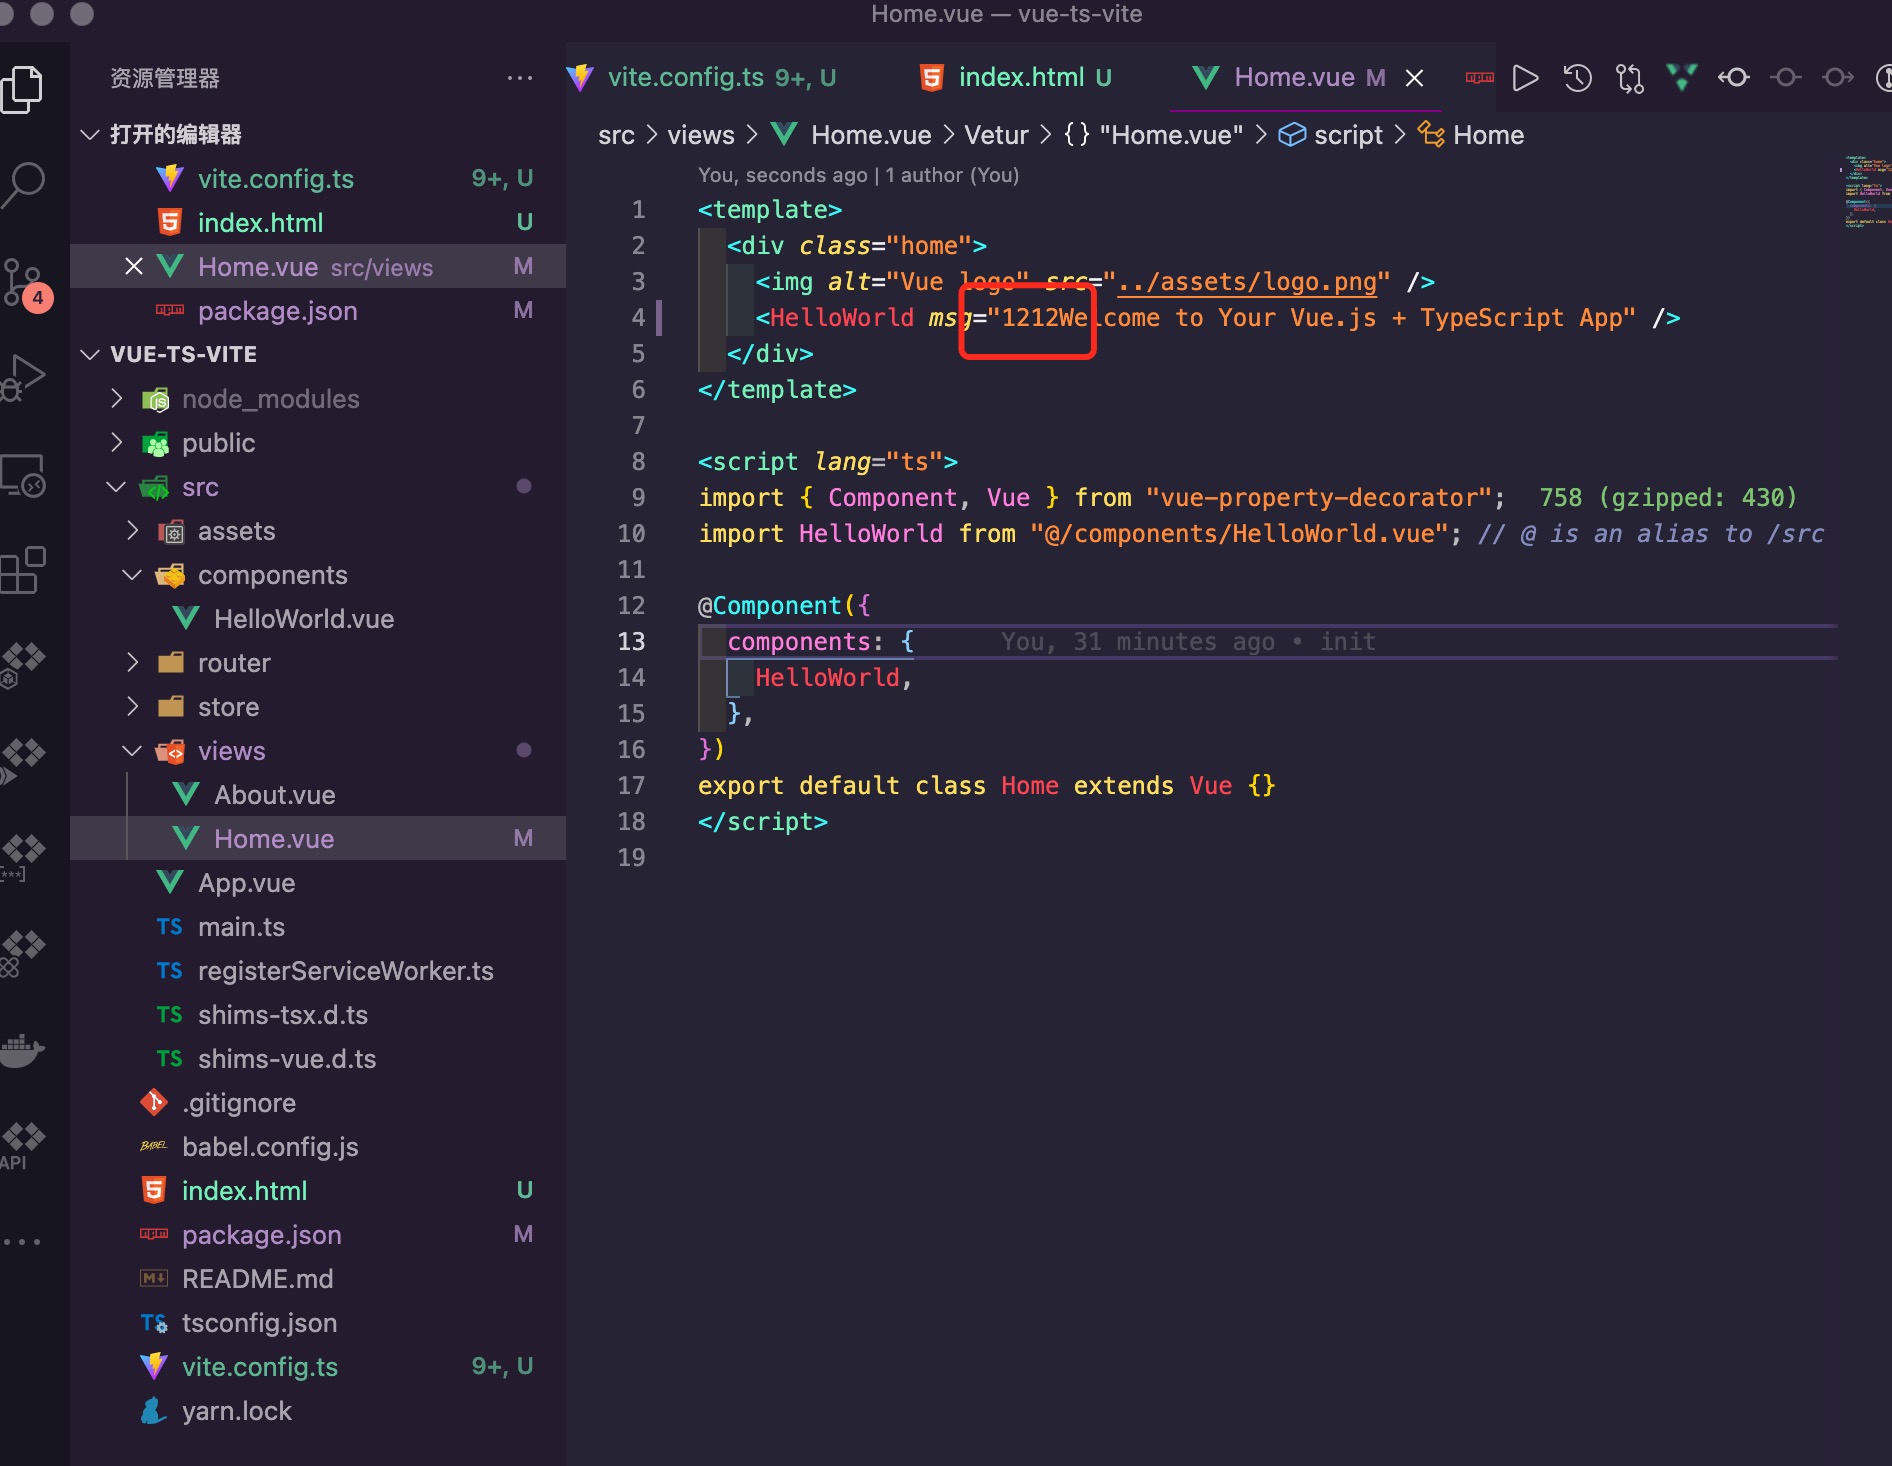
第十七步:保存后,目标地址也进行相应的修改
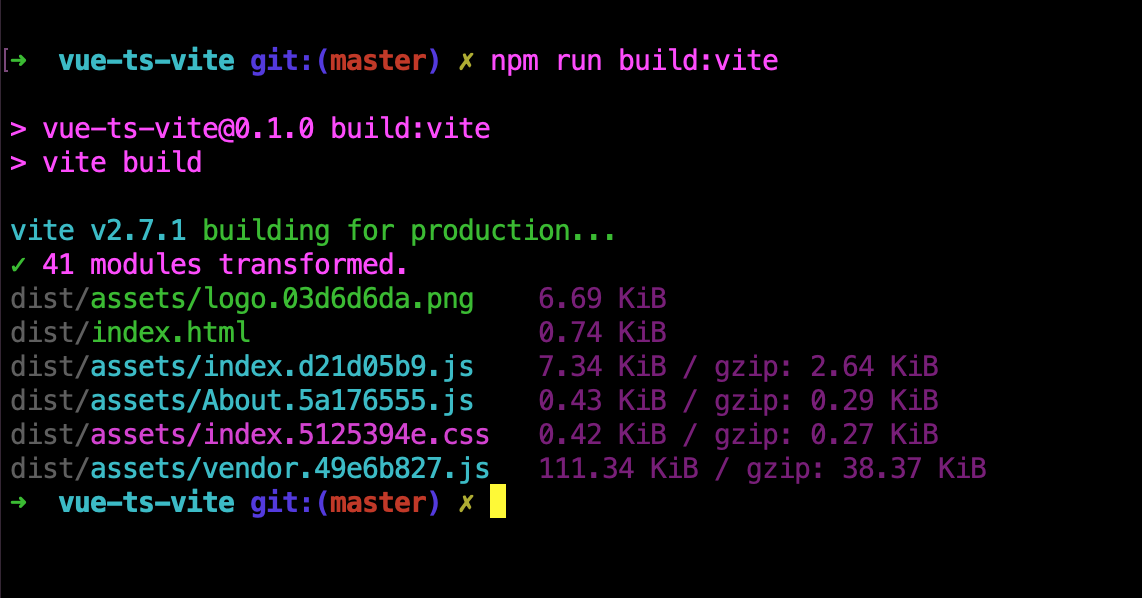
第十八步:现模拟部署到远端服务器,执行 npm run build:vite,生成相关dist文件
第十九步:执行 cd dist , 再输入 http-server -c-1, 浏览器打开对应端口 localhost:8081 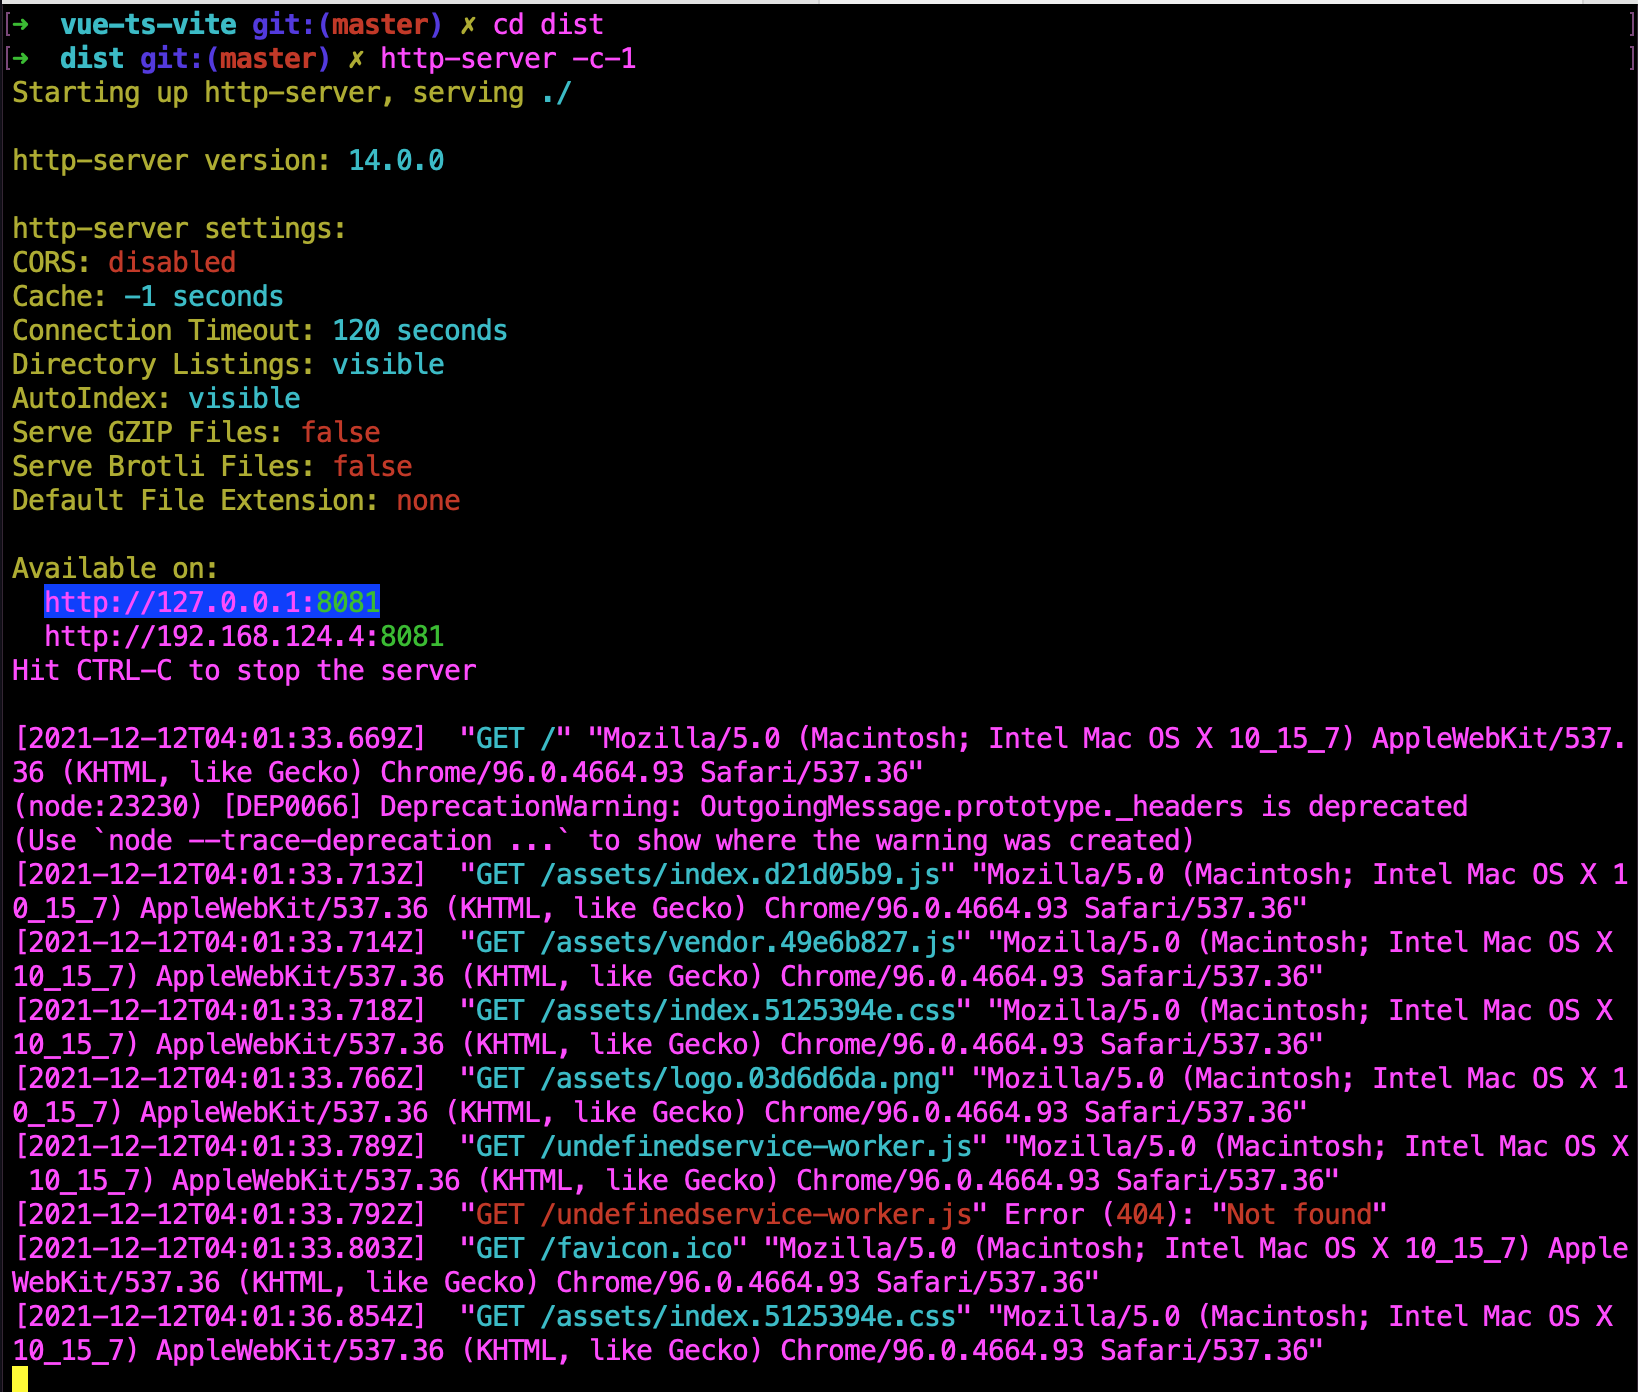
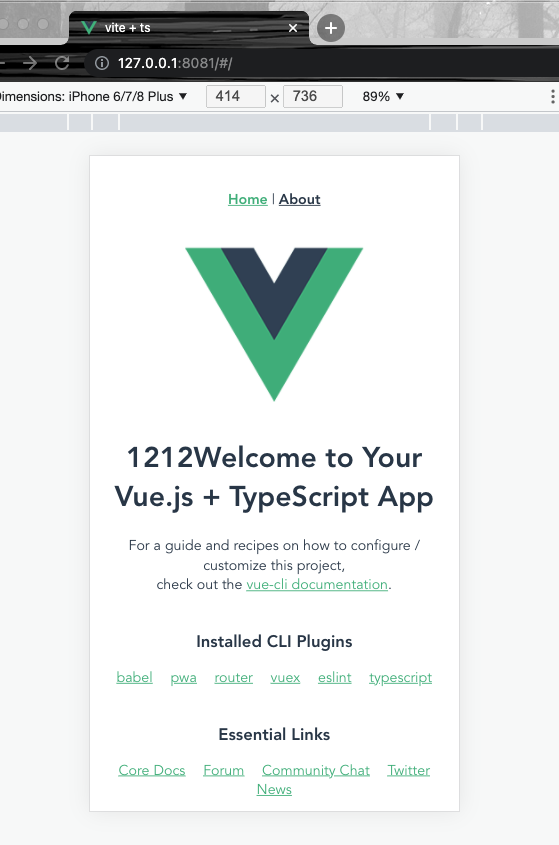
第二十步:在浏览器上查看对应地址,发现与本地跑起的app一样的页面,这样大功告成!!!
# 3.2 手写一个vite
以下将实现一个简易版的vite
首先要解决的问题:
1、引入第三方库,比如vue
2、css 支持,把css 转化为js 代码方式,利用js添加一个style标签
3、文件.vue支持,SFC(单文件组件的支持)
4、文件.ts支持,JSX(react)语法糖
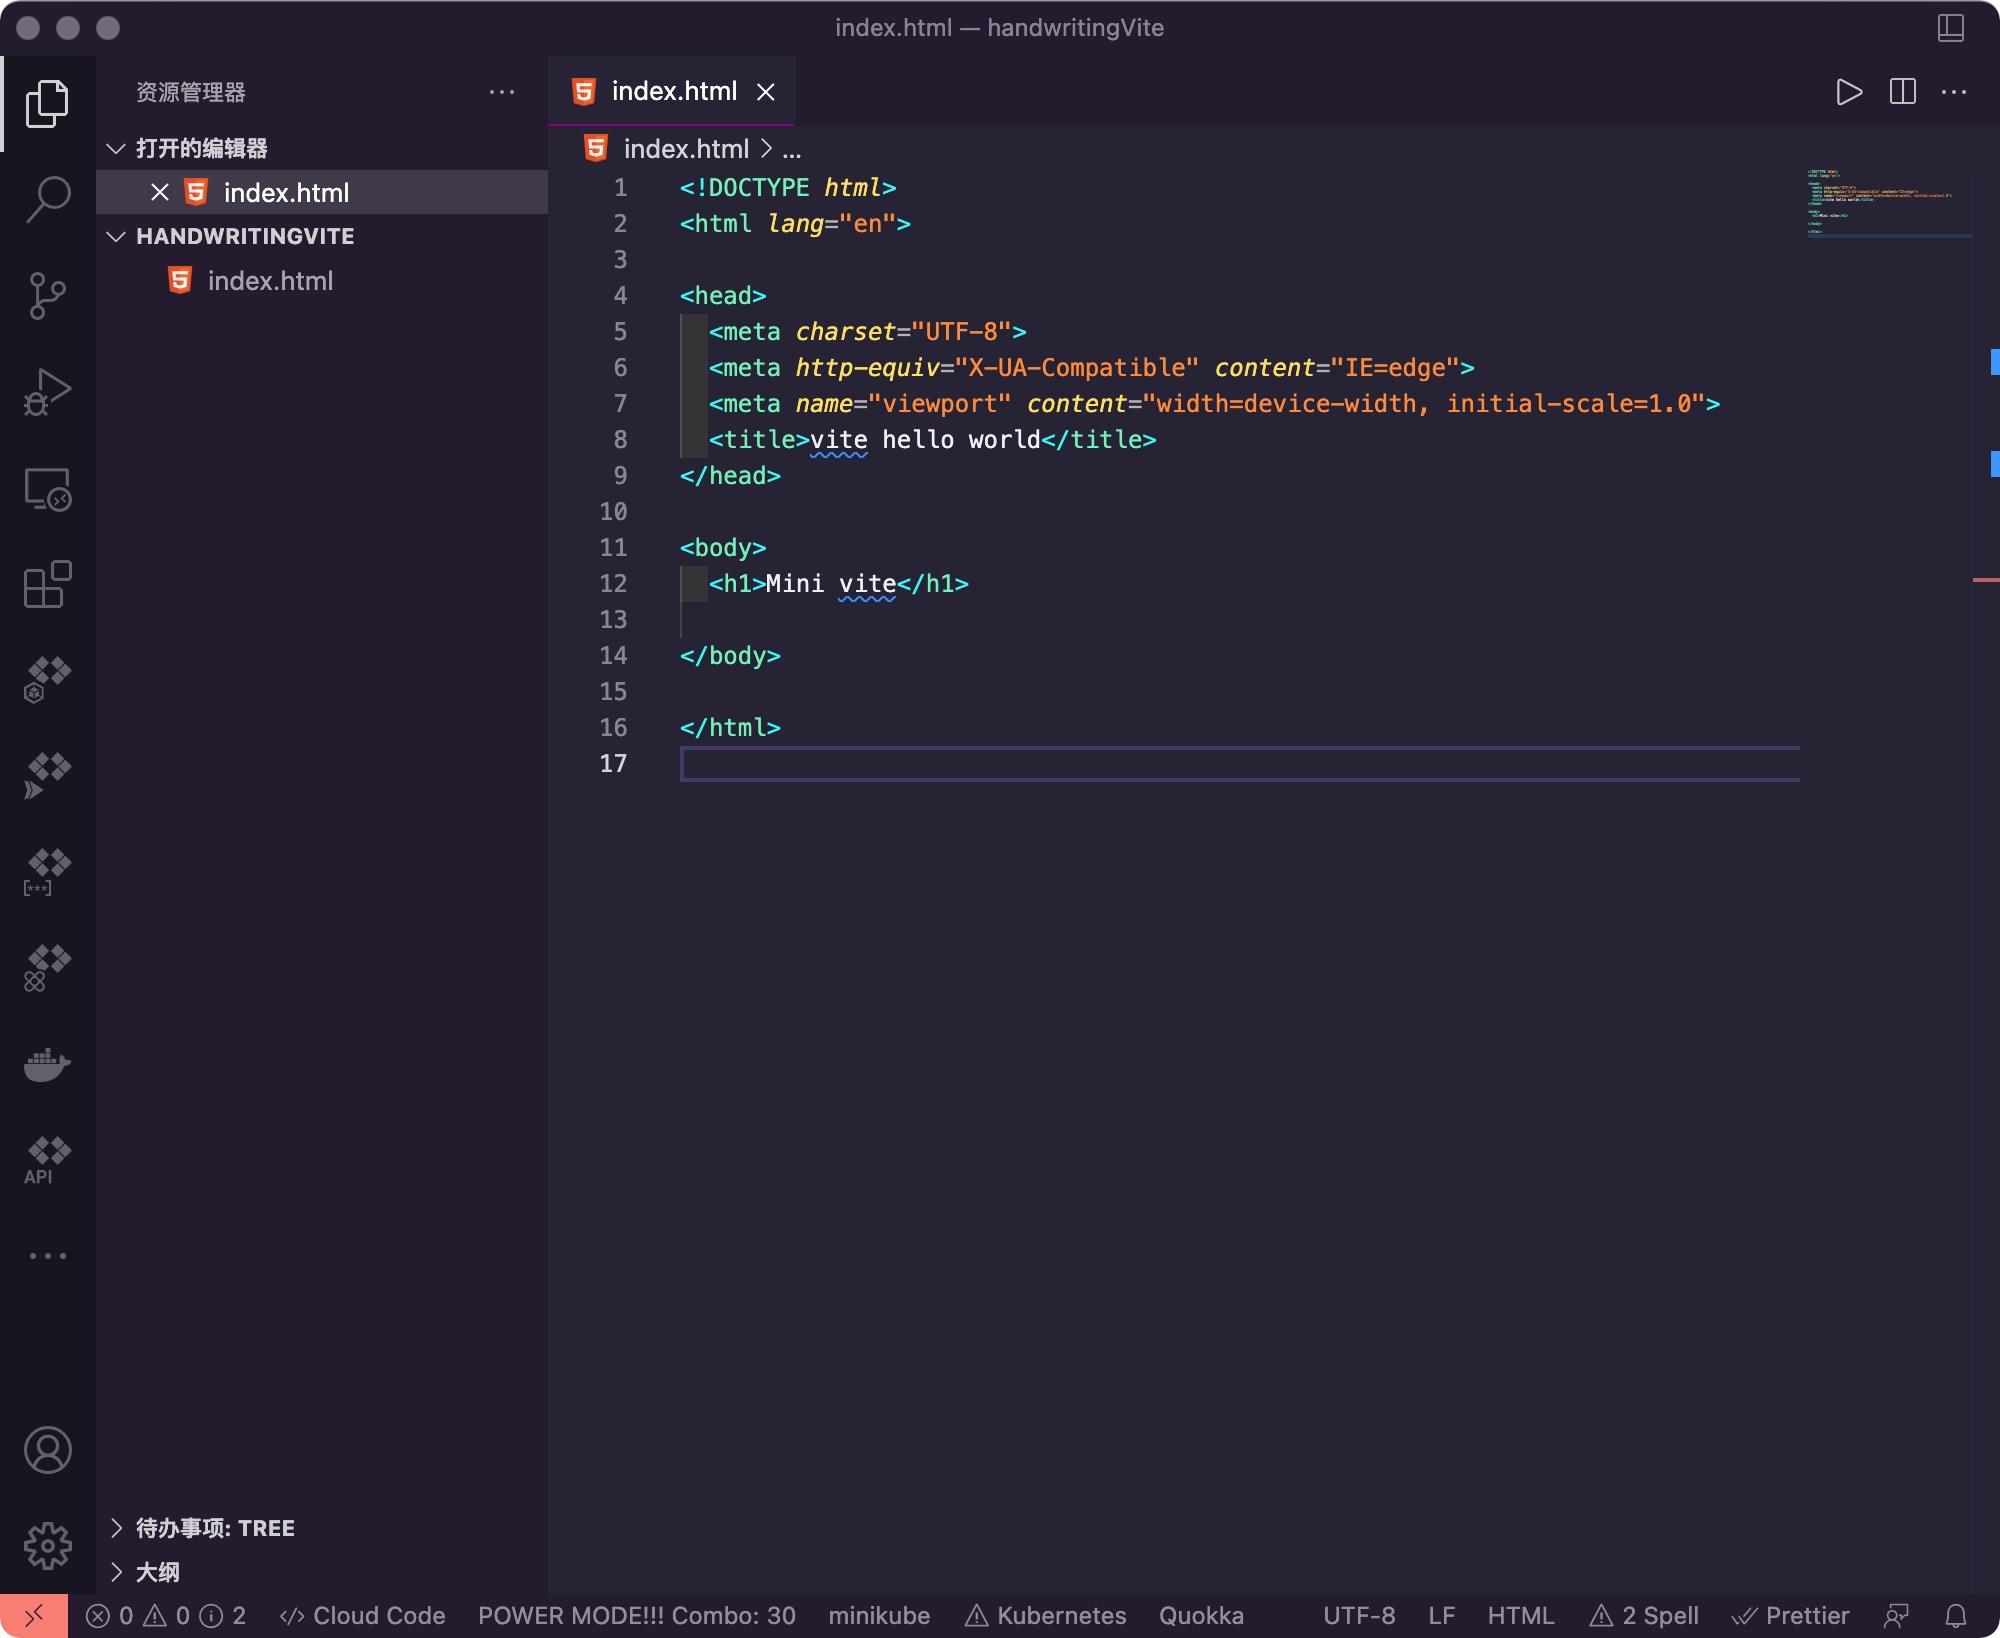
第一步:新建一个handwritingVite项目,再新建一个index.html文件,改造一下基本内容
...
<!DOCTYPE html>
<html lang="en">

<head>
...
  <title>vite hello world</title>
...
</head>

<body>
...
  <h1>Mini vite</h1>
...
</body>

</html>
2
3
4
5
6
7
8
9
10
11
12
13
14
15
16
17
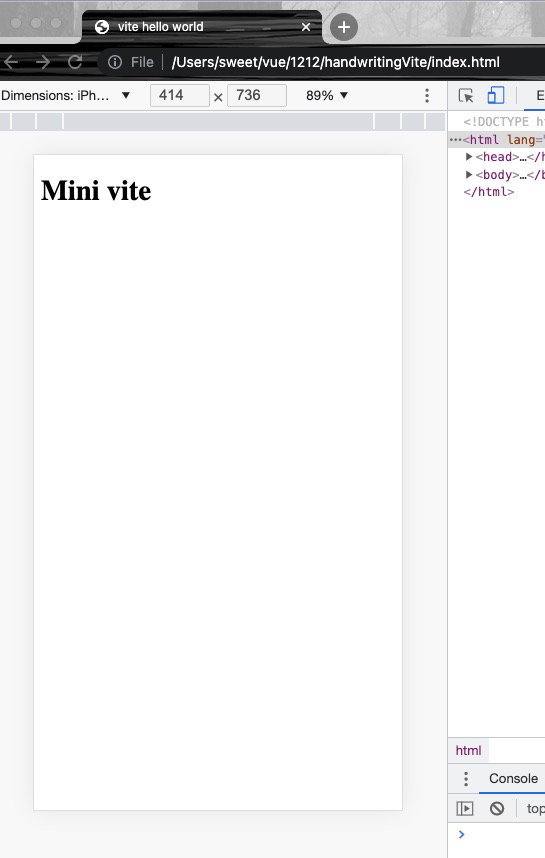
第二步:查看文件index.html
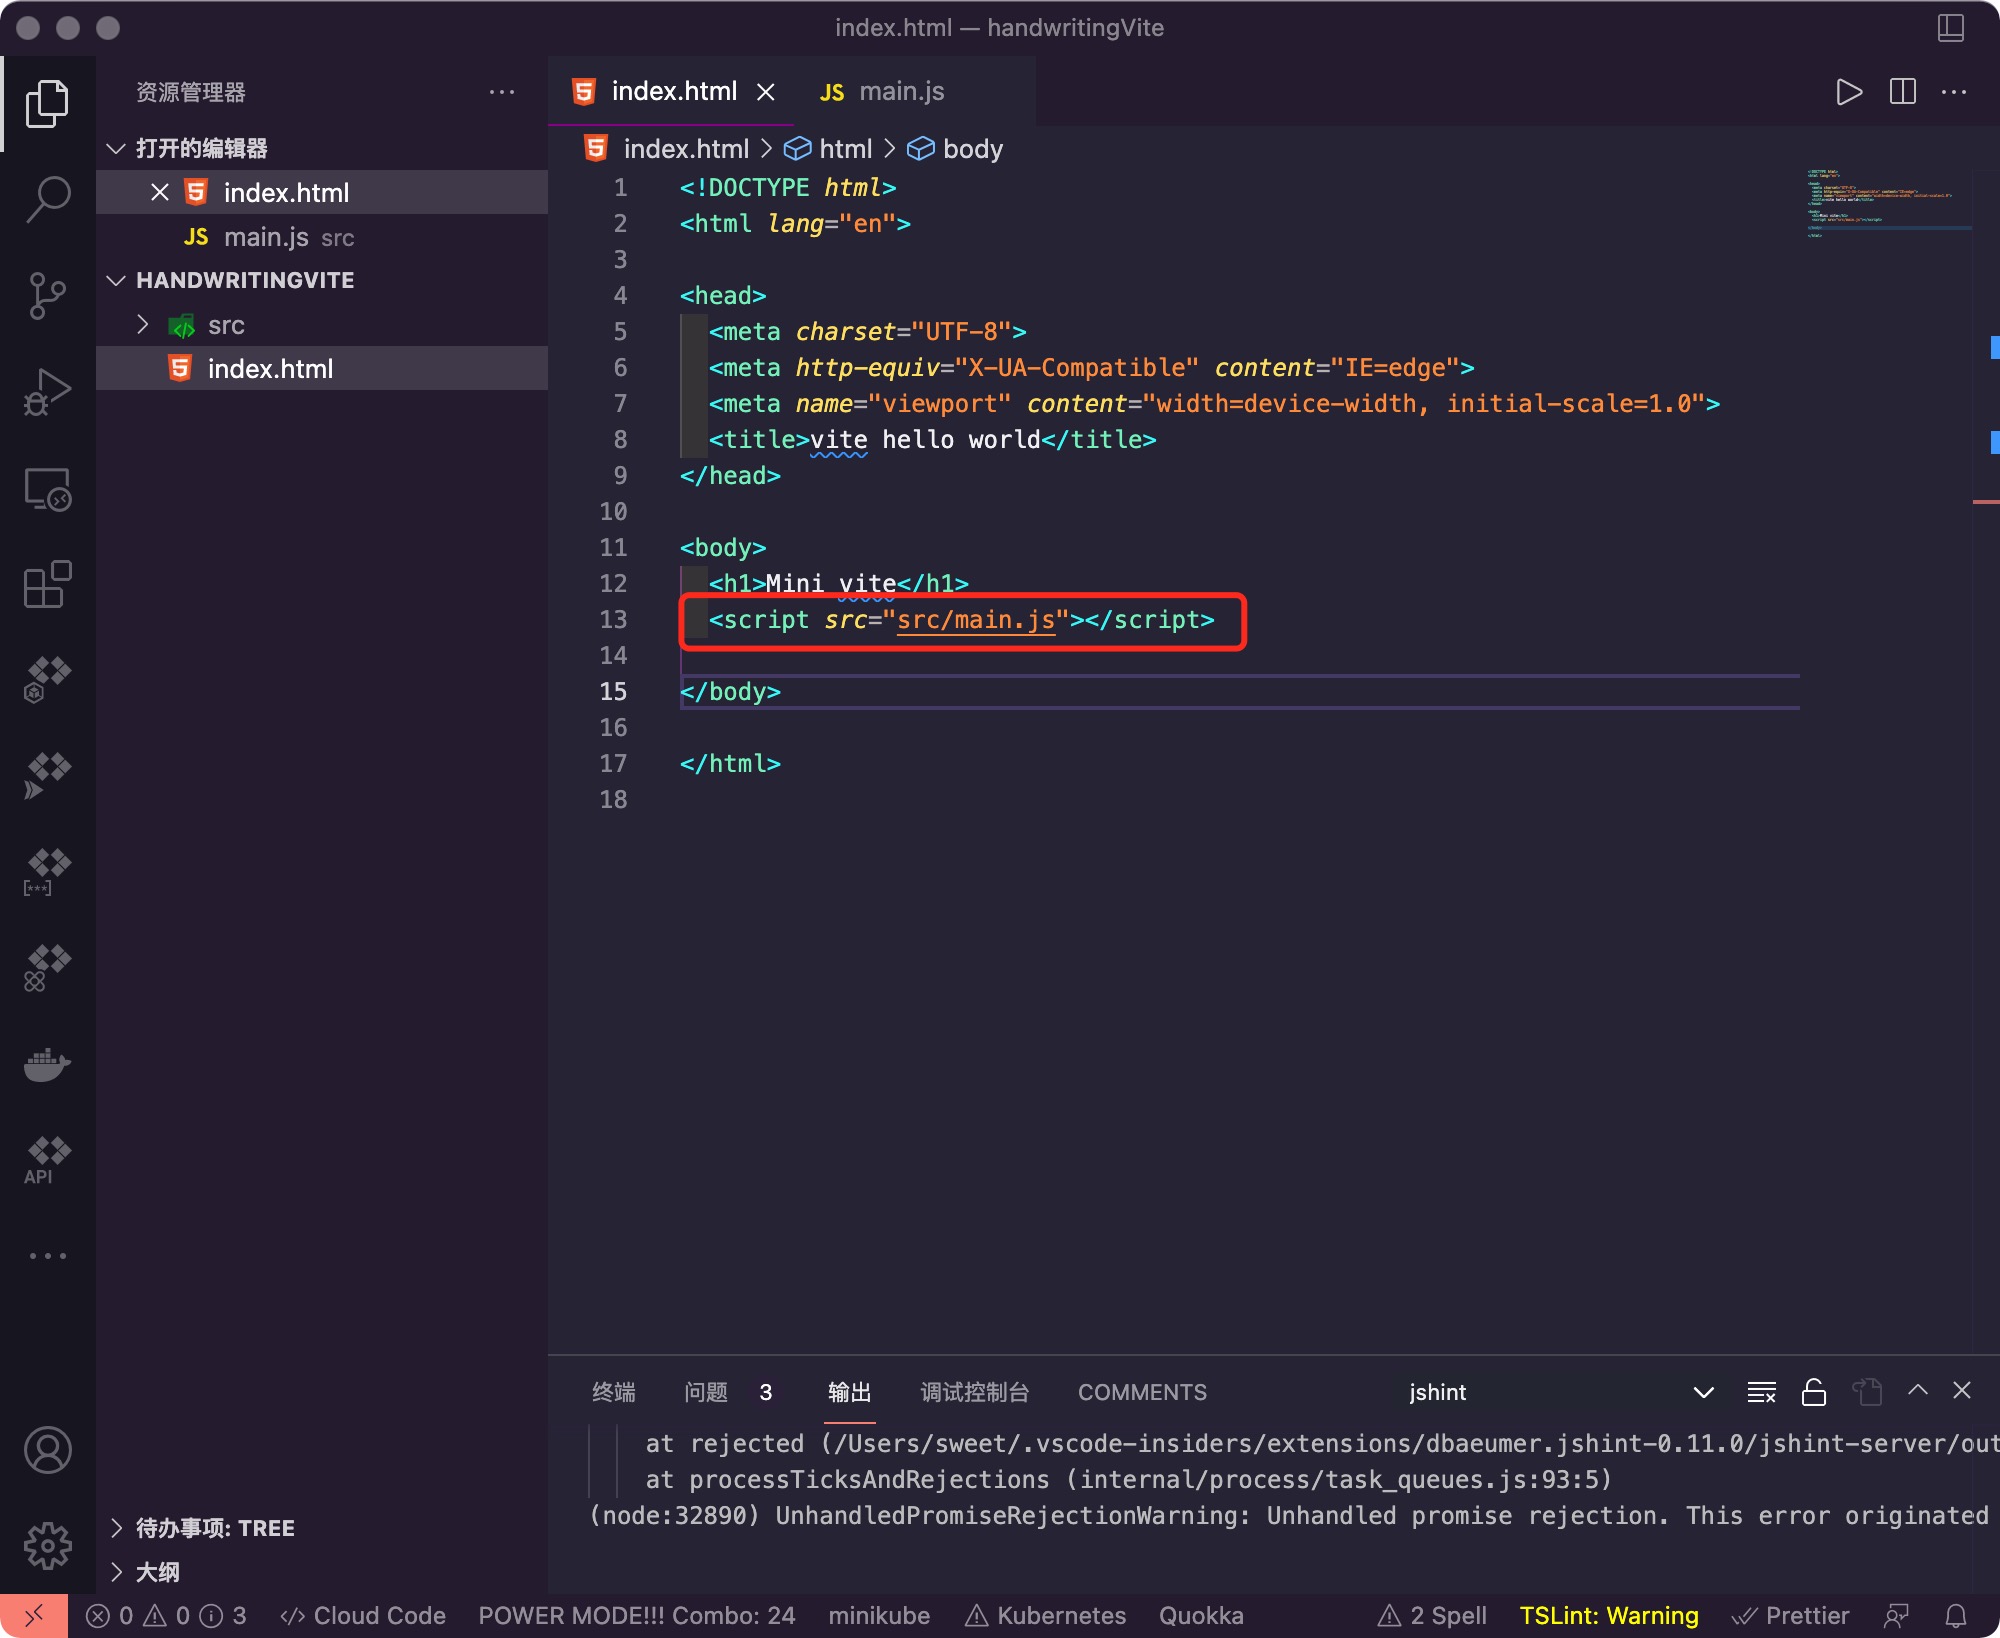
第三步:查看文件index.html
...
<body>
...
  <script src="src/main.js"></script>
...
</body>
...
</html>
2
3
4
5
6
7
8
9
第四步:新增src/main.js
...
console.info('vite:' + 'hello world')
...
2
3
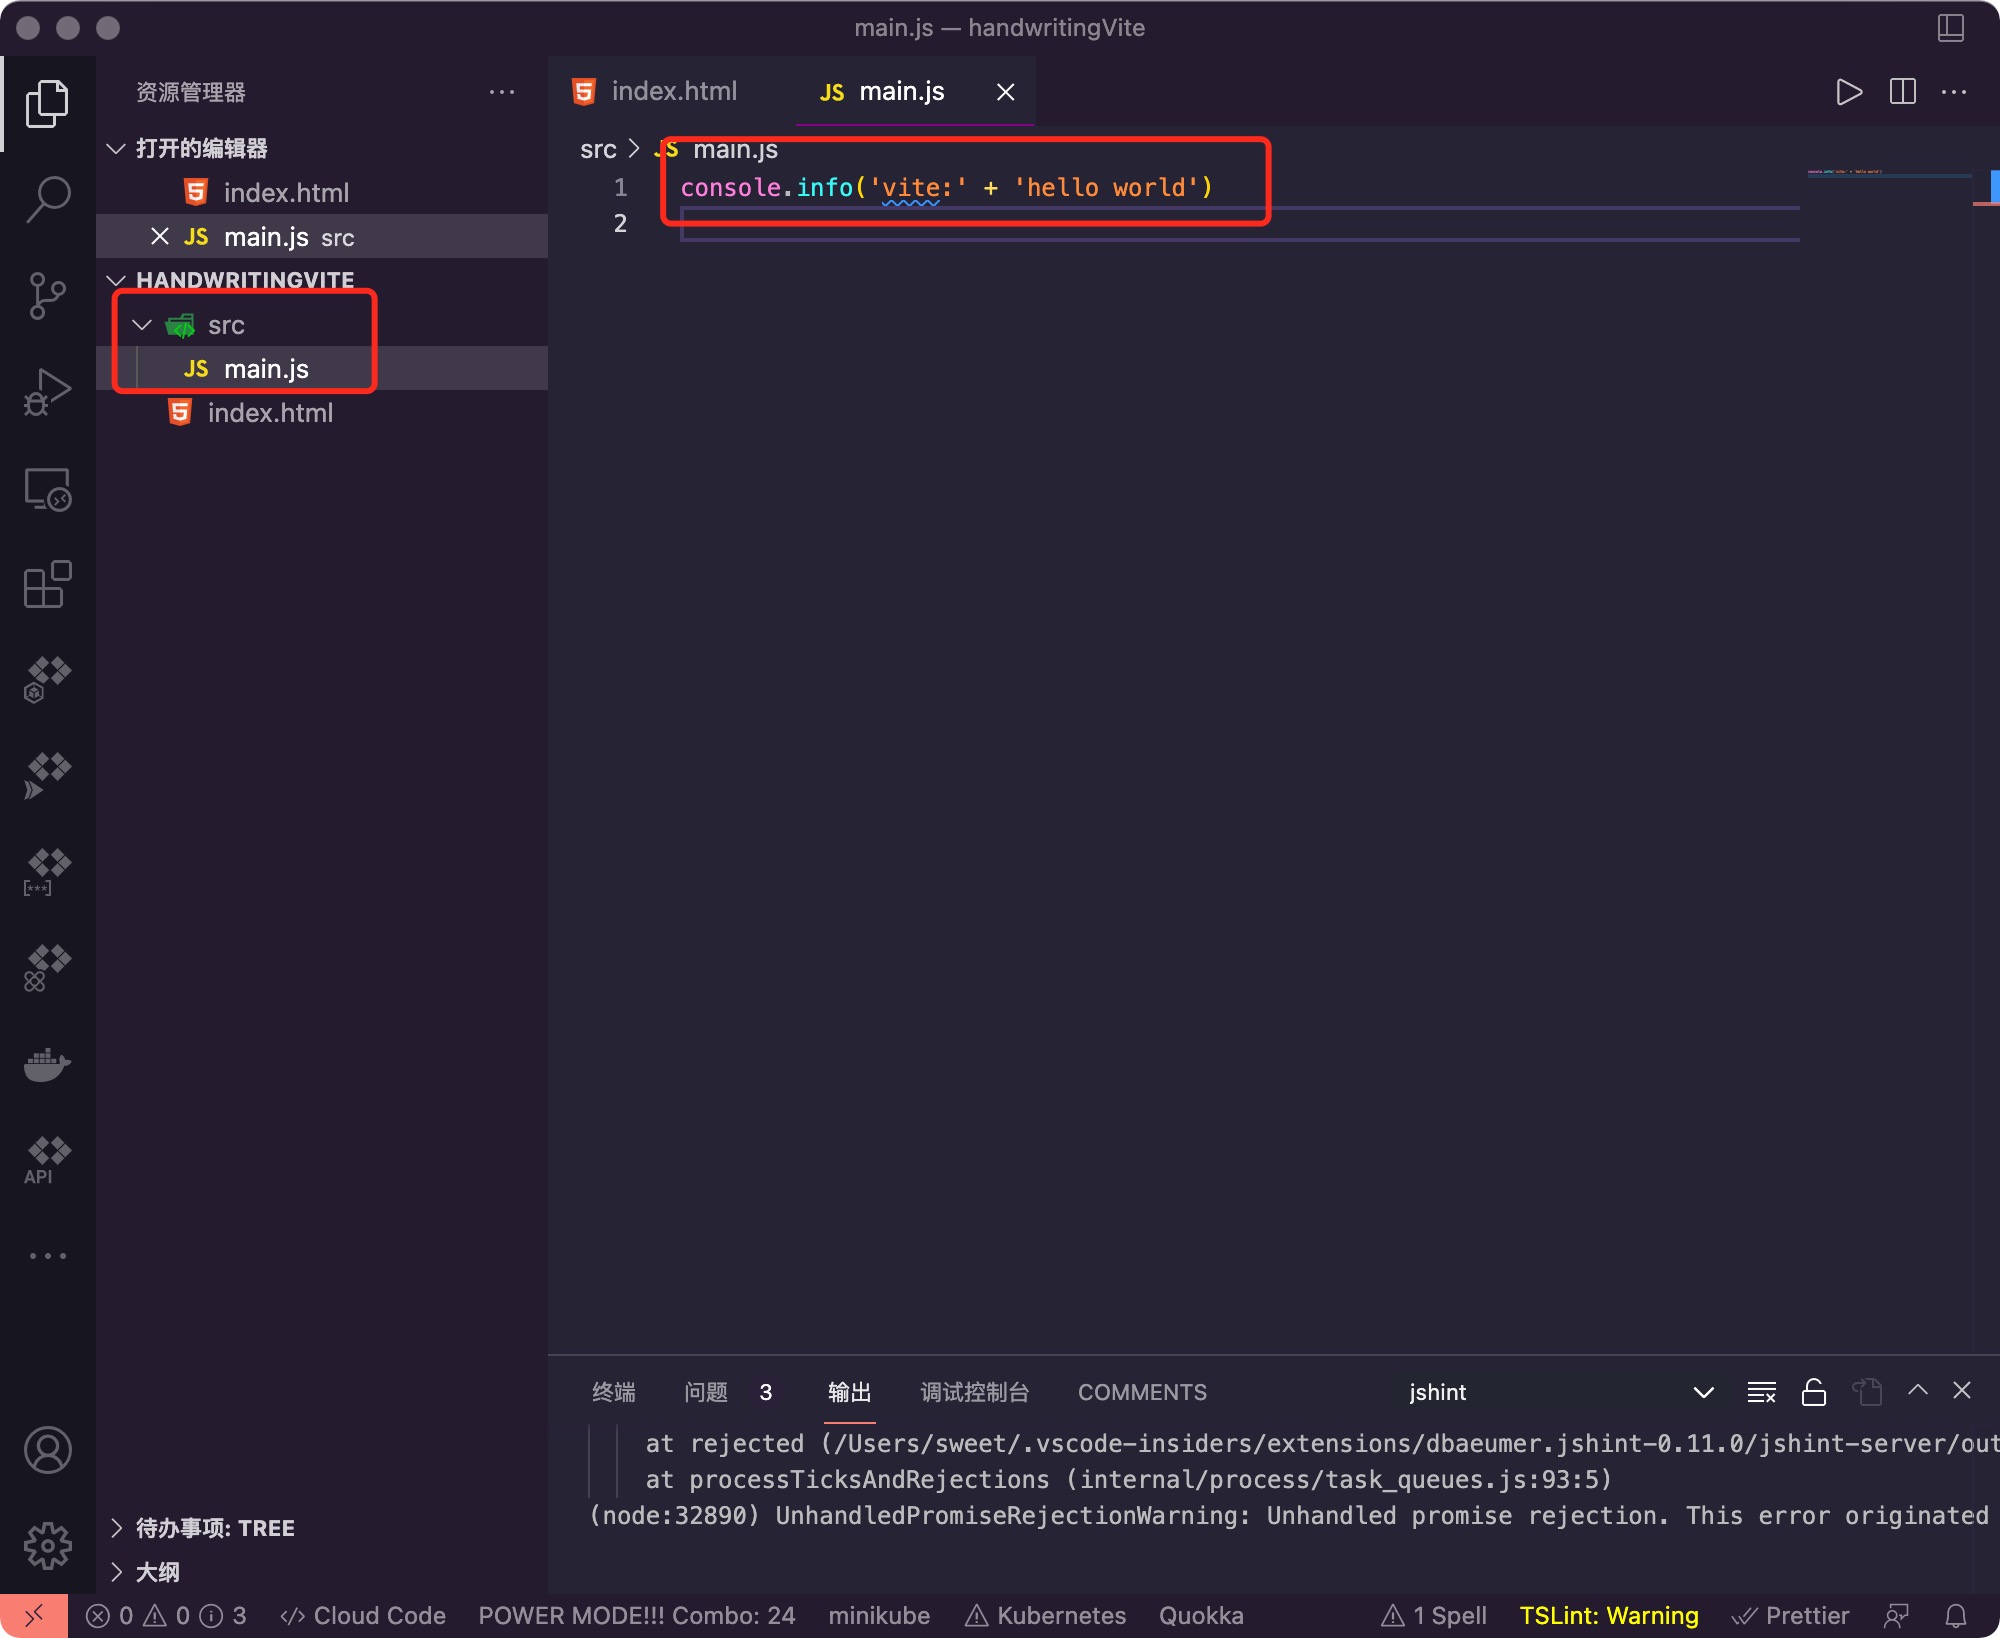
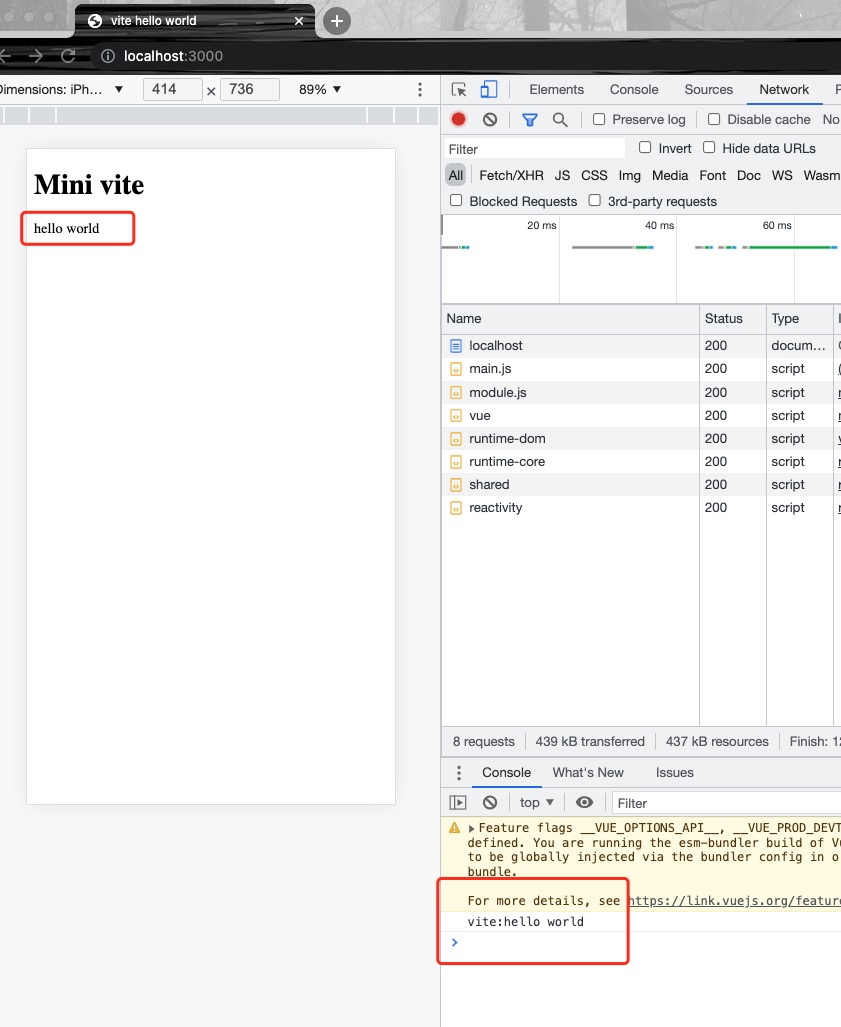
第五步:刷新当前页面,console下面输出vite:hello world 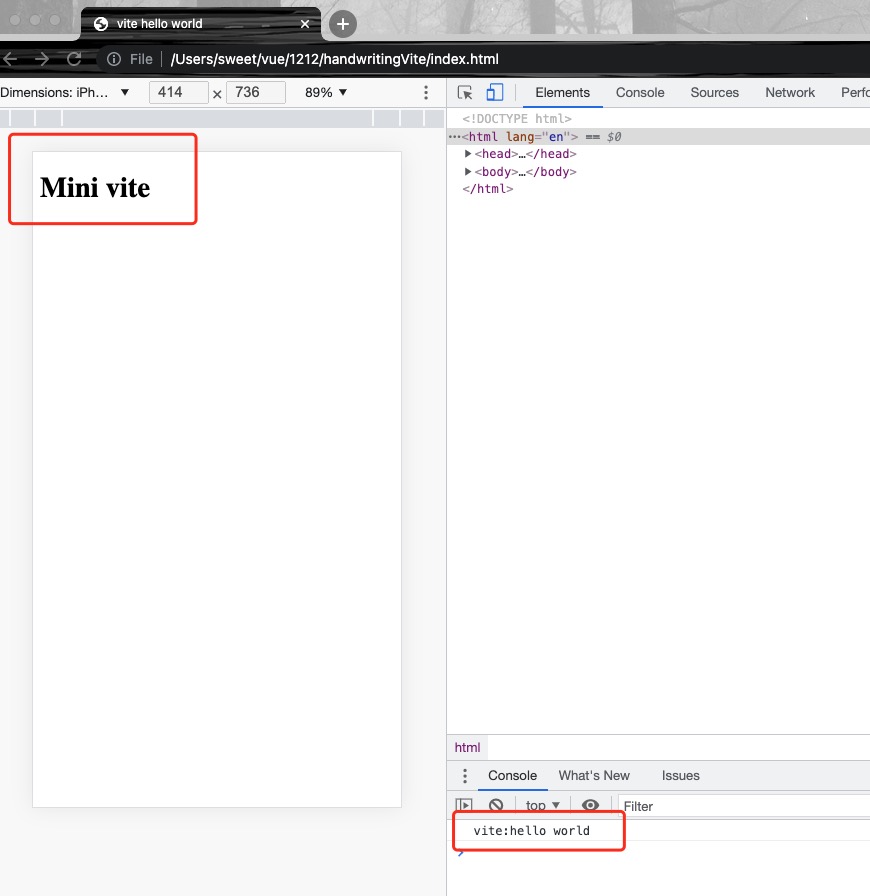
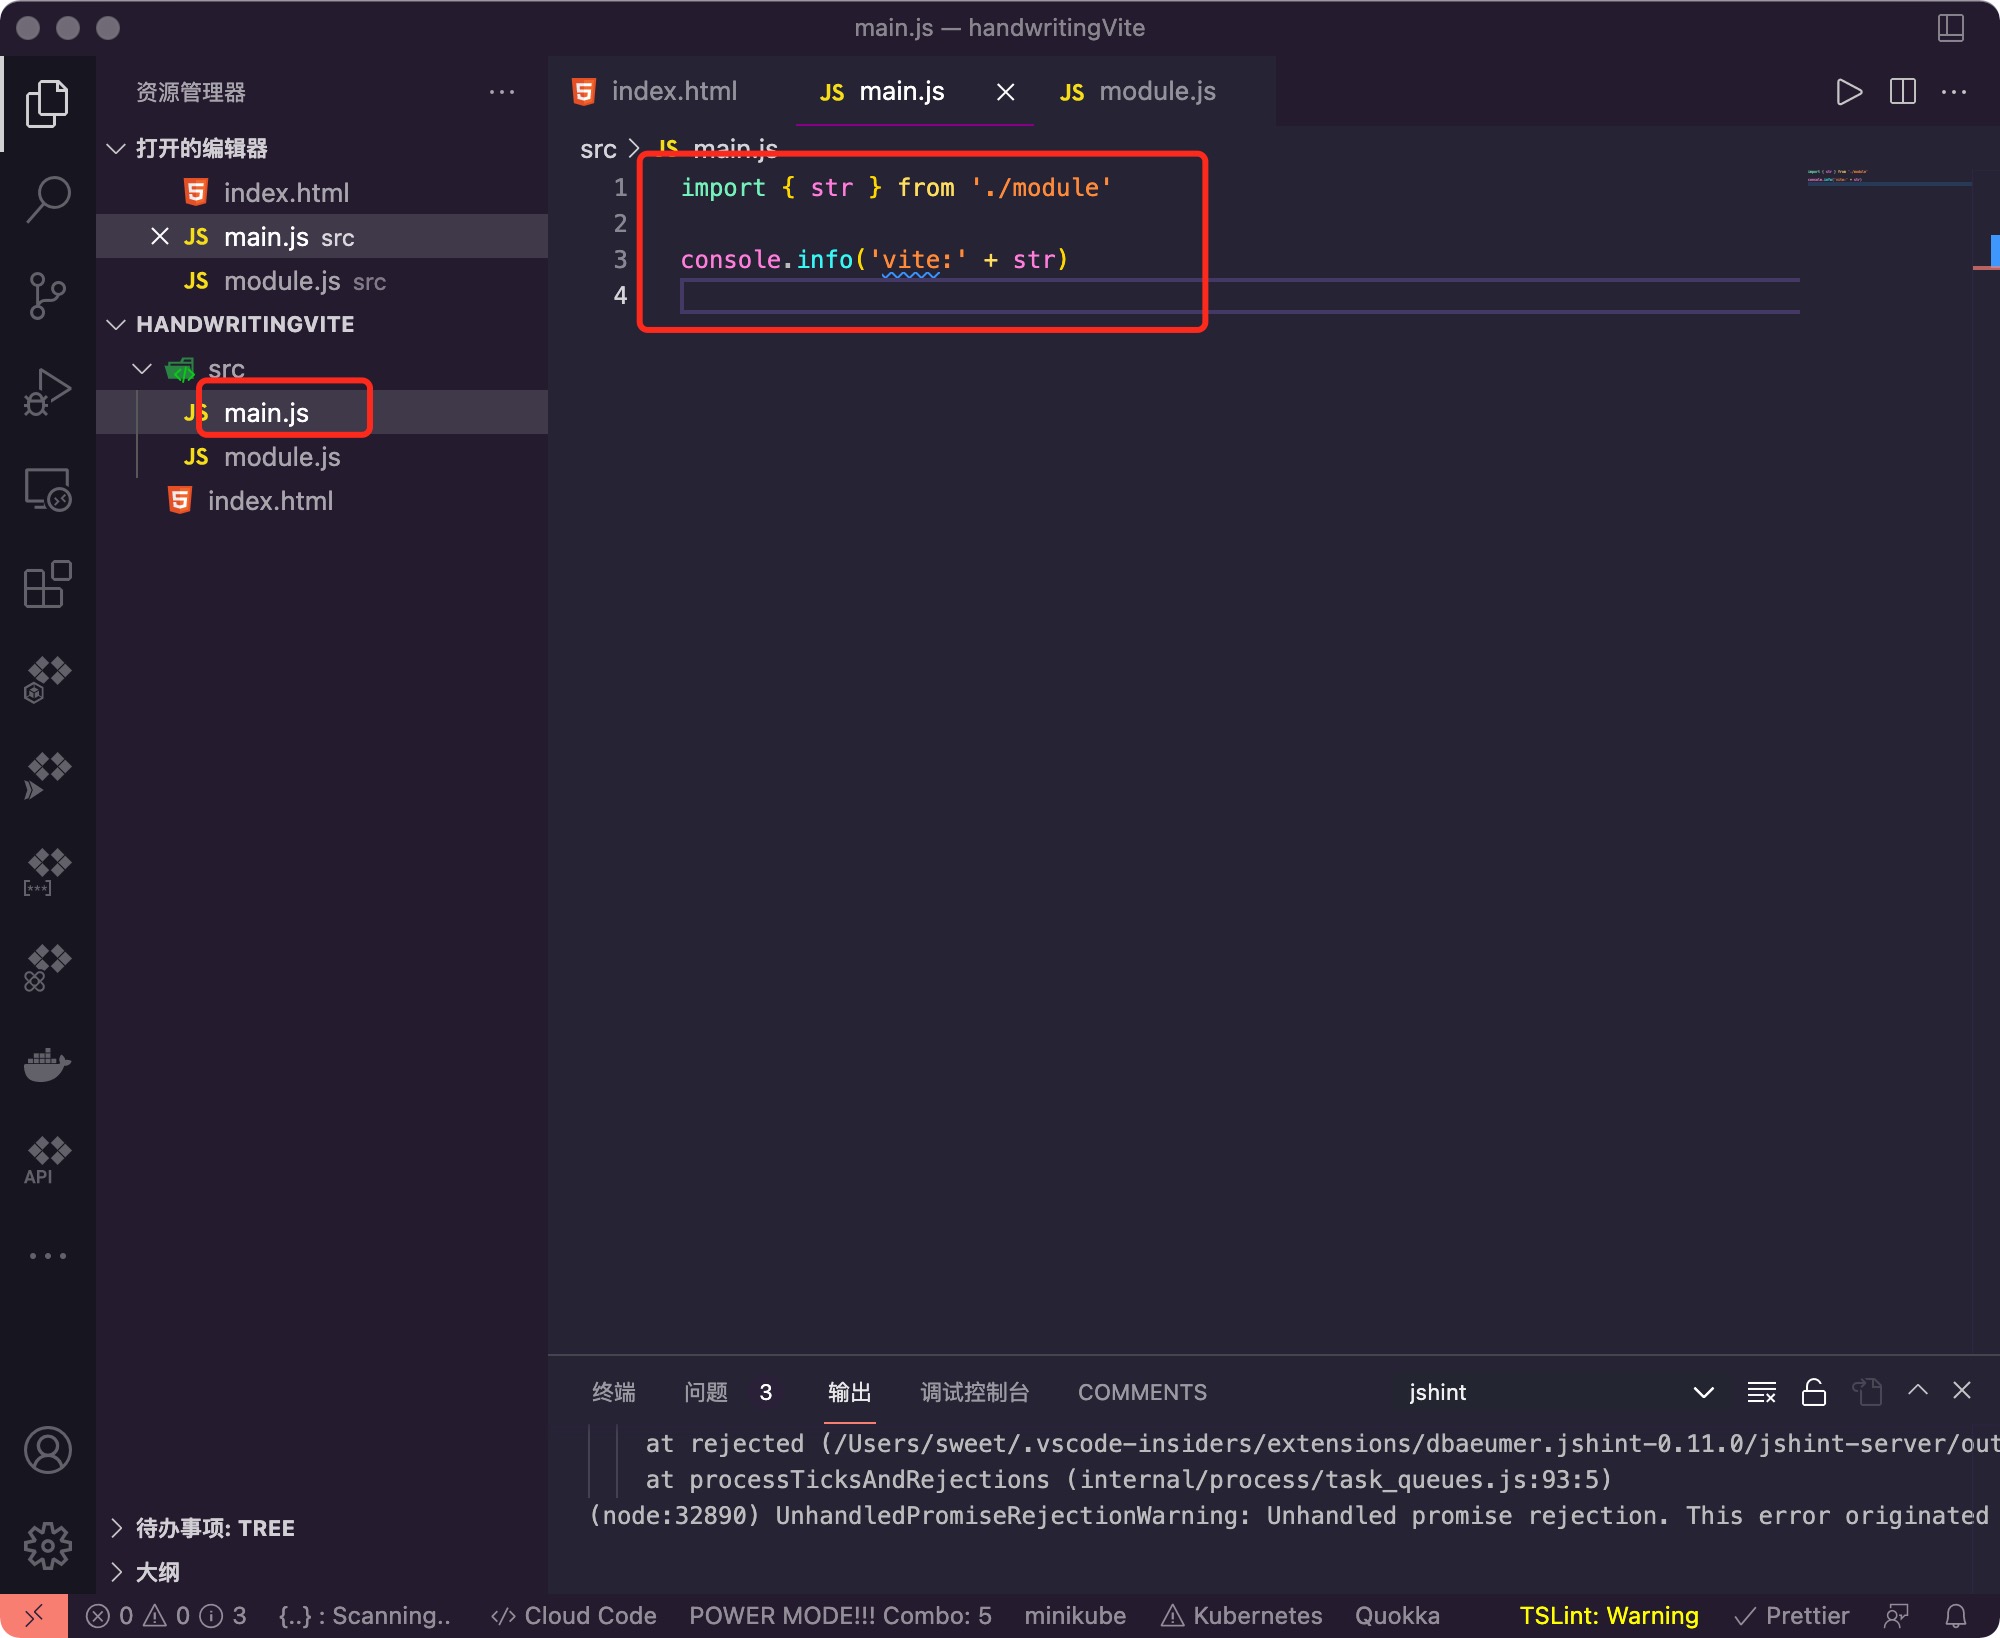
第六步:在main.js 加入 es-module 写法,比如 import xxx from xx
main.js
...
import { str } from './module.js'

console.info('vite:' + str)
...
2
3
4
5
6
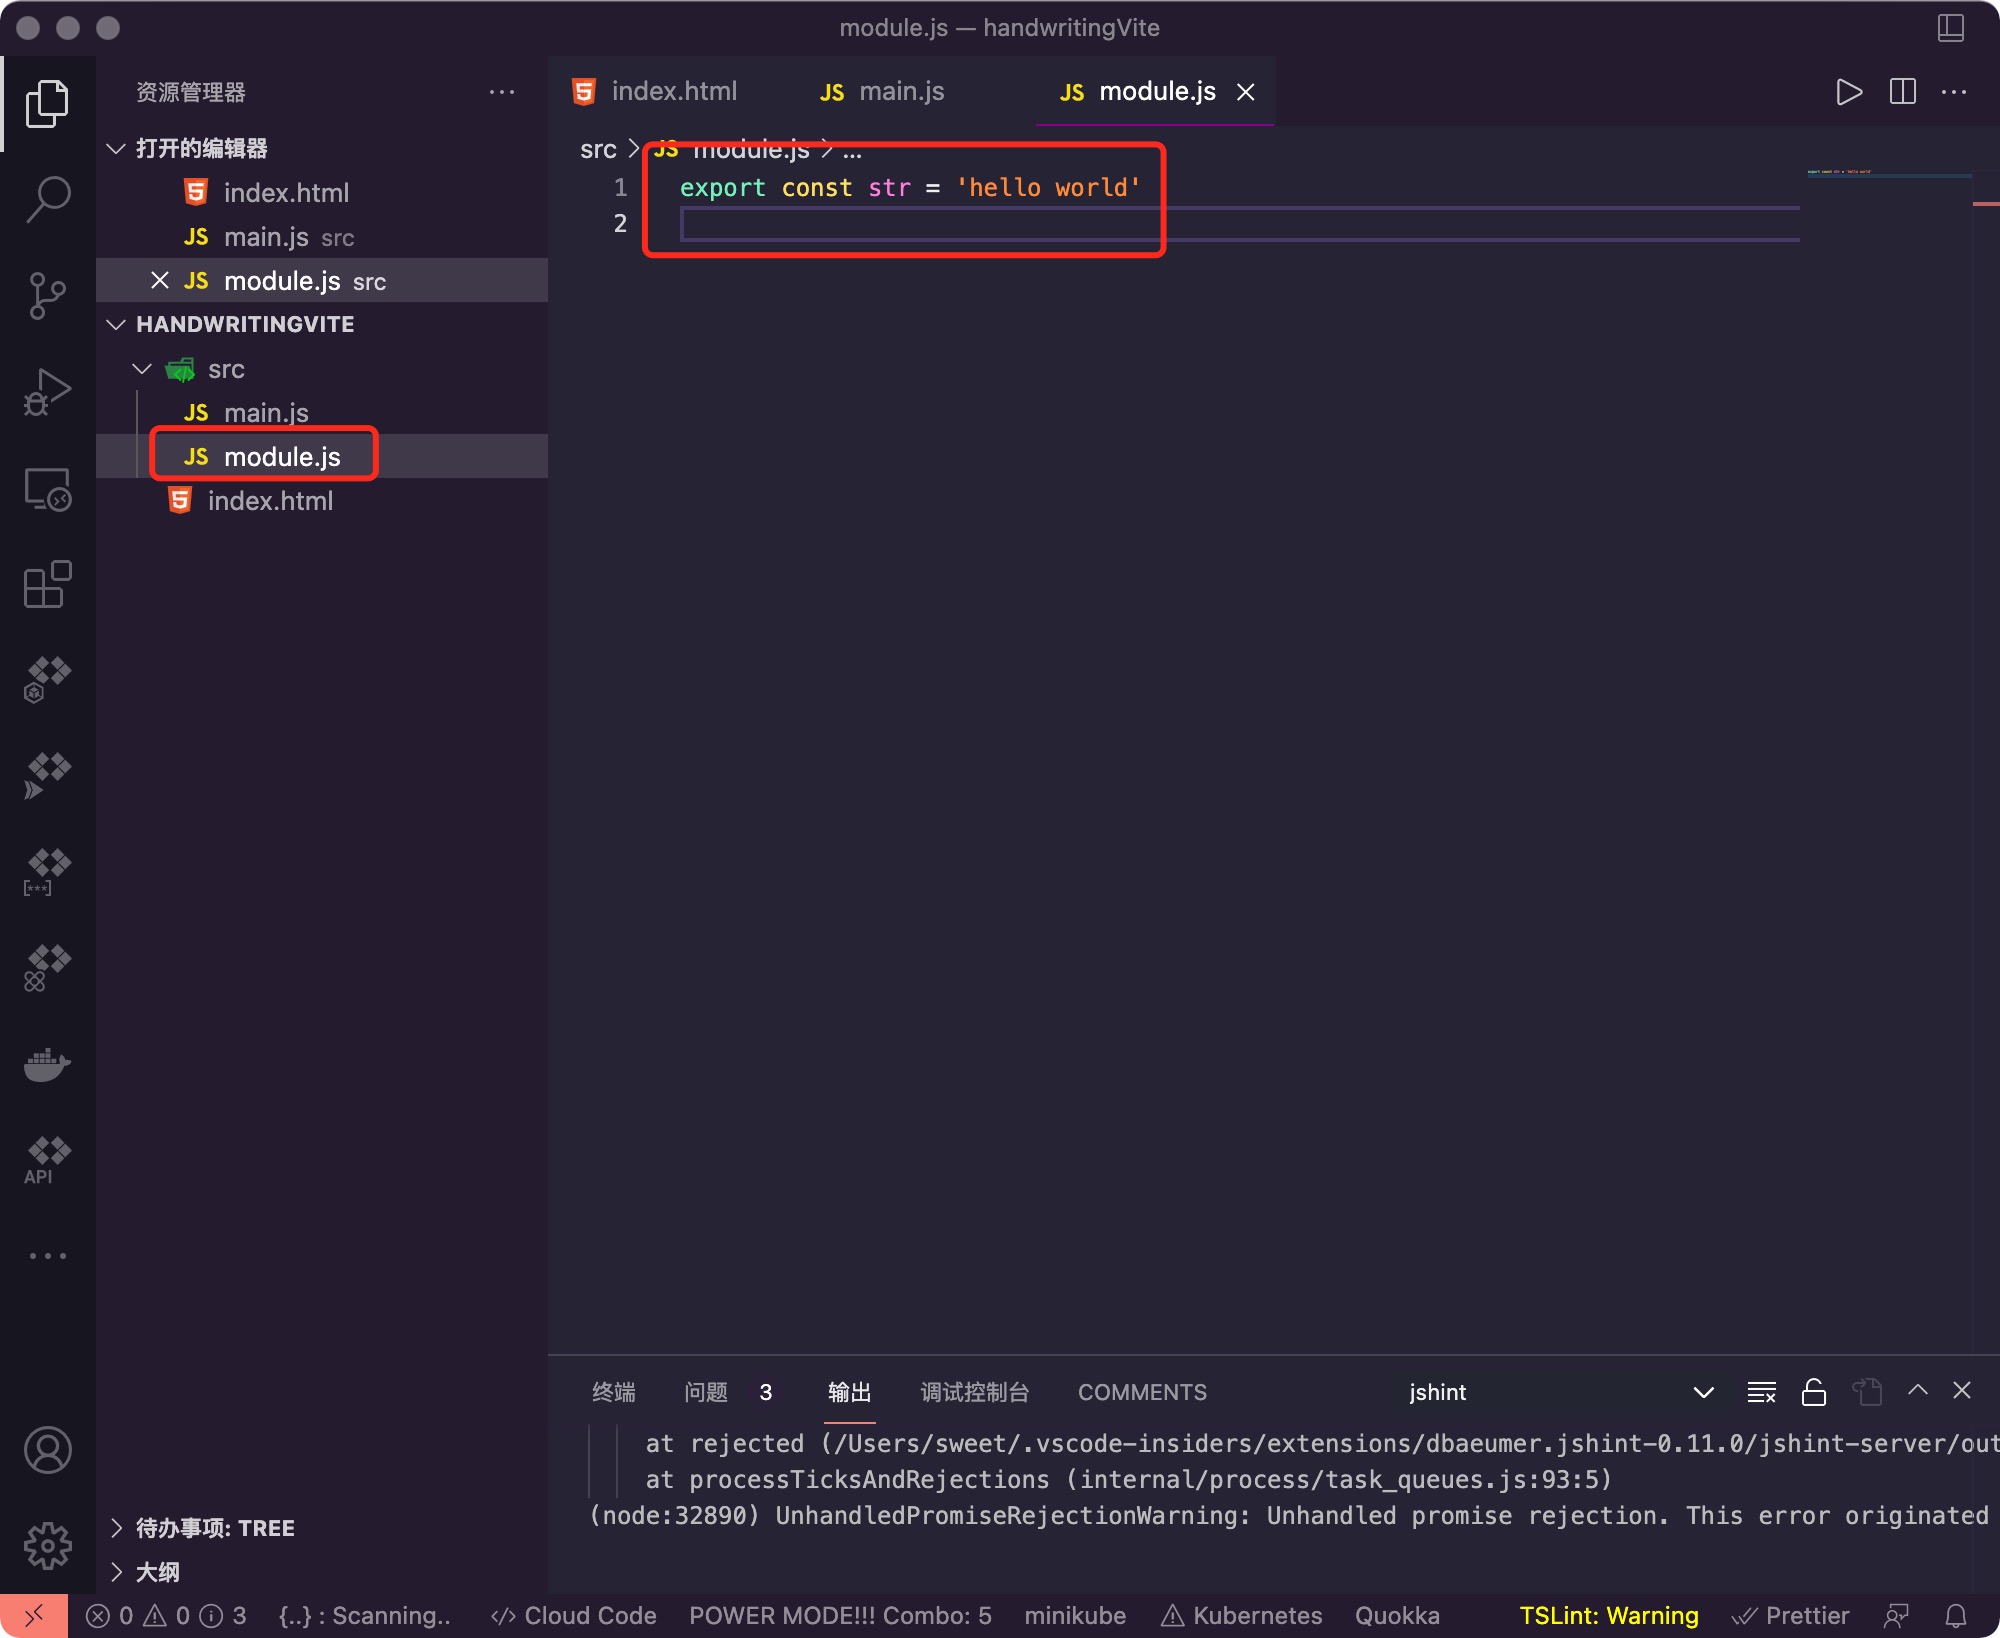
第七步:新增module.js 文件
module.js
...
export const str = 'hello world'
...
2
3
4
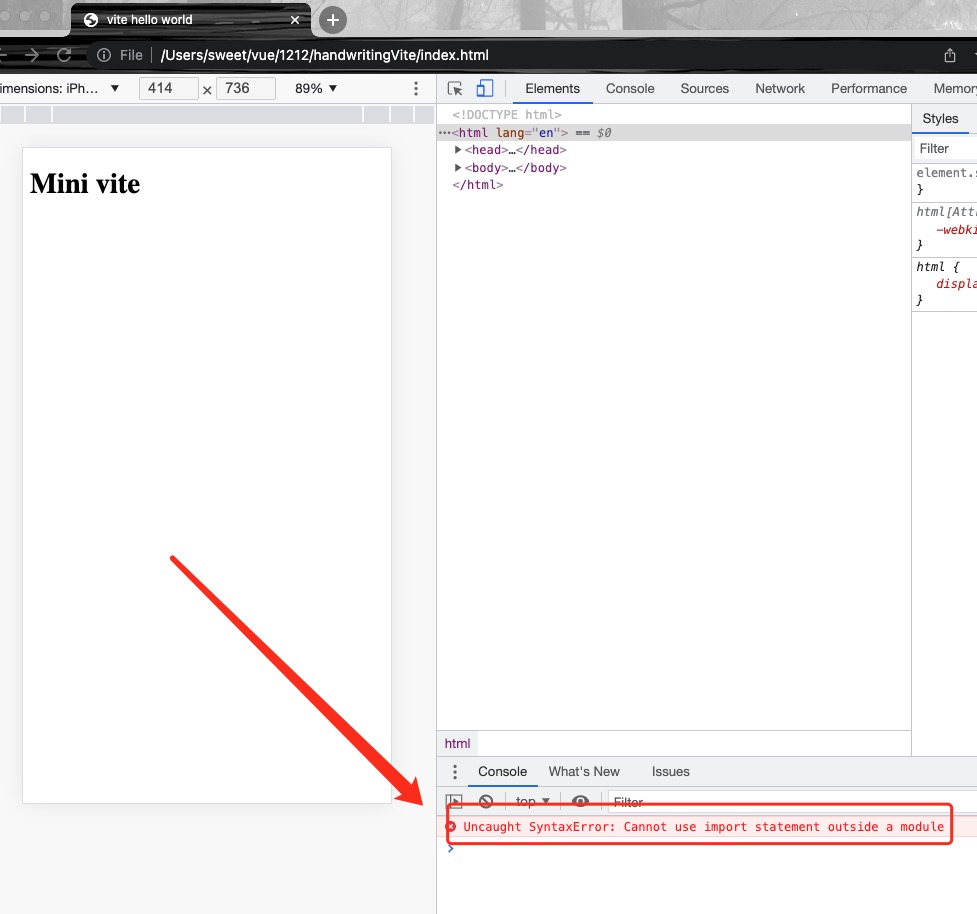
第八步:出现如下报错,说明浏览器当前不支持 import 模式引入
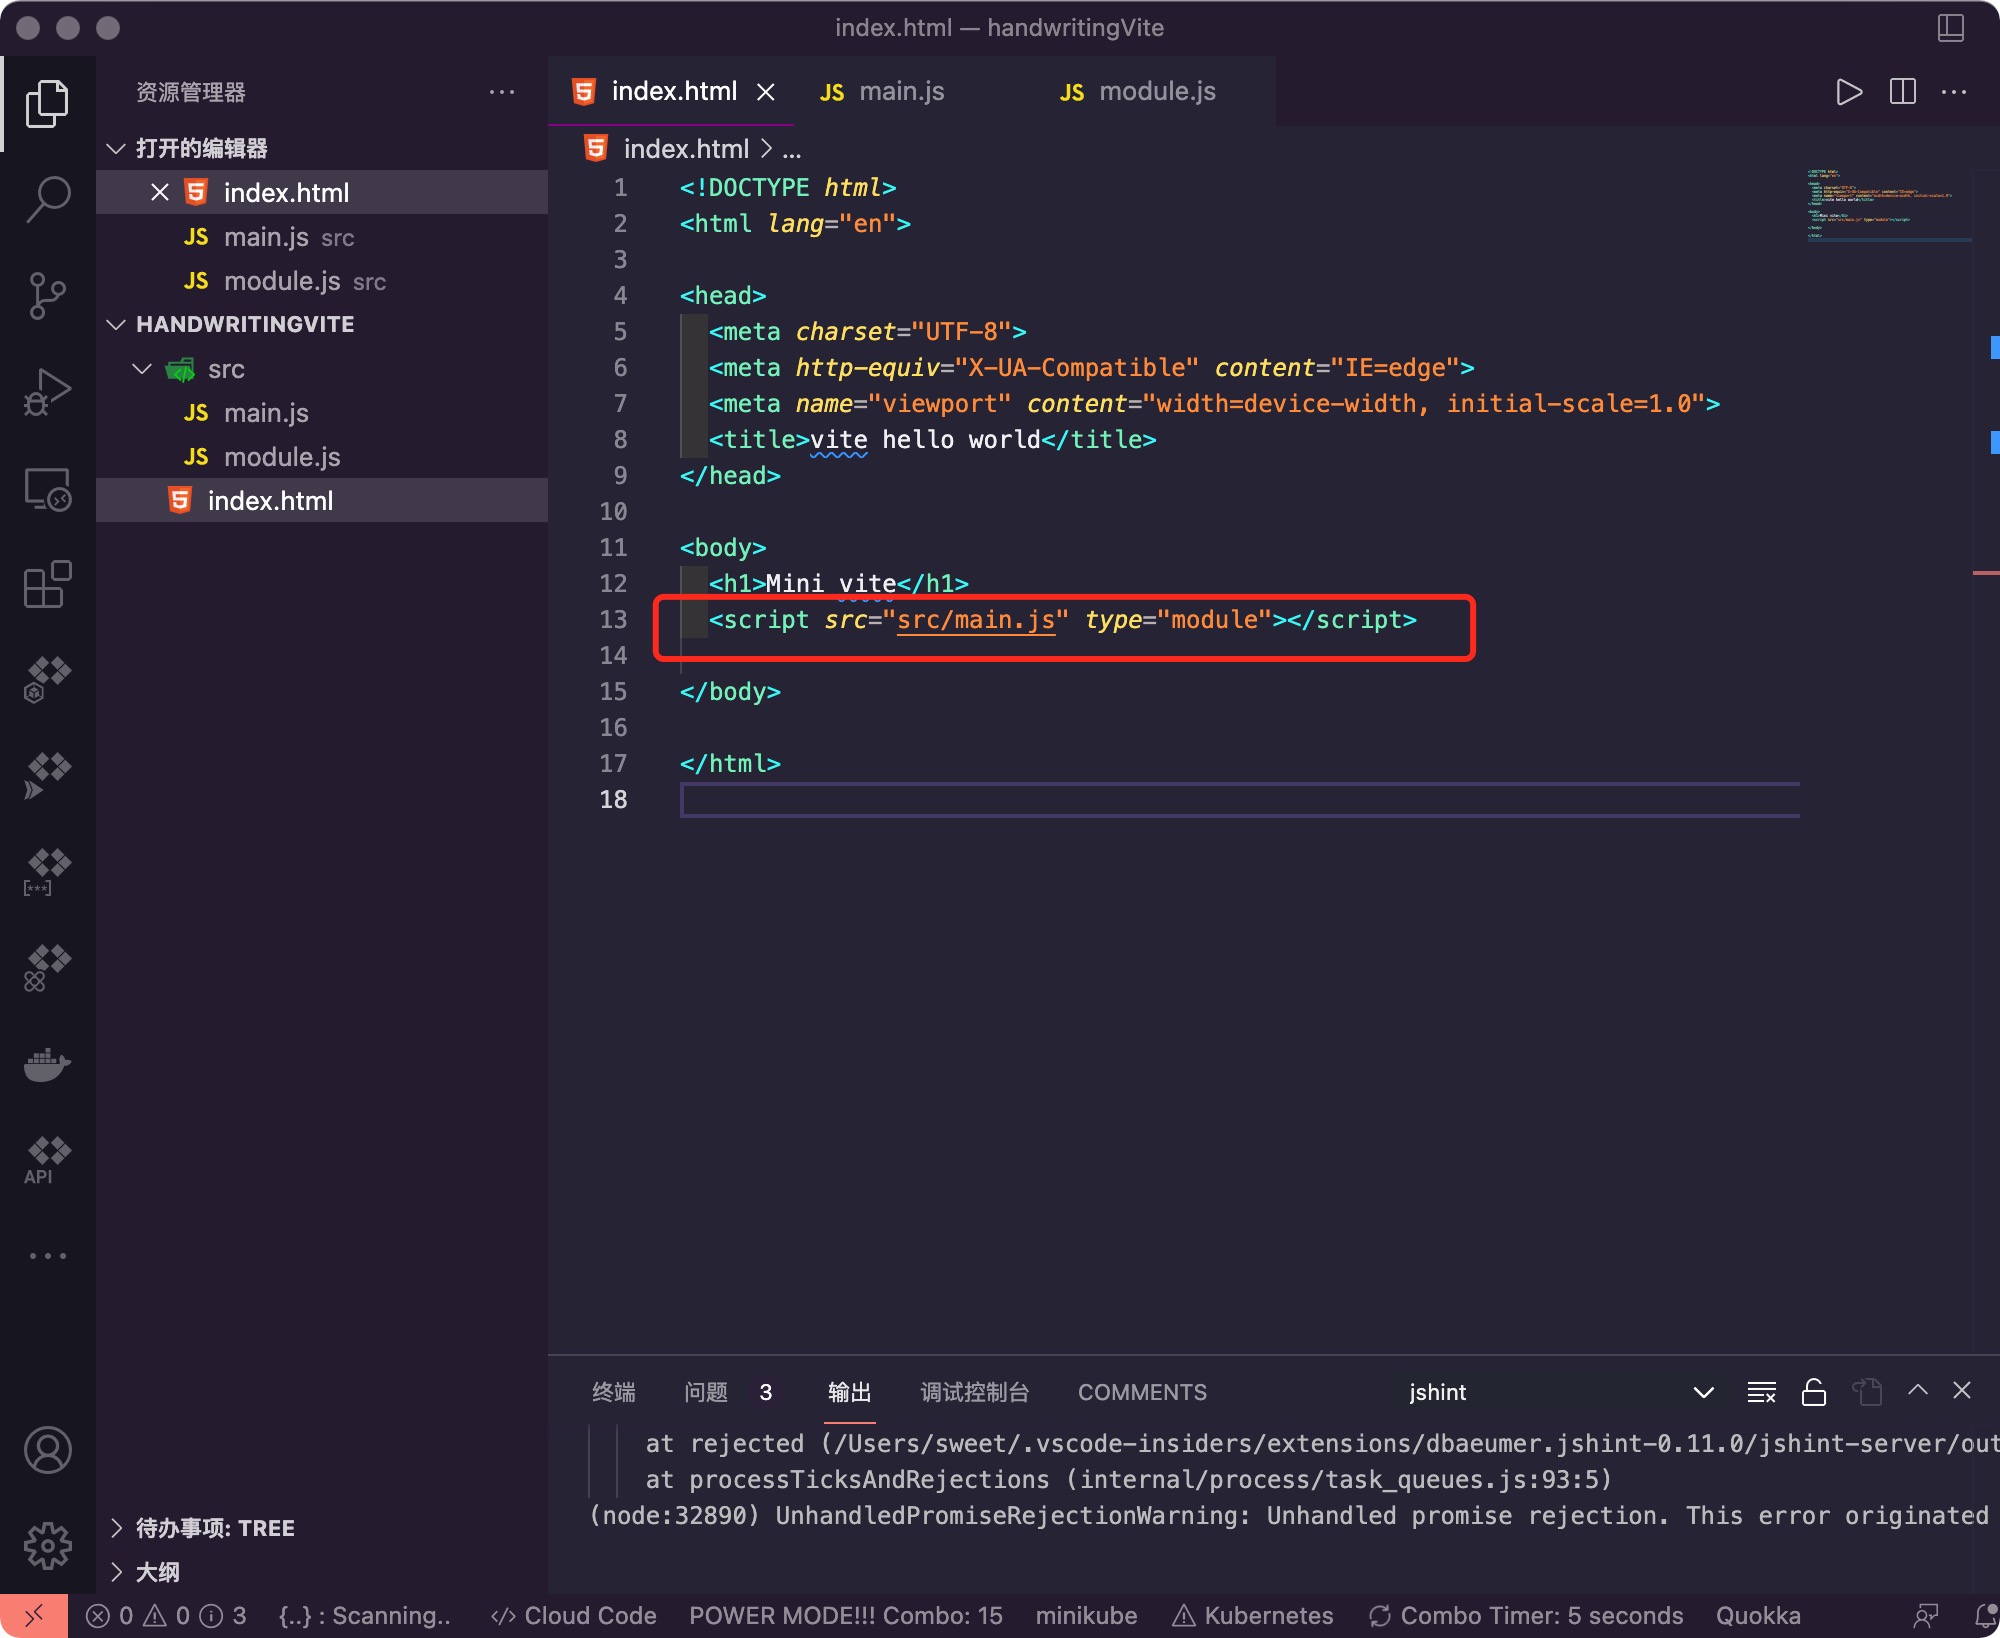
第九步:加入 type="module"
...
<body>
...
  <script src="src/main.js" type="module"></script>
...
</body>
...
</html>
2
3
4
5
6
7
8
9
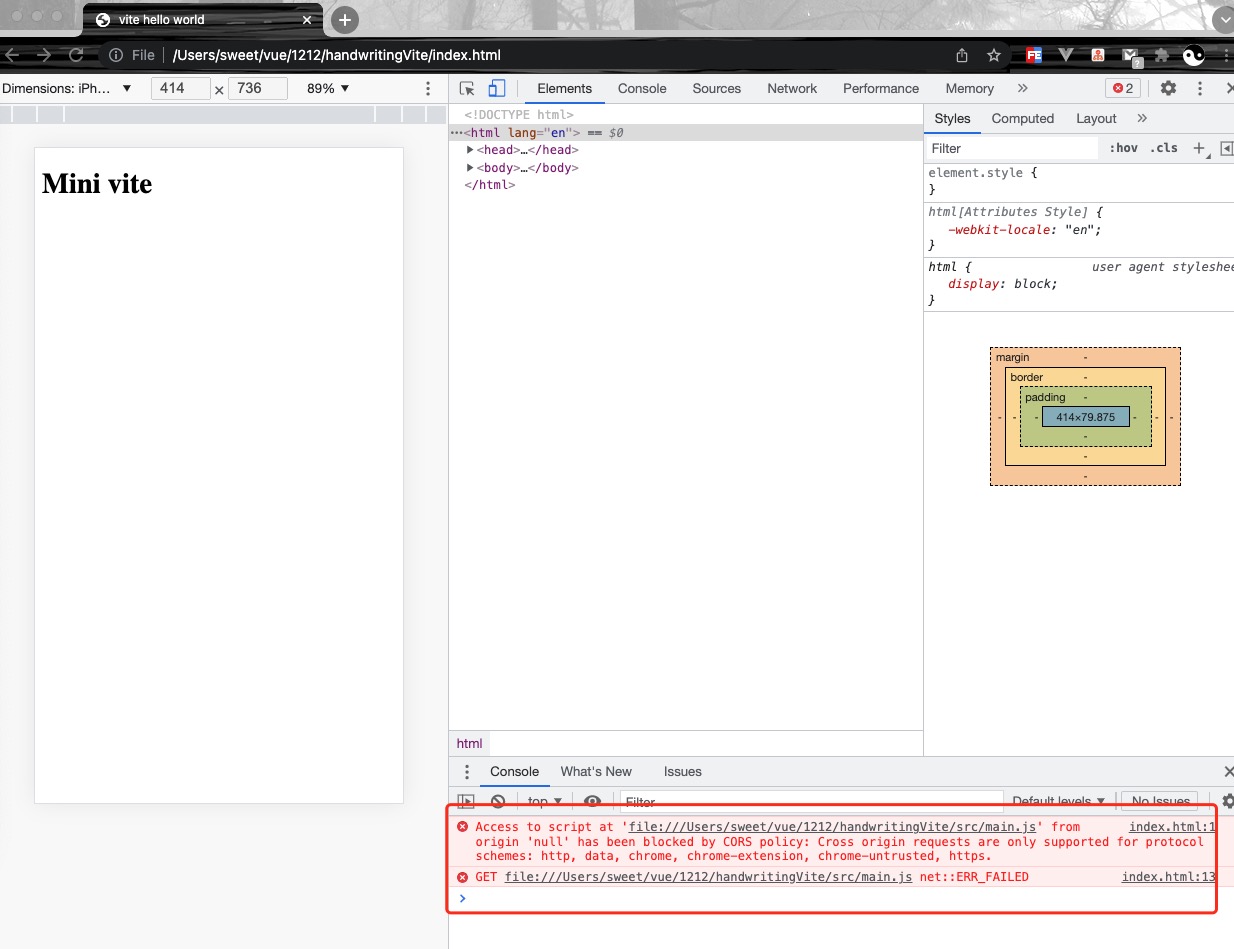
第十步:当前报浏览器跨域问题,这里需要搭建一个静态服务器,比如:koa
第十一步:当前路径,执行 npm init -y 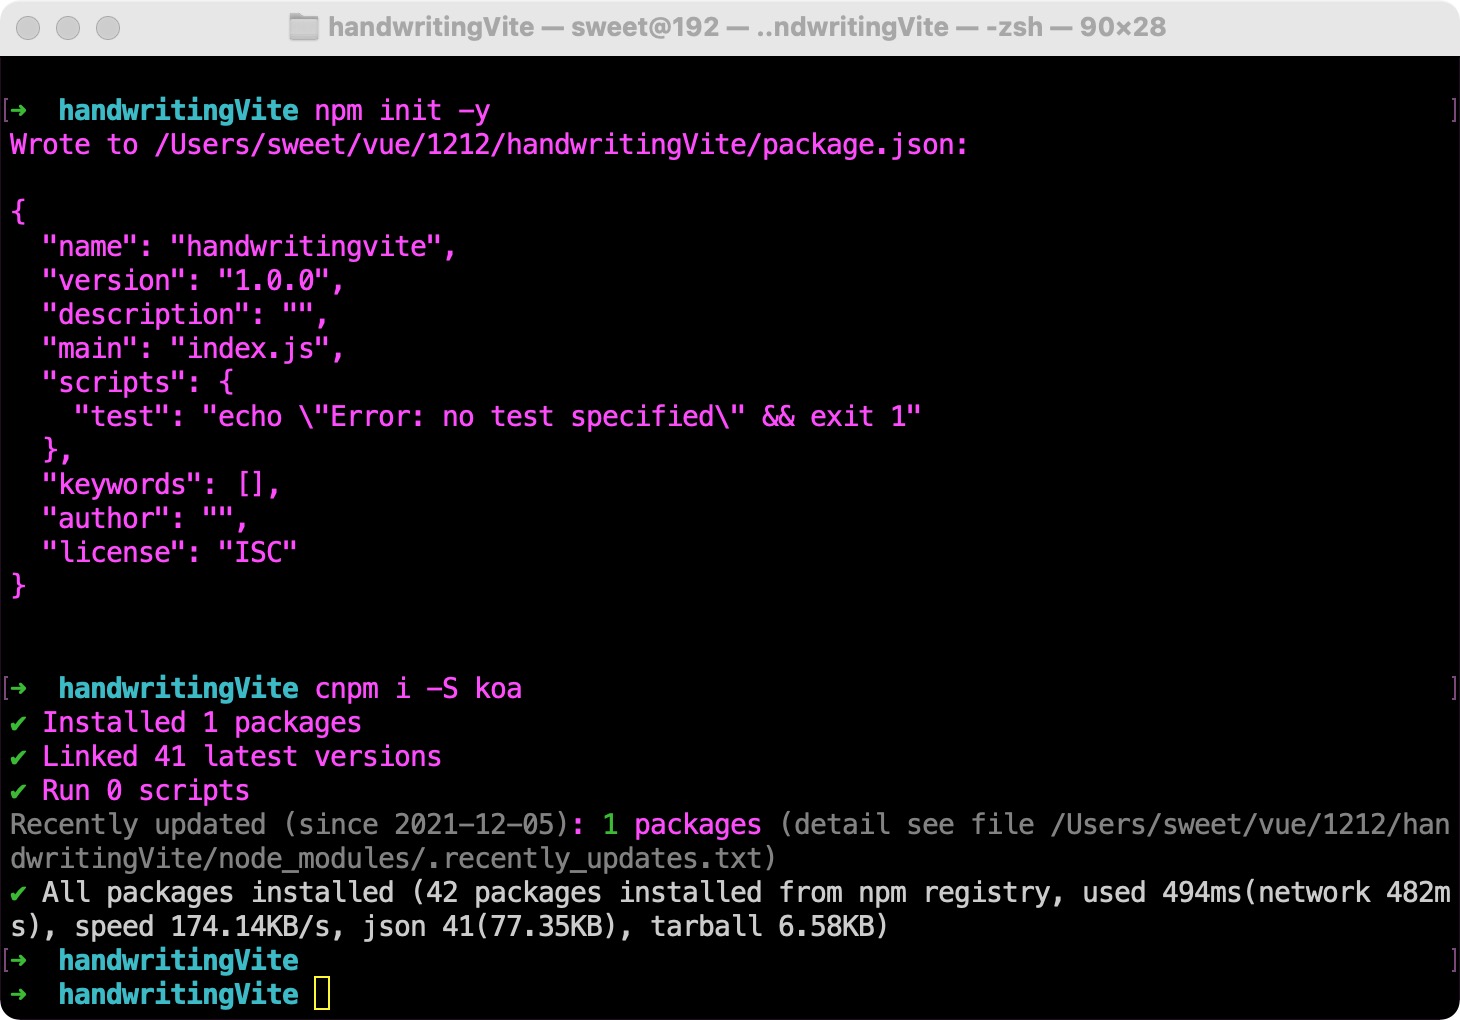
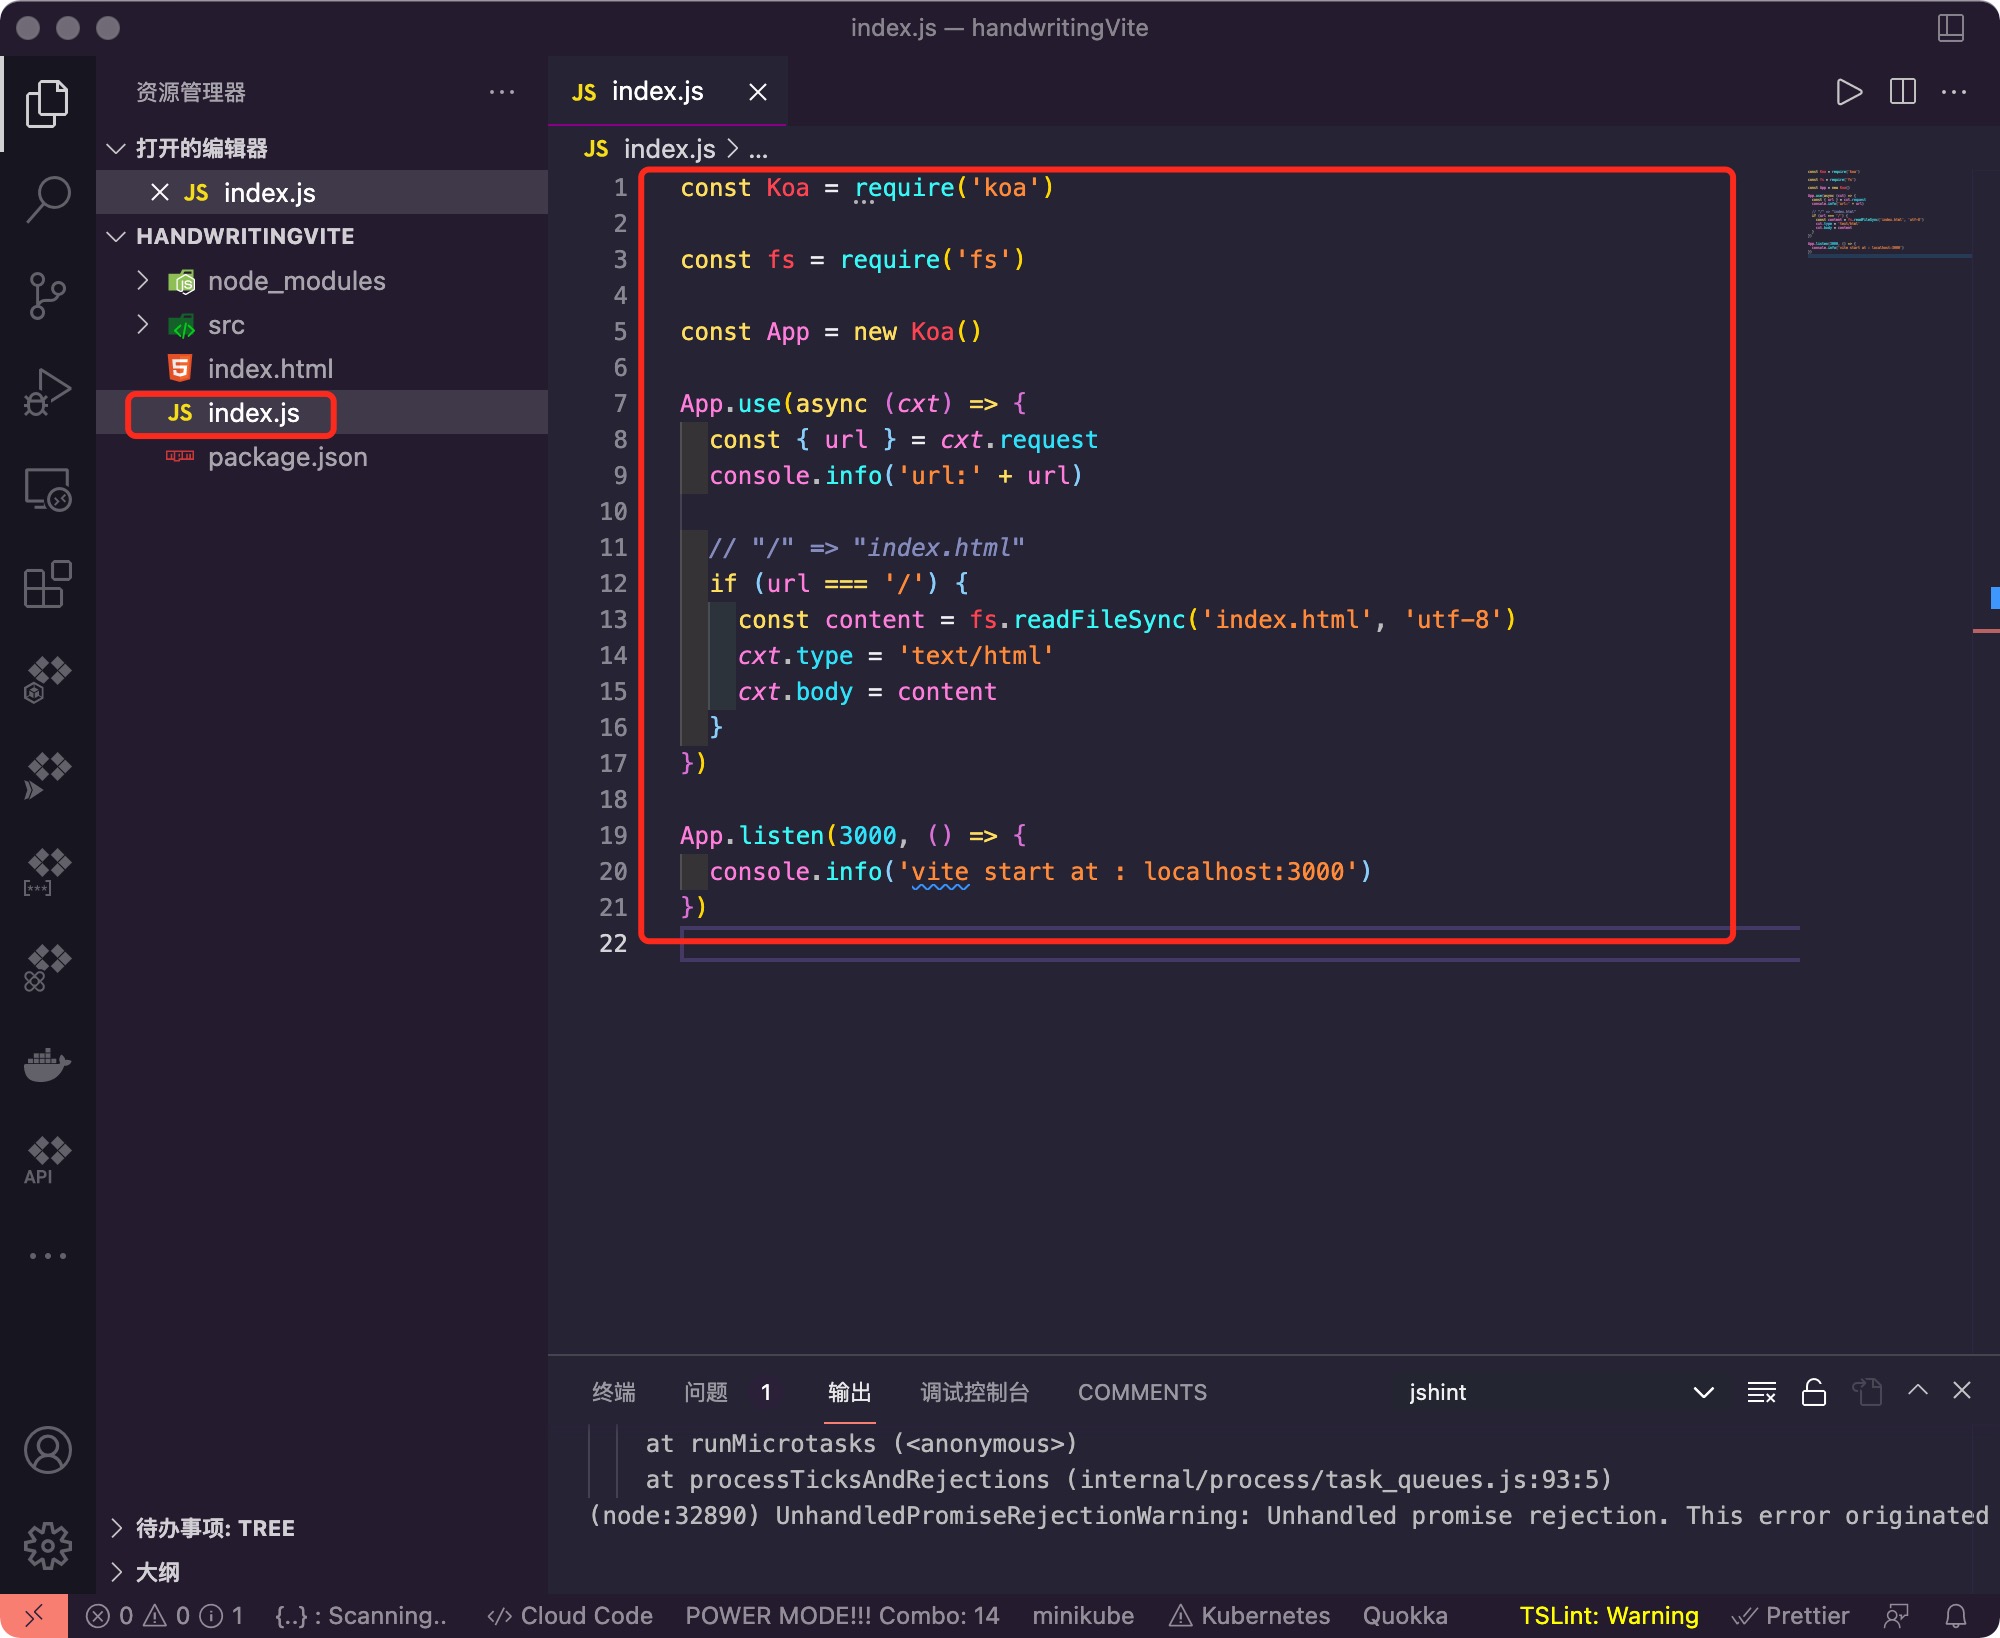
第十二步:根路径新建index.js文件
...
const Koa = require('koa')

const fs = require('fs')

const App = new Koa()

App.use(async (cxt) => {
  const { url } = cxt.request
  console.info('url:' + url)

  // "/" => "index.html"
  if (url === '/') {
    const content = fs.readFileSync('index.html', 'utf-8')
    cxt.type = 'text/html'
    cxt.body = content
  }
})

App.listen(3000, () => {
  console.info('vite start at => localhost:3000')
})
...
2
3
4
5
6
7
8
9
10
11
12
13
14
15
16
17
18
19
20
21
22
23
第十三步:执行 nodemon index.js 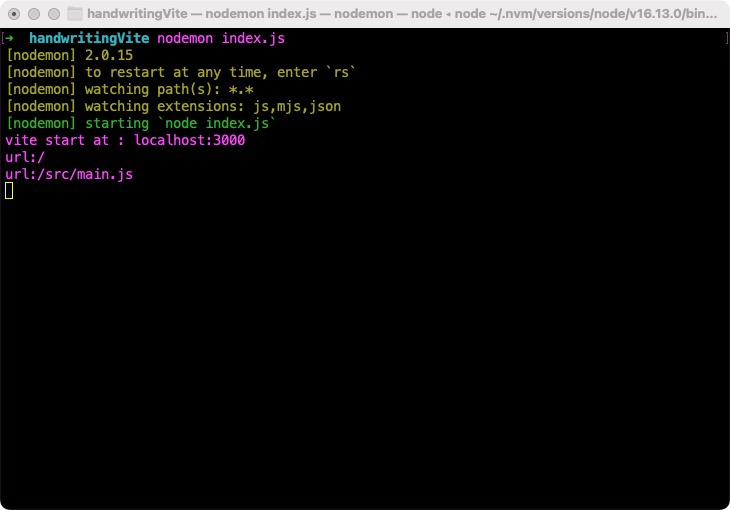
第十四步:刷新浏览器查看如下报错,需要把 /src/main.js => src/main.js 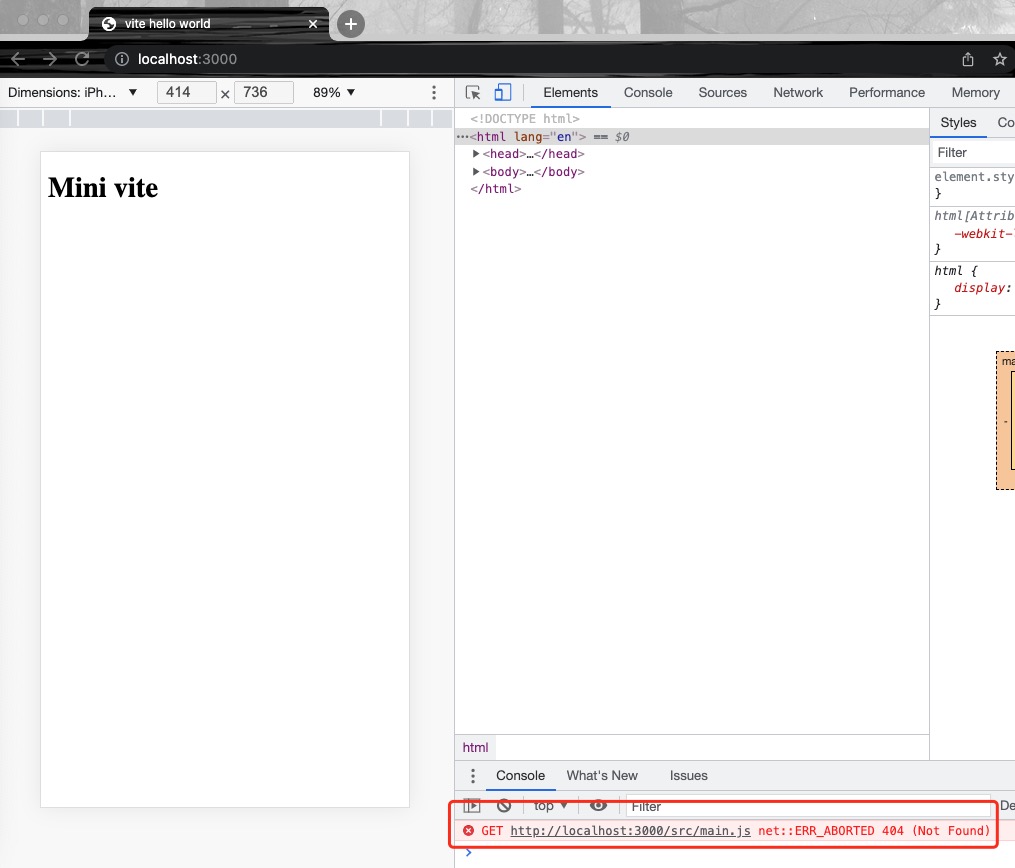
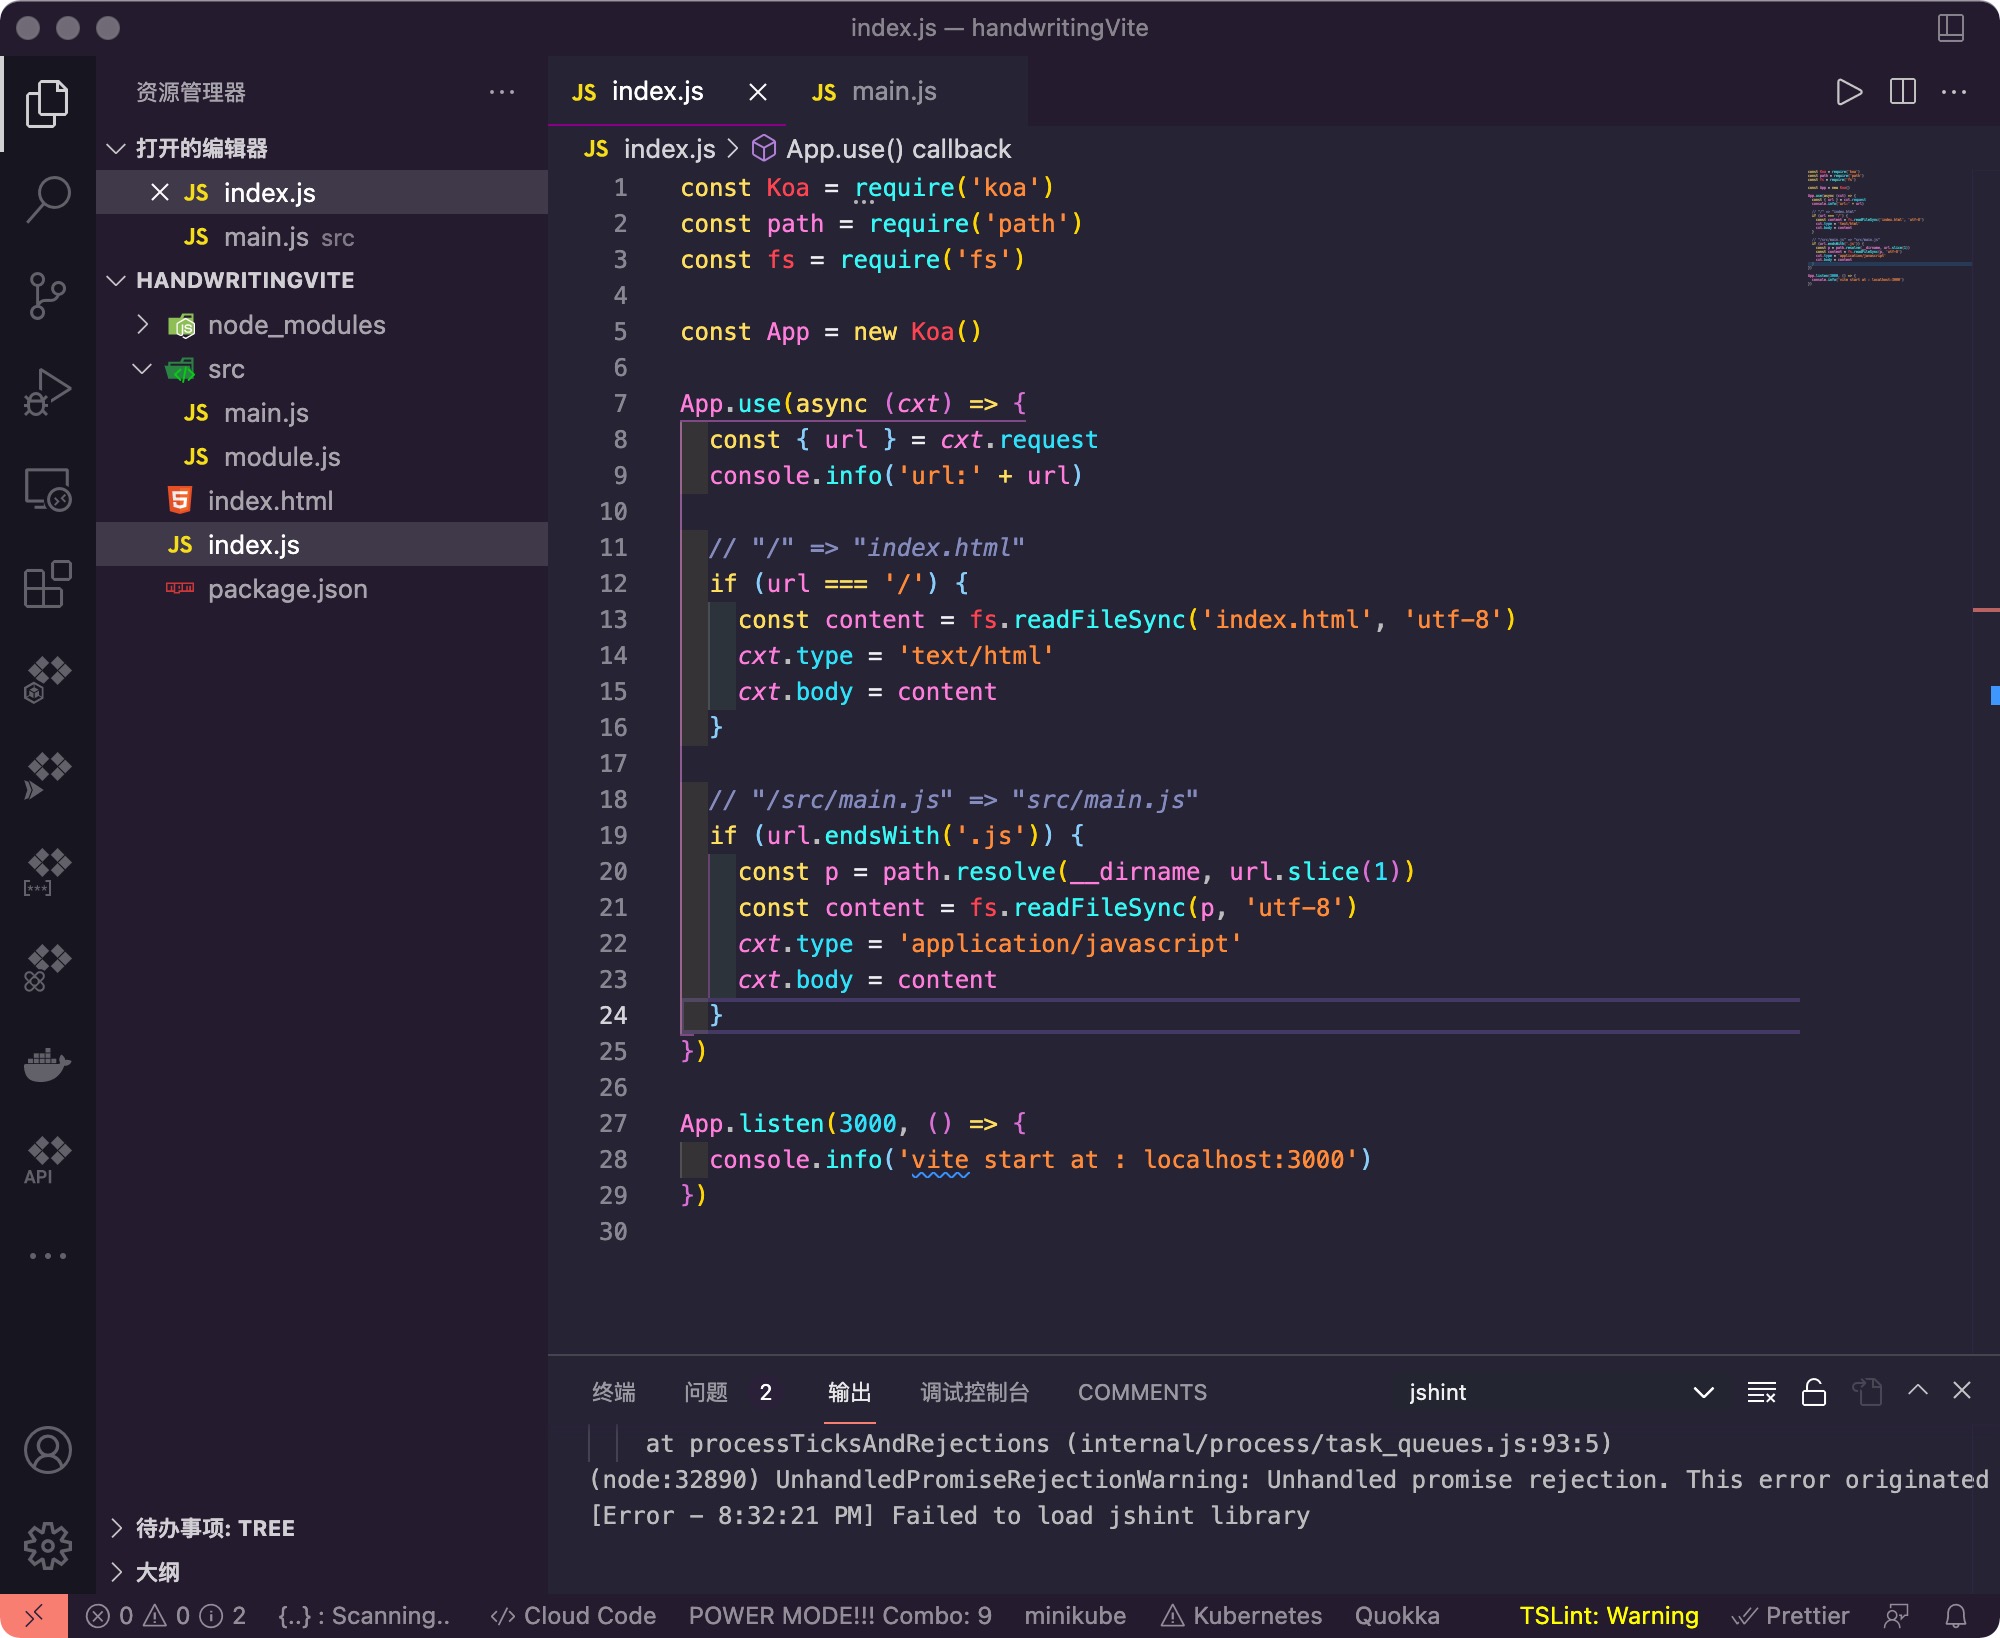
第十五步:继续修改index.js文件,修改/src/main.js => src/main.js
const Koa = require('koa')
const path = require('path')
const fs = require('fs')

const App = new Koa()

App.use(async (cxt) => {
  const { url } = cxt.request
  console.info('url:' + url)

  // "/" => "index.html"
  if (url === '/') {
    const content = fs.readFileSync('index.html', 'utf-8')
    cxt.type = 'text/html'
    cxt.body = content
  }

  // "/src/main.js" => "src/main.js"
  if (url.endsWith('.js')) {
    const p = path.resolve(__dirname, url.slice(1))
    const content = fs.readFileSync(p, 'utf-8')
    cxt.type = 'application/javascript'
    cxt.body = importRewrite(content)
  }
})

App.listen(3000, () => {
  console.info('vite start at => localhost:3000')
})

...
2
3
4
5
6
7
8
9
10
11
12
13
14
15
16
17
18
19
20
21
22
23
24
25
26
27
28
29
30
31
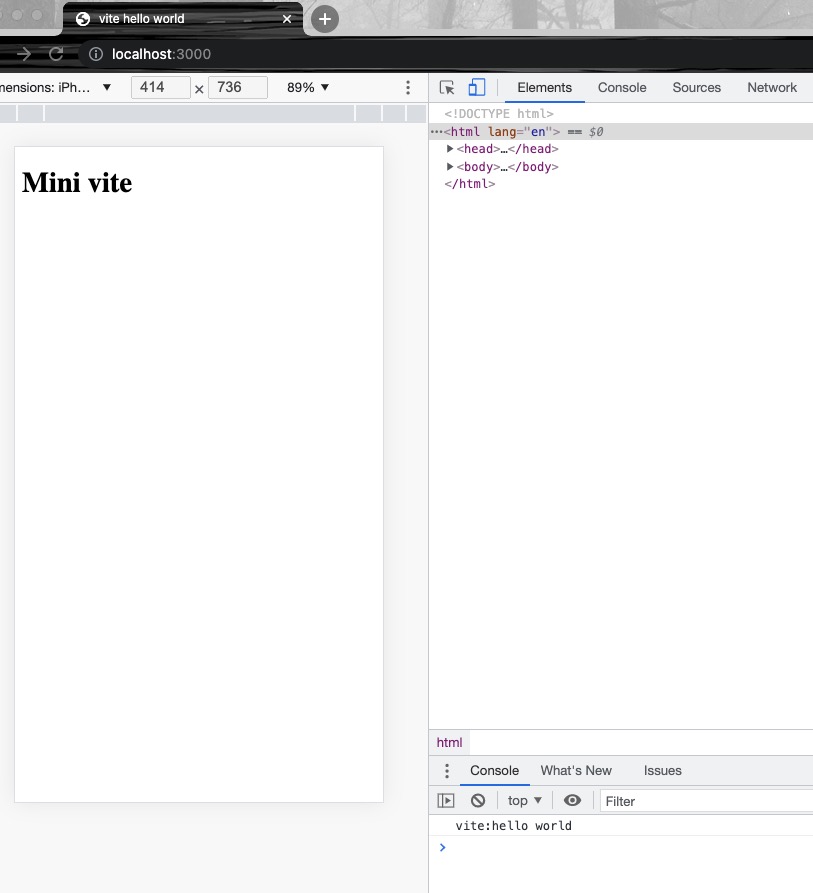
第十六步:继续刷新浏览器,流程正常展示,说明当前逻辑正常
第十七步:执行 cnpm i -S vue@next 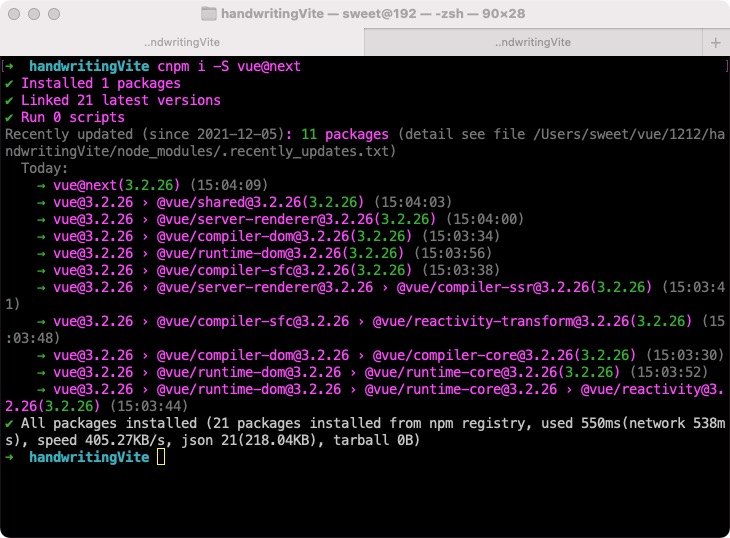
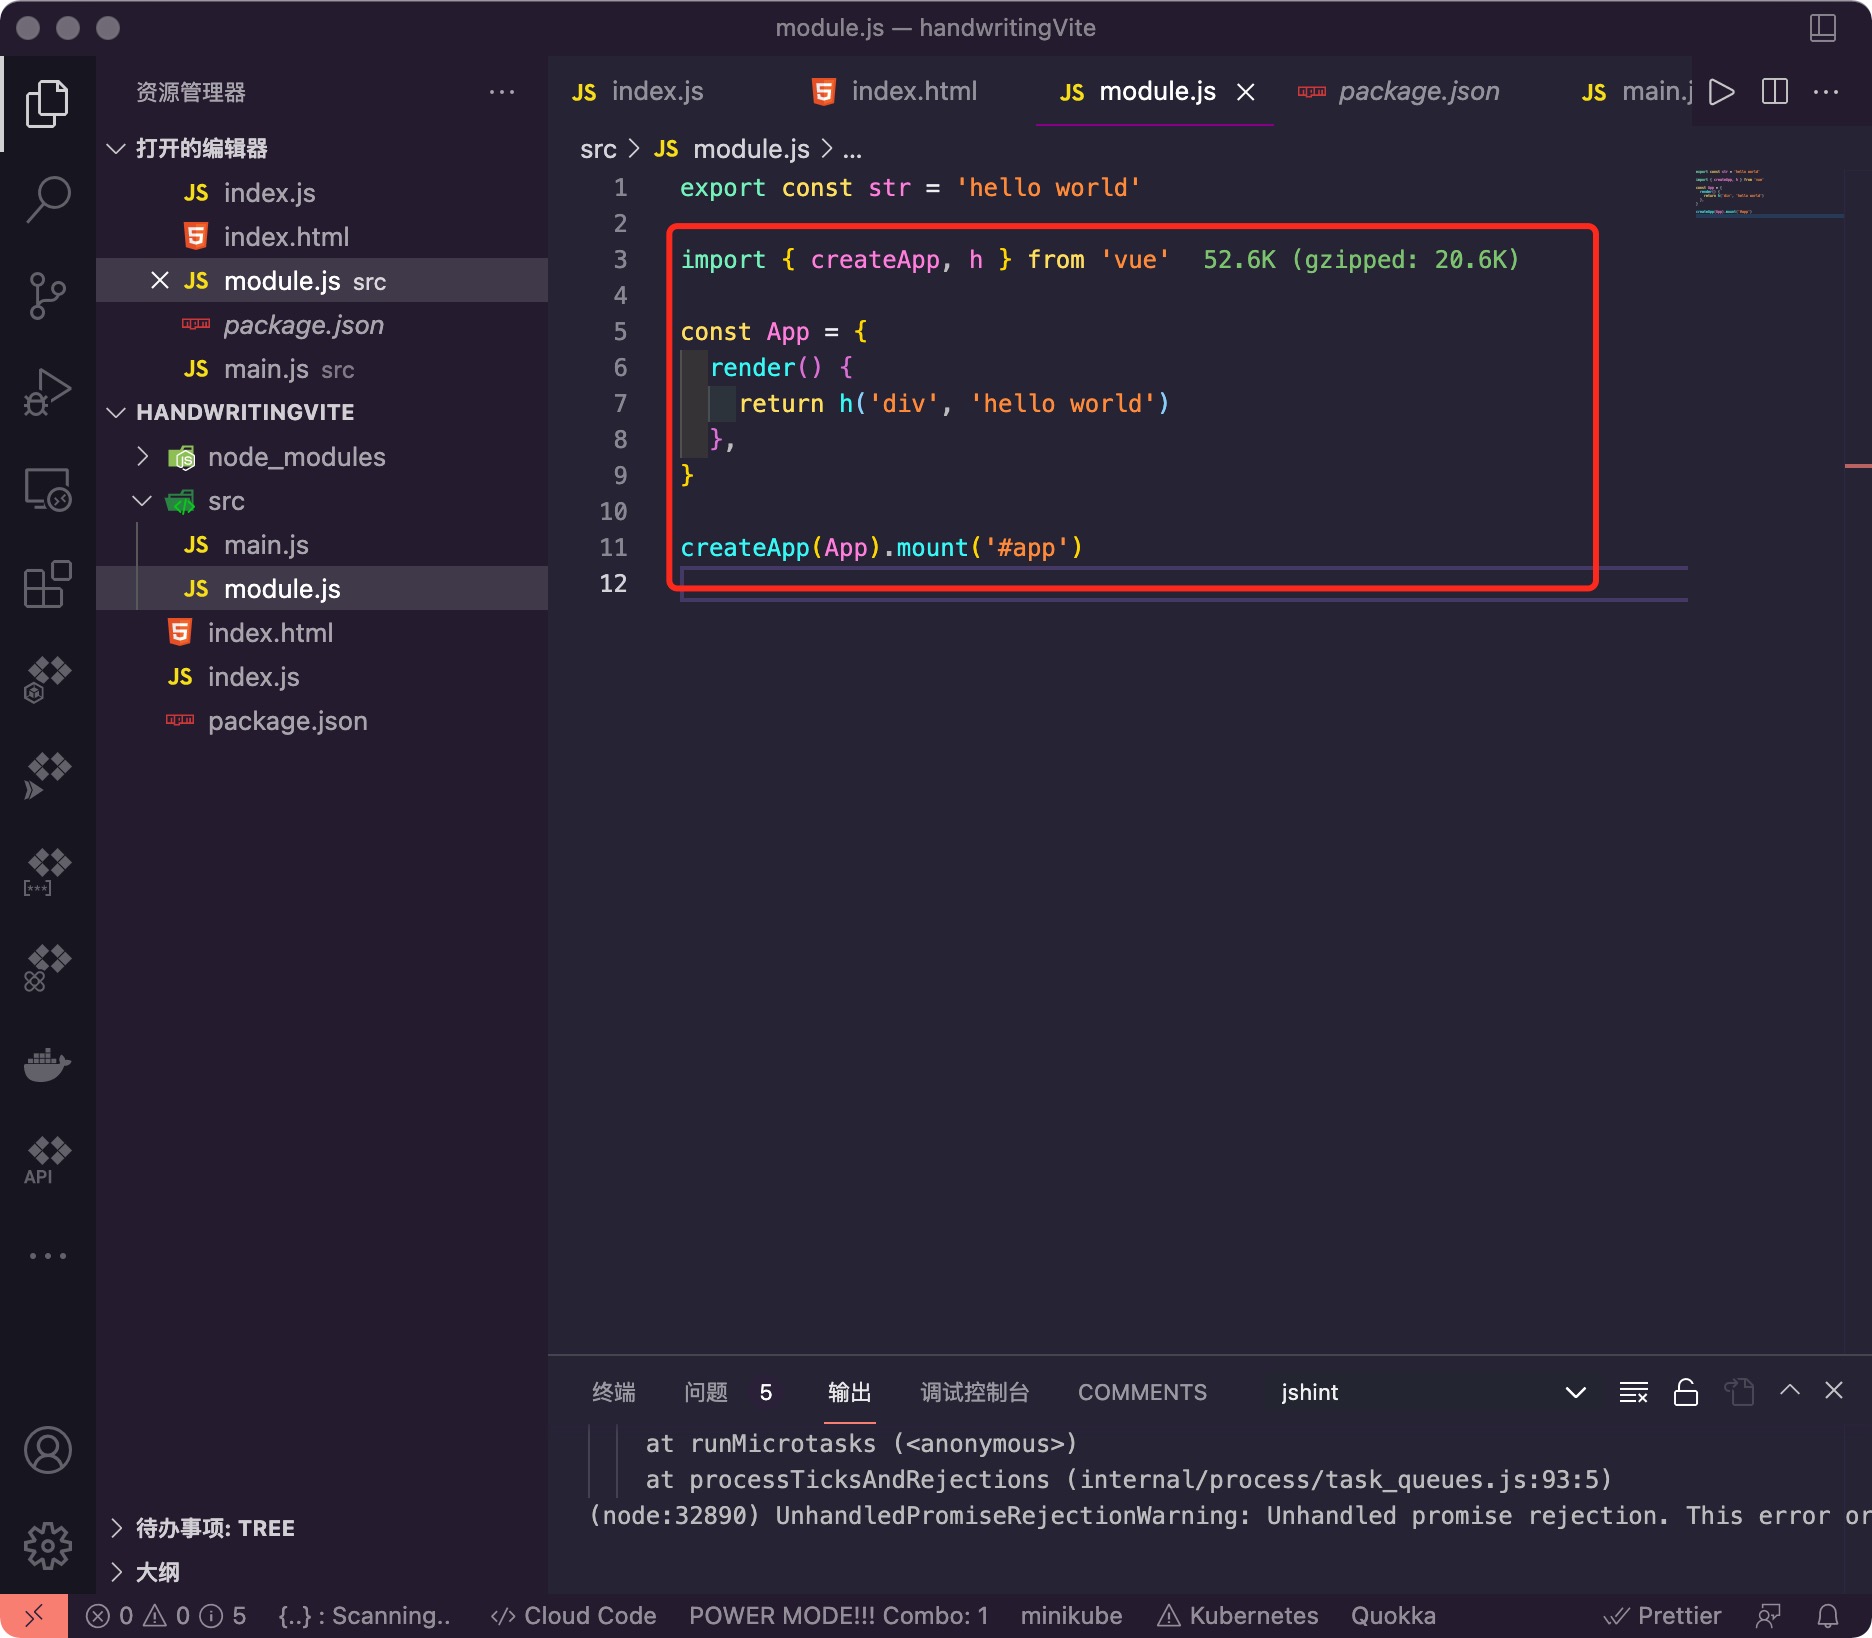
第十八步:在module.js 里面引入vue
...
import { createApp, h } from 'vue'

const App = {
  render() {
    return h('div', 'hello world')
  },
}

createApp(App).mount('#app')
...
2
3
4
5
6
7
8
9
10
11
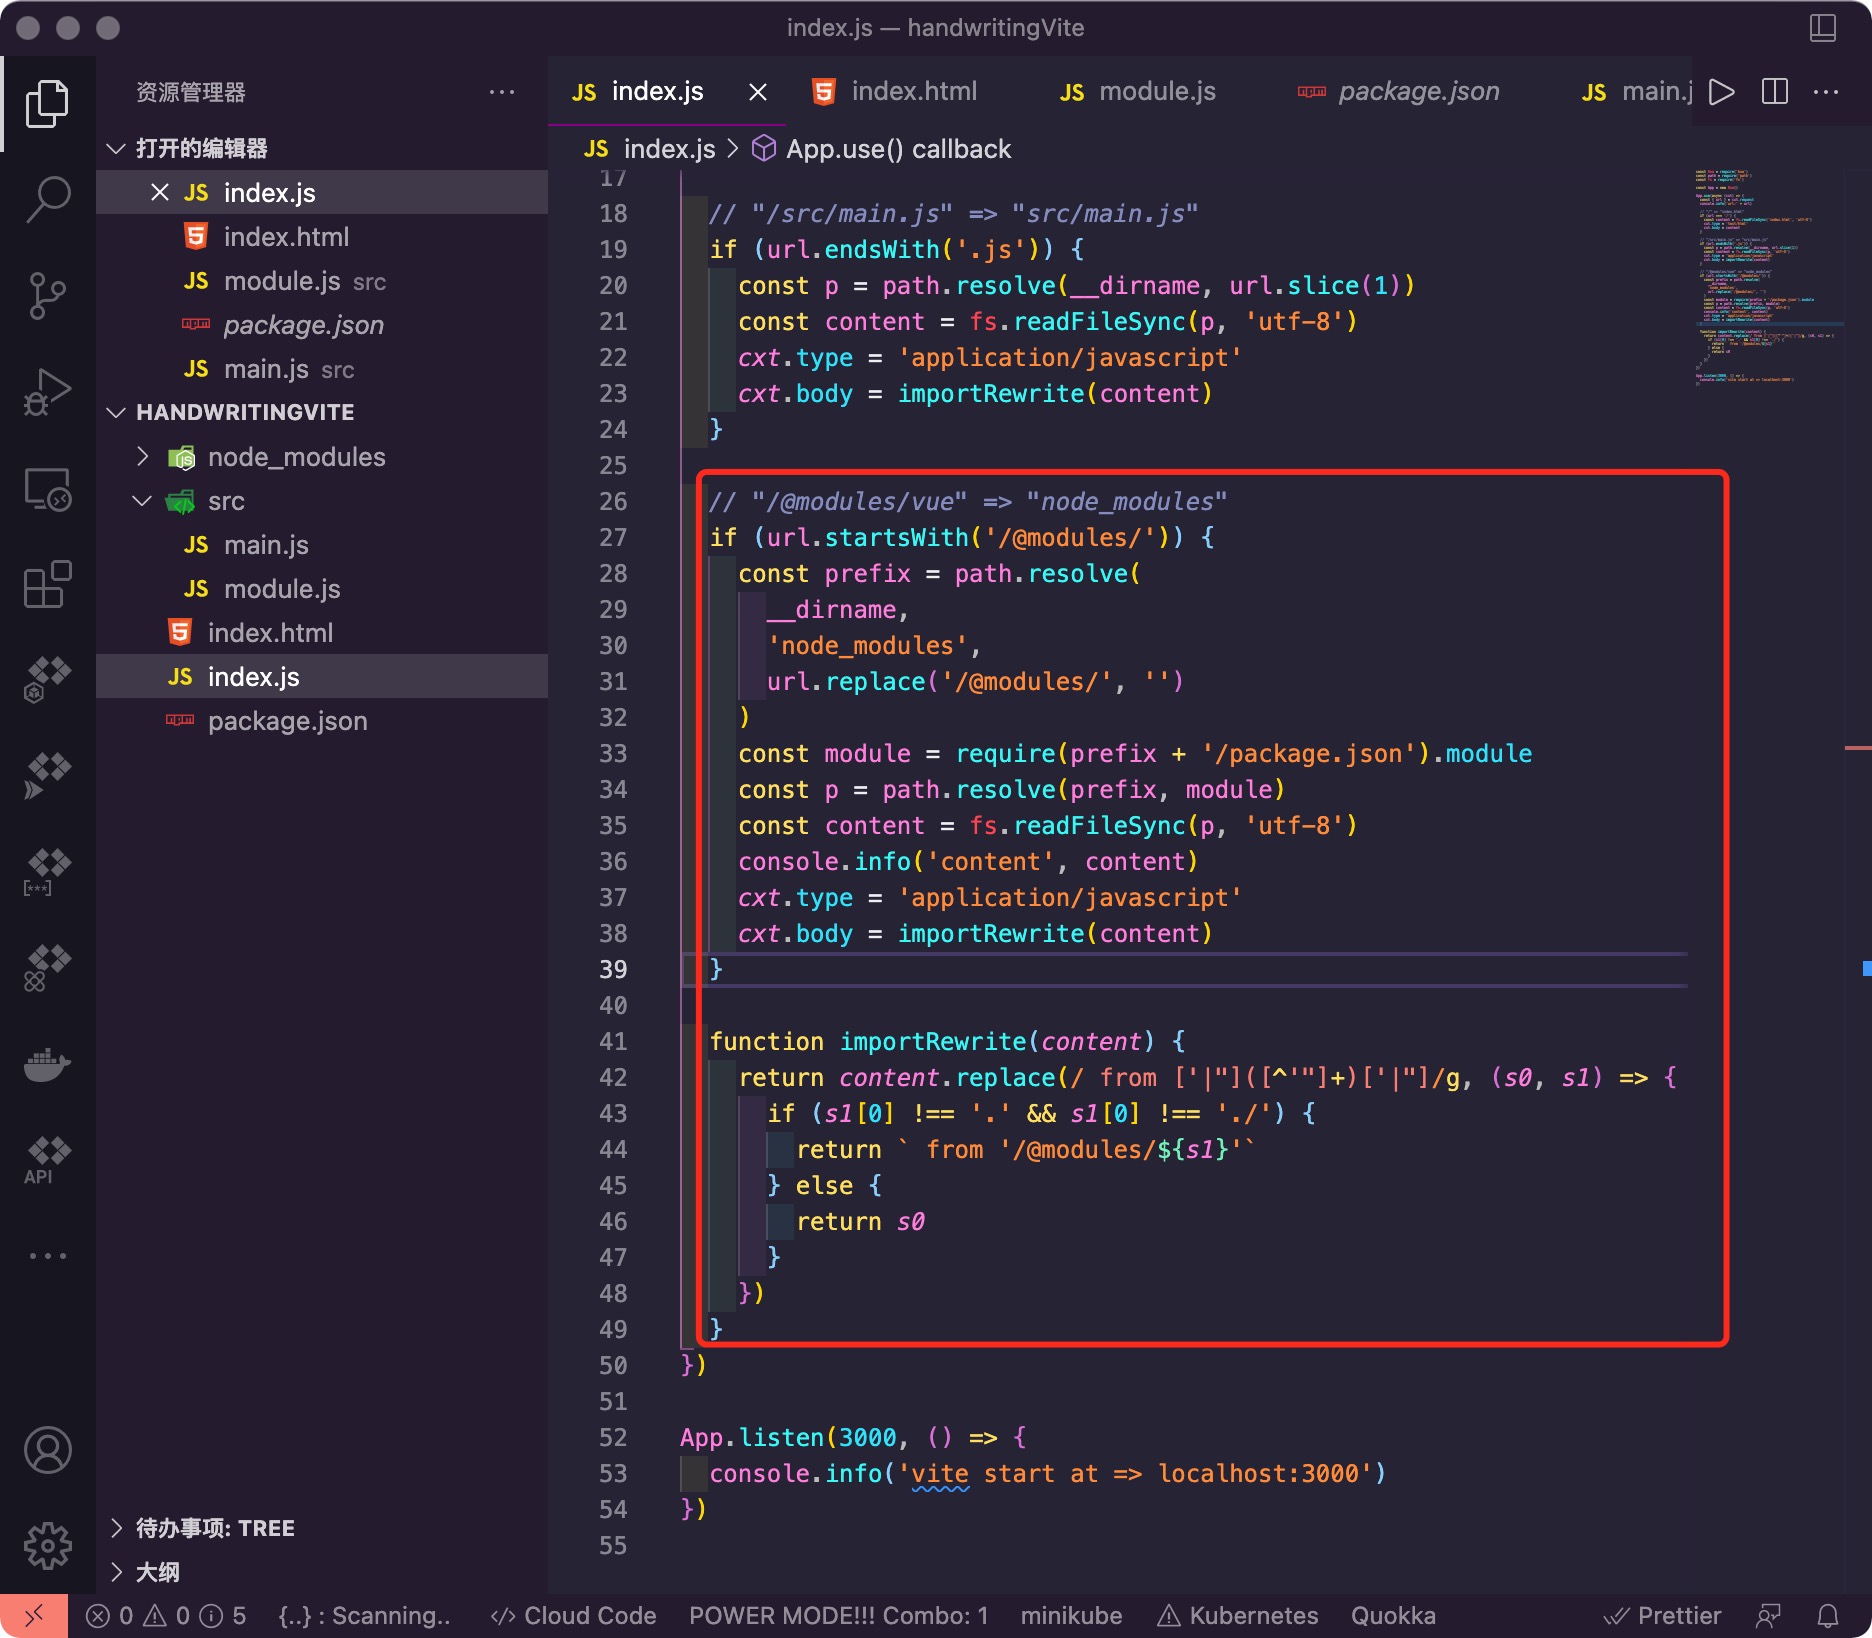
第十九步:查看文件index.html
const Koa = require('koa')
const path = require('path')
const fs = require('fs')

const App = new Koa()

App.use(async (cxt) => {
  const { url } = cxt.request
  console.info('url:' + url)

  // "/" => "index.html"
  if (url === '/') {
    const content = fs.readFileSync('index.html', 'utf-8')
    cxt.type = 'text/html'
    cxt.body = content
  }

  // "/src/main.js" => "src/main.js"
  if (url.endsWith('.js')) {
    const p = path.resolve(__dirname, url.slice(1))
    const content = fs.readFileSync(p, 'utf-8')
    cxt.type = 'application/javascript'
    cxt.body = importRewrite(content)
  }

  // "/@modules/vue" => "node_modules"
  if (url.startsWith('/@modules/')) {
    const prefix = path.resolve(
      __dirname,
      'node_modules',
      url.replace('/@modules/', '')
    )
    const module = require(prefix + '/package.json').module
    const p = path.resolve(prefix, module)
    const content = fs.readFileSync(p, 'utf-8')
    console.info('content', content)
    cxt.type = 'application/javascript'
    cxt.body = importRewrite(content)
  }

  function importRewrite(content) {
    return content.replace(/ from ['|"]([^'"]+)['|"]/g, (s0, s1) => {
      if (s1[0] !== '.' && s1[0] !== './') {
        return ` from '/@modules/${s1}'`
      } else {
        return s0
      }
    })
  }
})

App.listen(3000, () => {
  console.info('vite start at => localhost:3000')
})

...
2
3
4
5
6
7
8
9
10
11
12
13
14
15
16
17
18
19
20
21
22
23
24
25
26
27
28
29
30
31
32
33
34
35
36
37
38
39
40
41
42
43
44
45
46
47
48
49
50
51
52
53
54
55
56
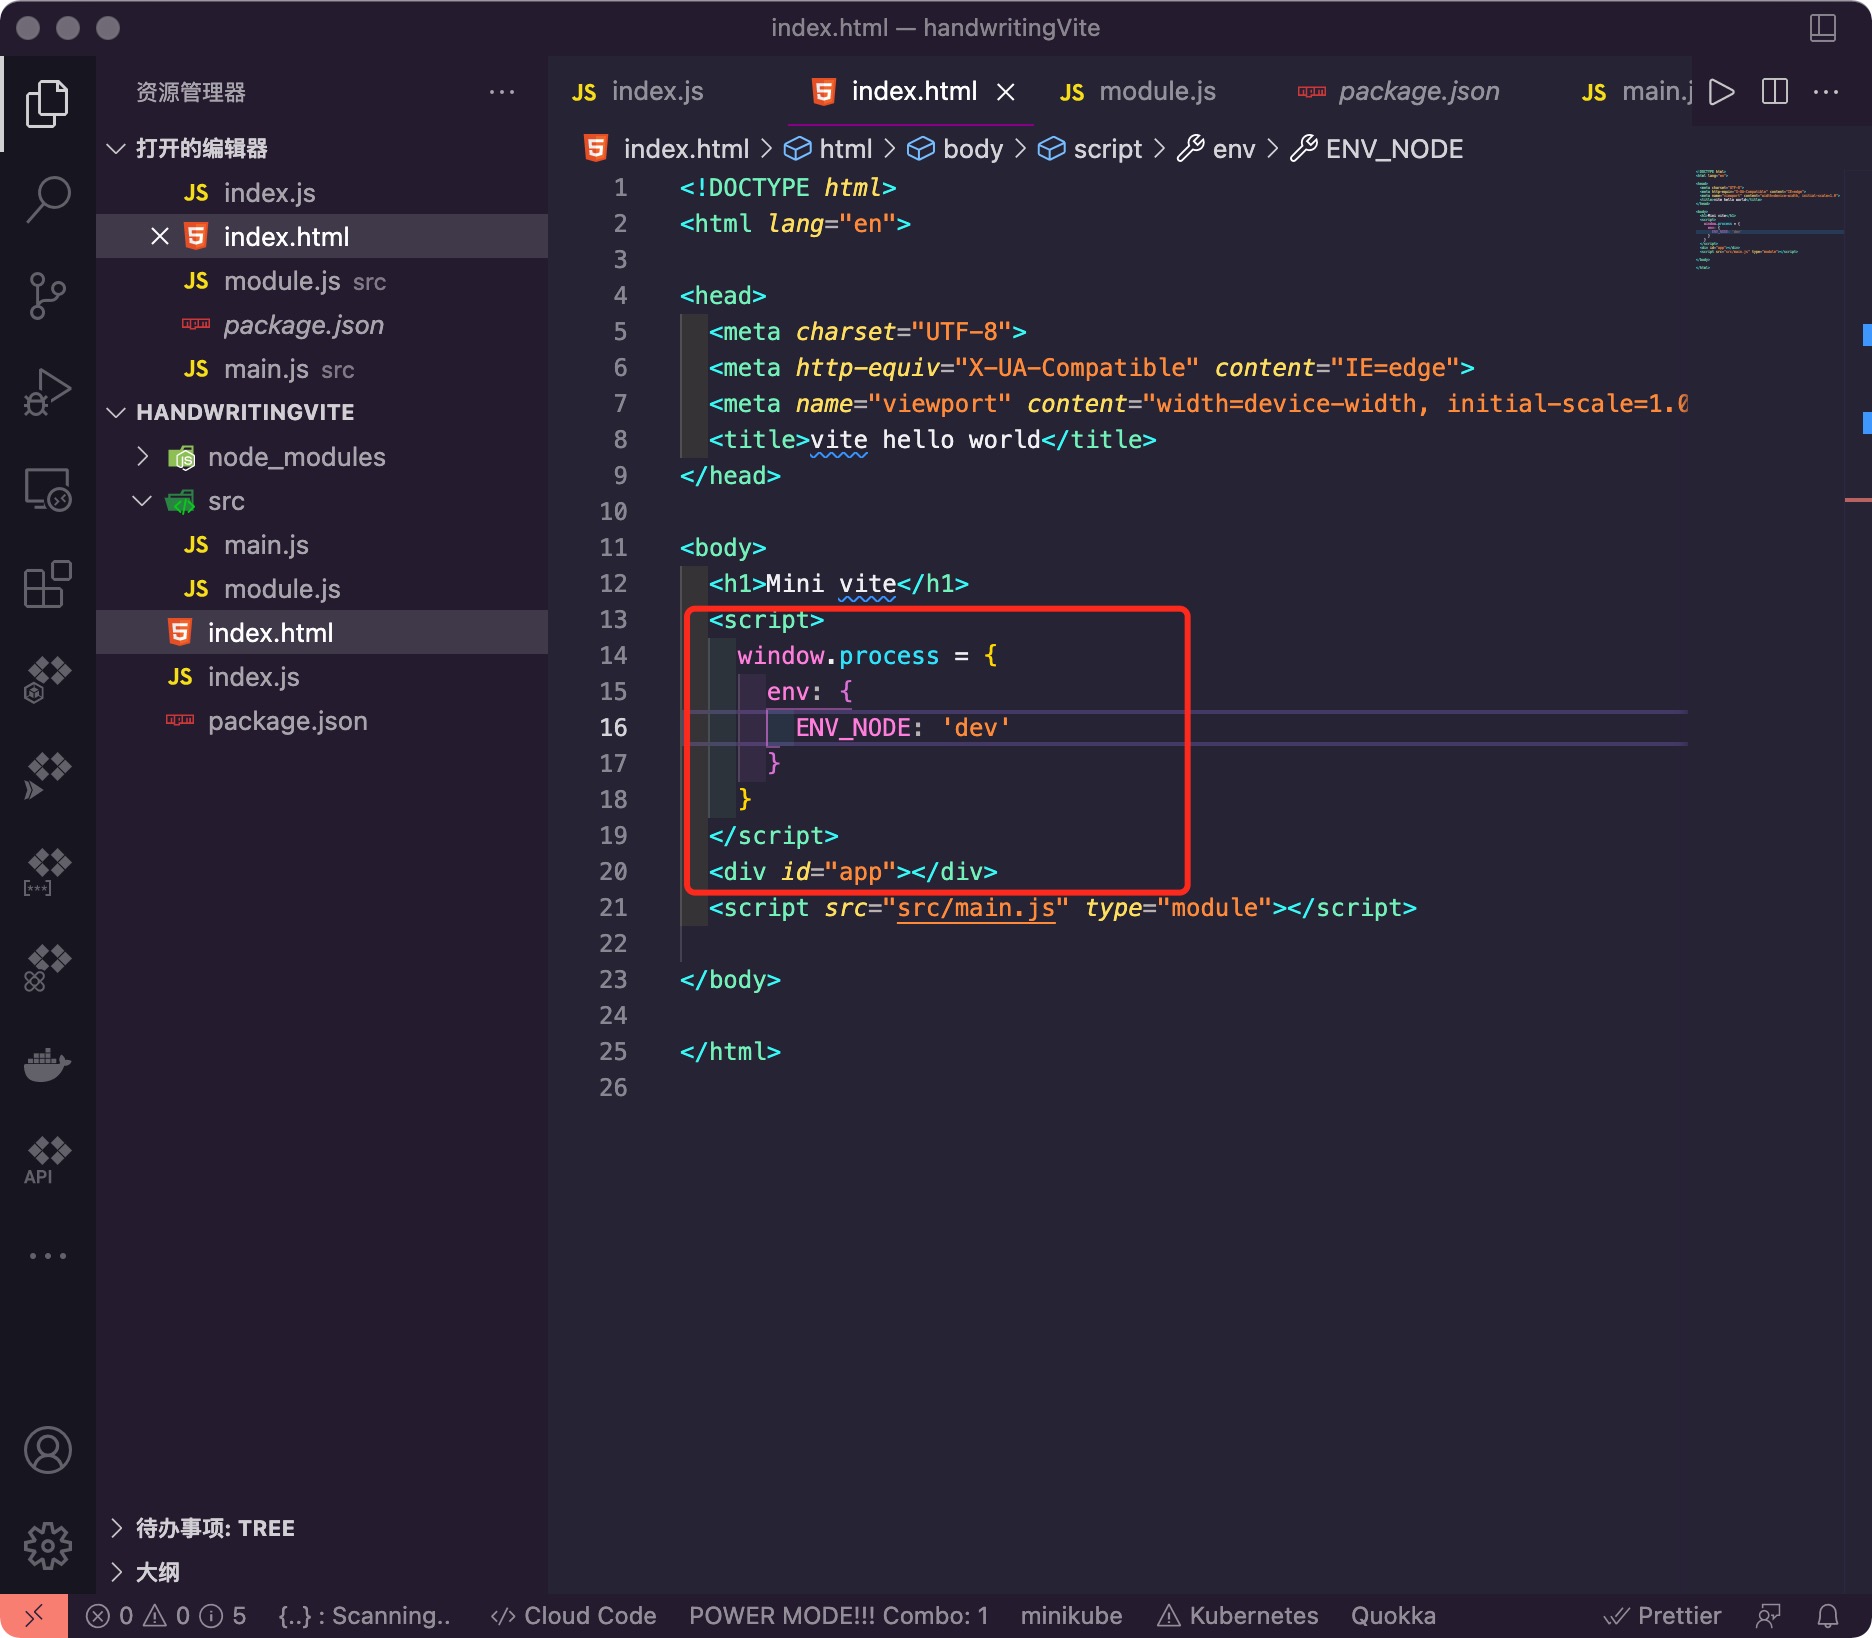
第二十步:修改index.html
...
<body>
...
    <script>
    window.process = {
      env: {
        ENV_NODE: 'dev'
      }
    }
  </script>
  <div id="app"></div>
...
</body>
...
</html>
2
3
4
5
6
7
8
9
10
11
12
13
14
15
16
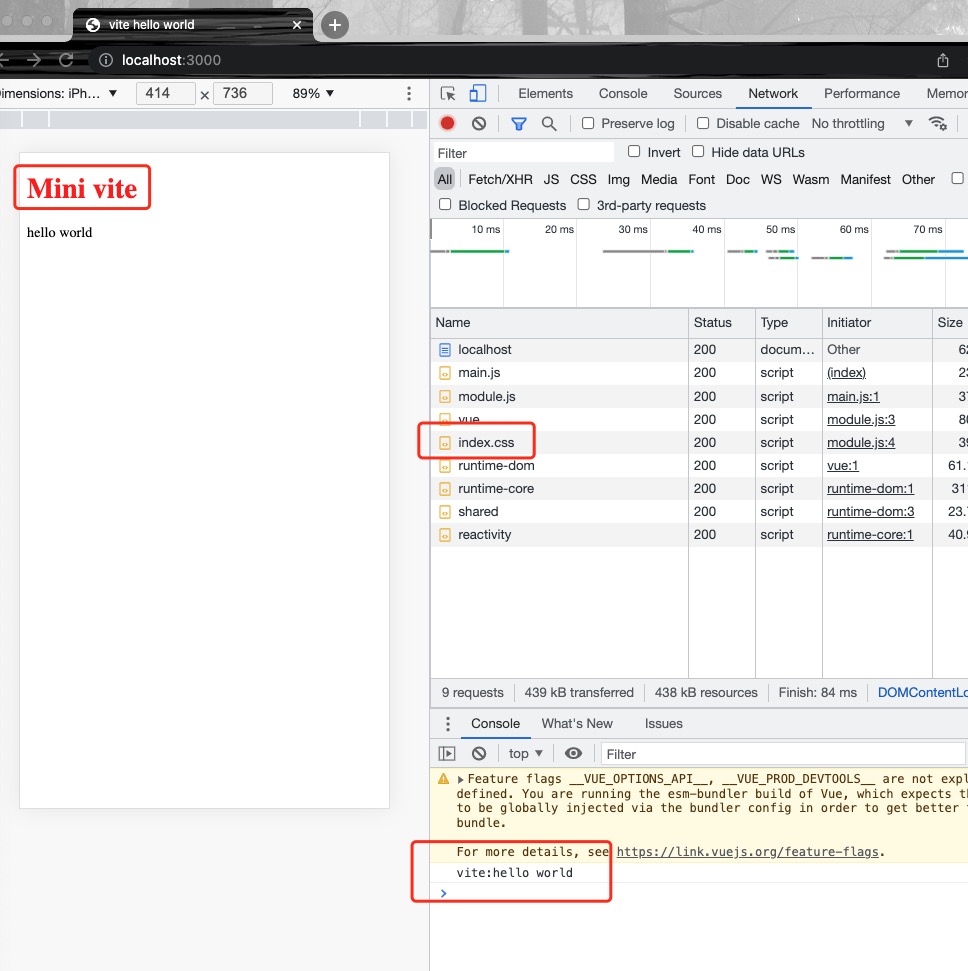
第二十一步:刷新index.html ,查看当前页面,出现hello world,这样真正大功告成,基本实现vite的基本功能
# 彩蛋
vite是如何处理 css 文件
第一步:新建index.css文件
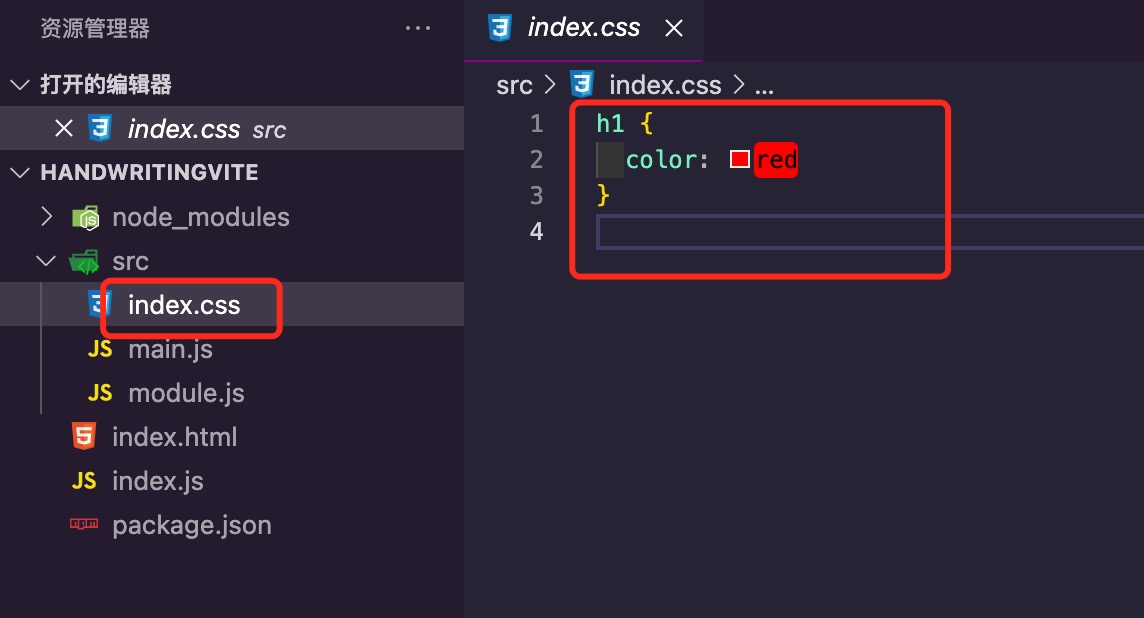
第二步:刷新index.html,查看是否生效
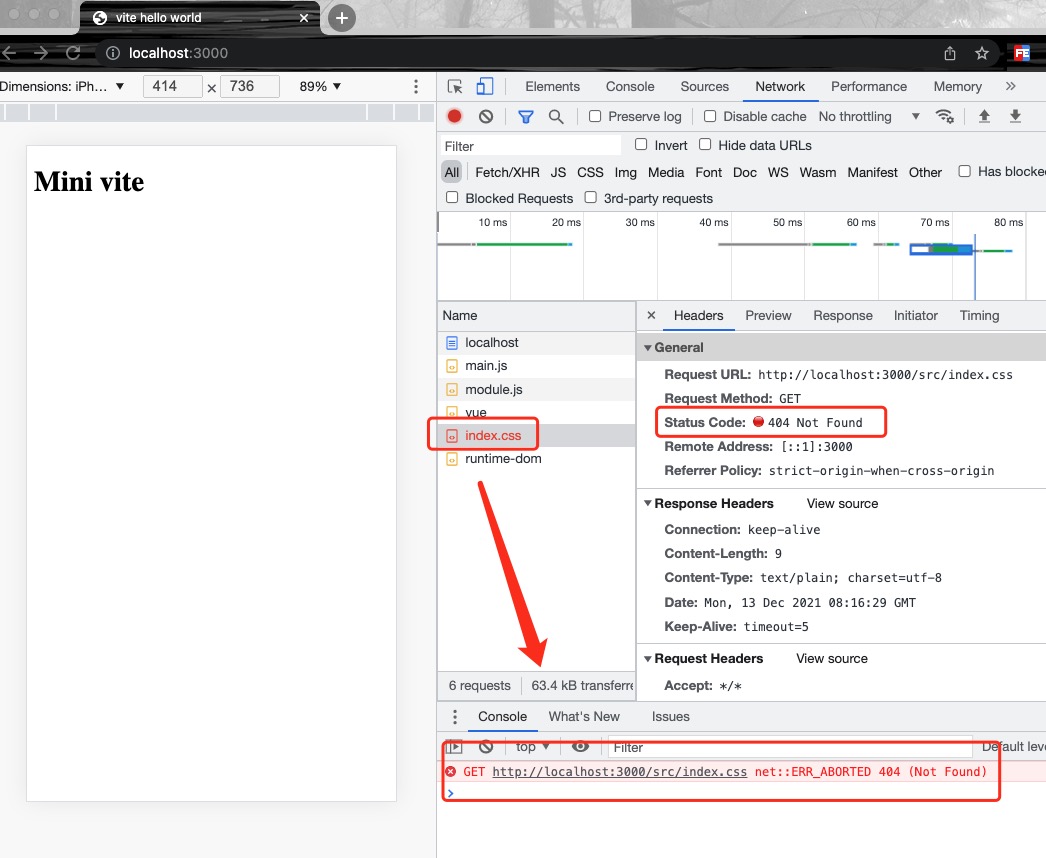
第三步:改造index.js , 添加如下代码
...
  // css 文件
  else if (url.endsWith('.css')) {
    const p = path.resolve(__dirname, url.slice(1))
    const file = fs.readFileSync(p, 'utf-8')
    const content = `
    const css = "${file.replace(/\n/g, '')}"
    let link = document.createElement('style')
    link.setAttribute('type','text/css')
    document.head.appendChild(link)
    link.innerHTML = css
    export default css
    `
    cxt.type = 'application/javascript'
    cxt.body = content
  }
...
2
3
4
5
6
7
8
9
10
11
12
13
14
15
16
17
18
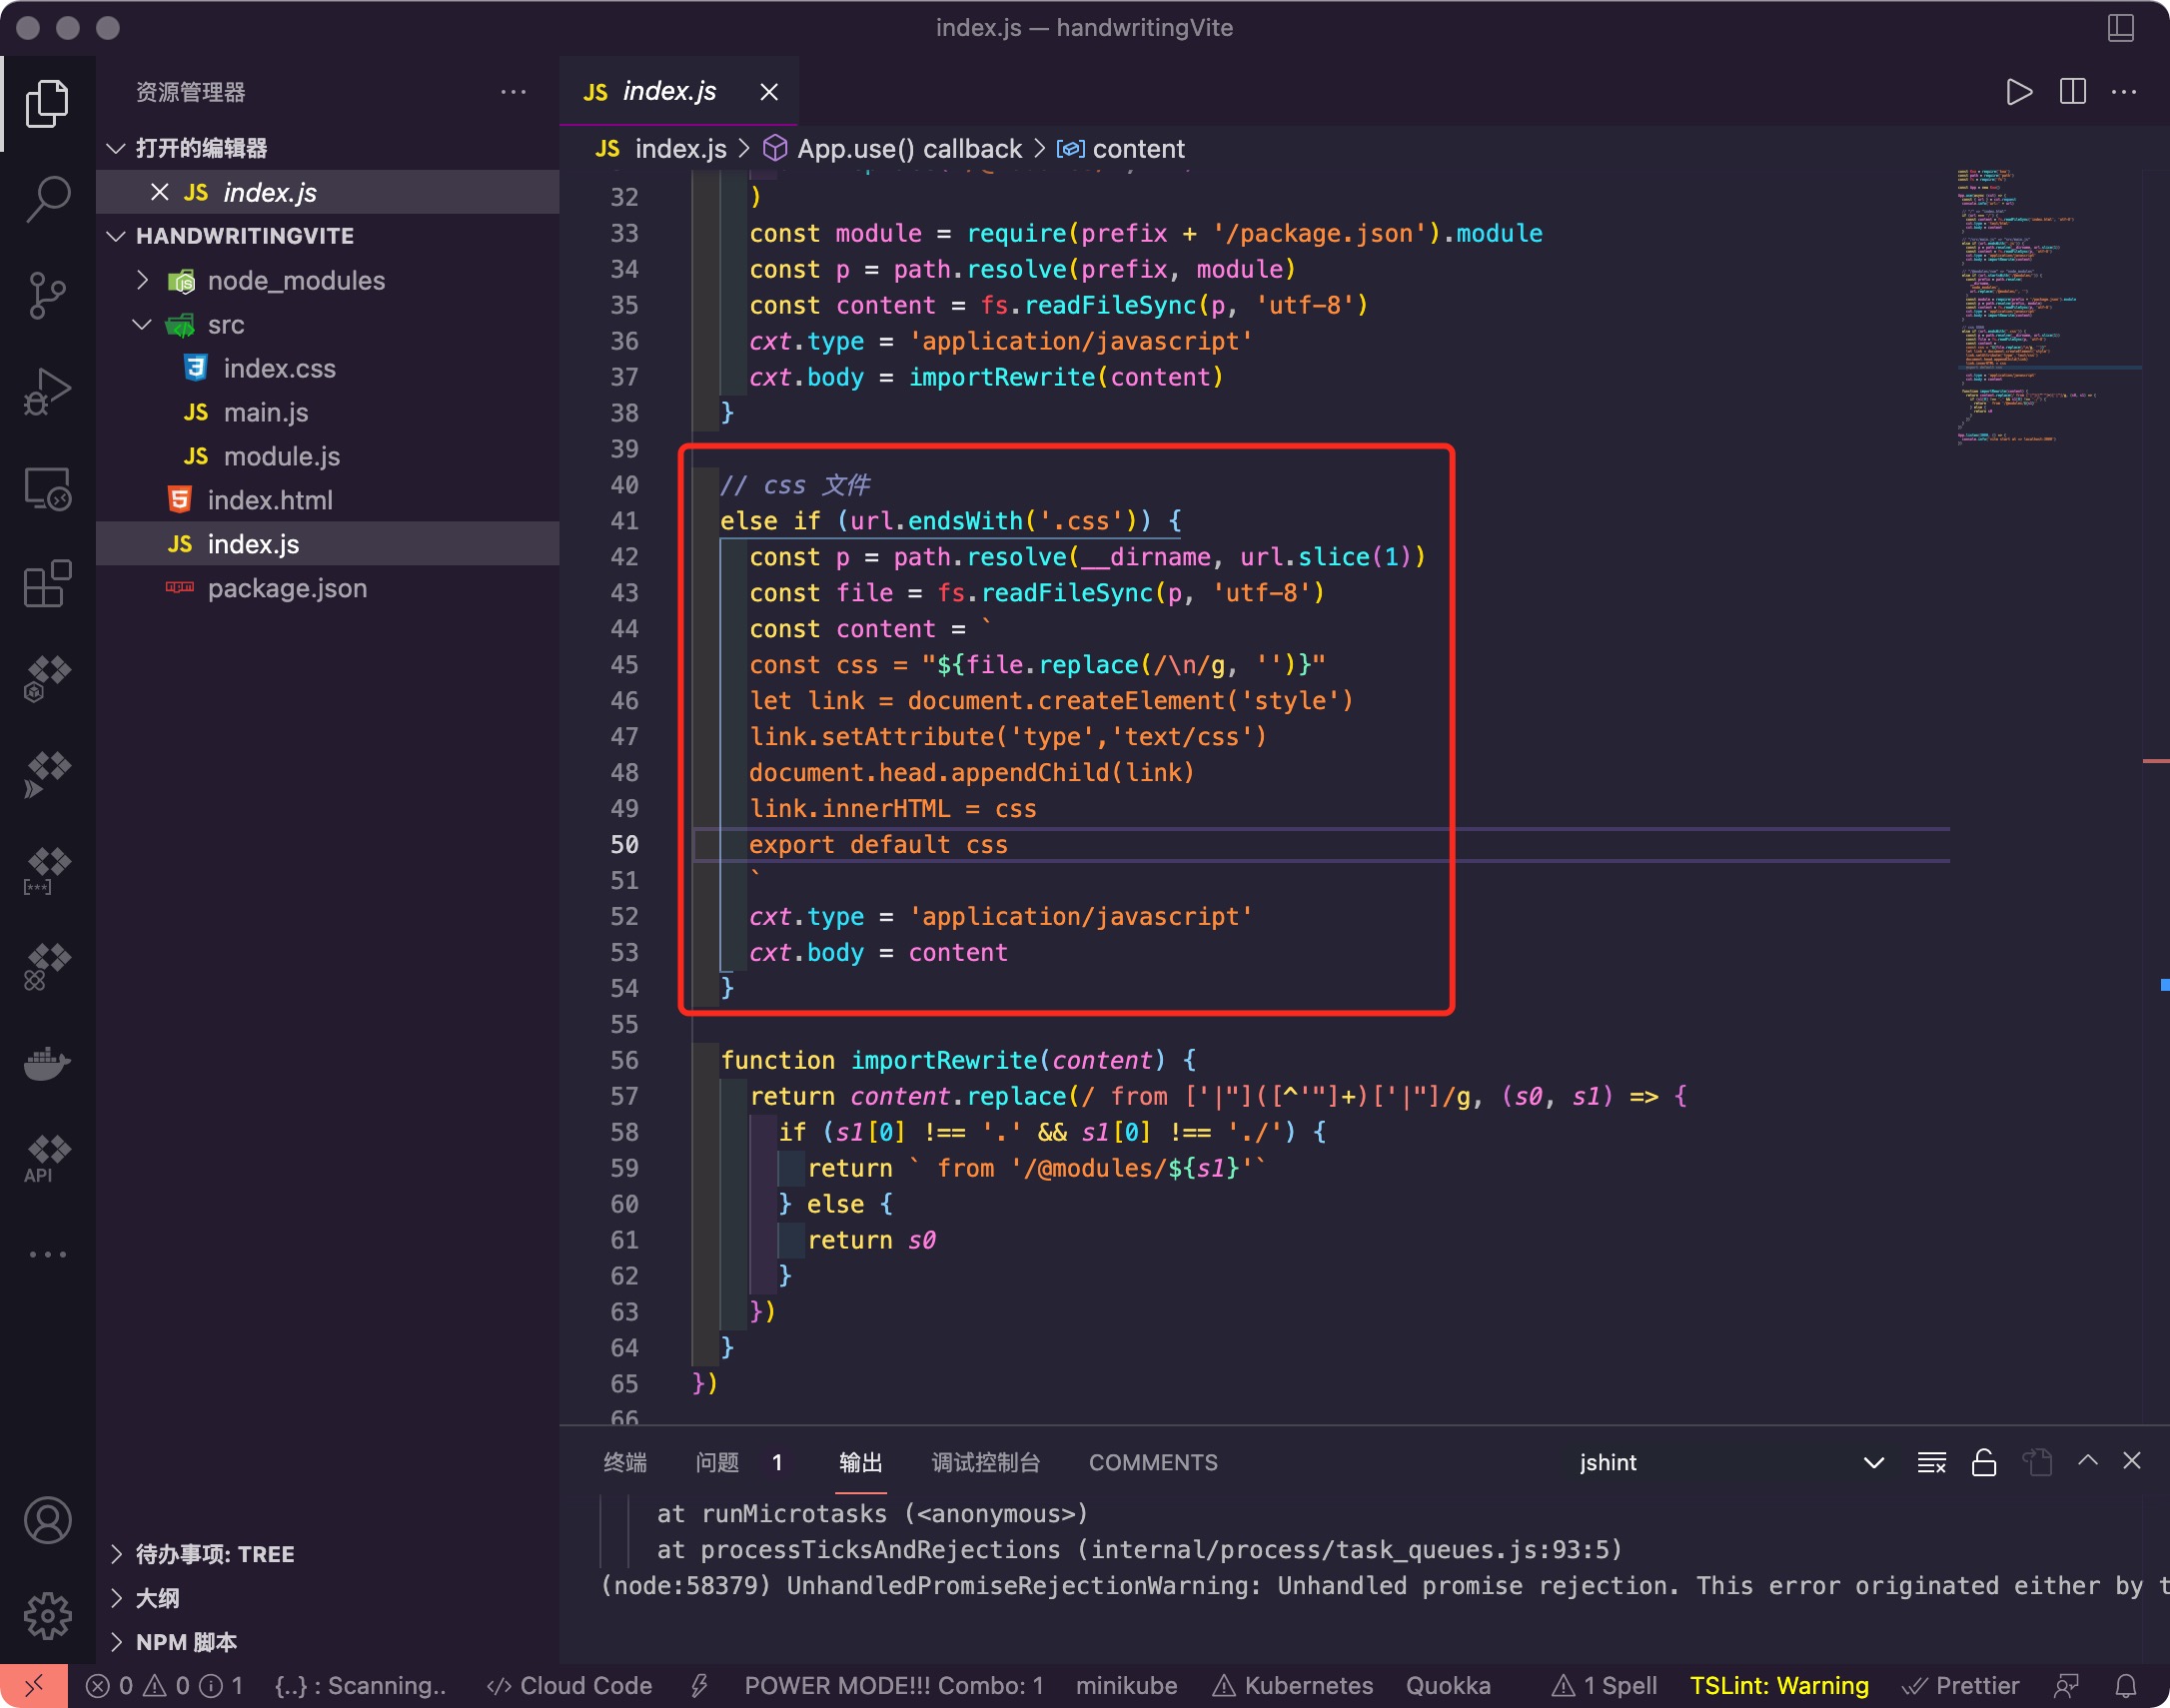
第四步:刷新index.html ,这样vite 实现解析css文件就大功告成!!!